Here are eight points about how to mix your glass paint. I’m not grumbling about how things worked out for me, but, if I’d learned these points sooner, I’d have traced better and more confidently in one month than I struggled to in 12.
1. More not less
The first and most important point I didn’t know until I did my apprenticeship was that it is nearly always better to mix more glass paint rather than less.
It’s one thing when you’re doing restoration and you truly need just a few lines of a particular paint.
It’s very different when you’re learning, when it will benefit you enormously to repeat the same design five or twenty times.
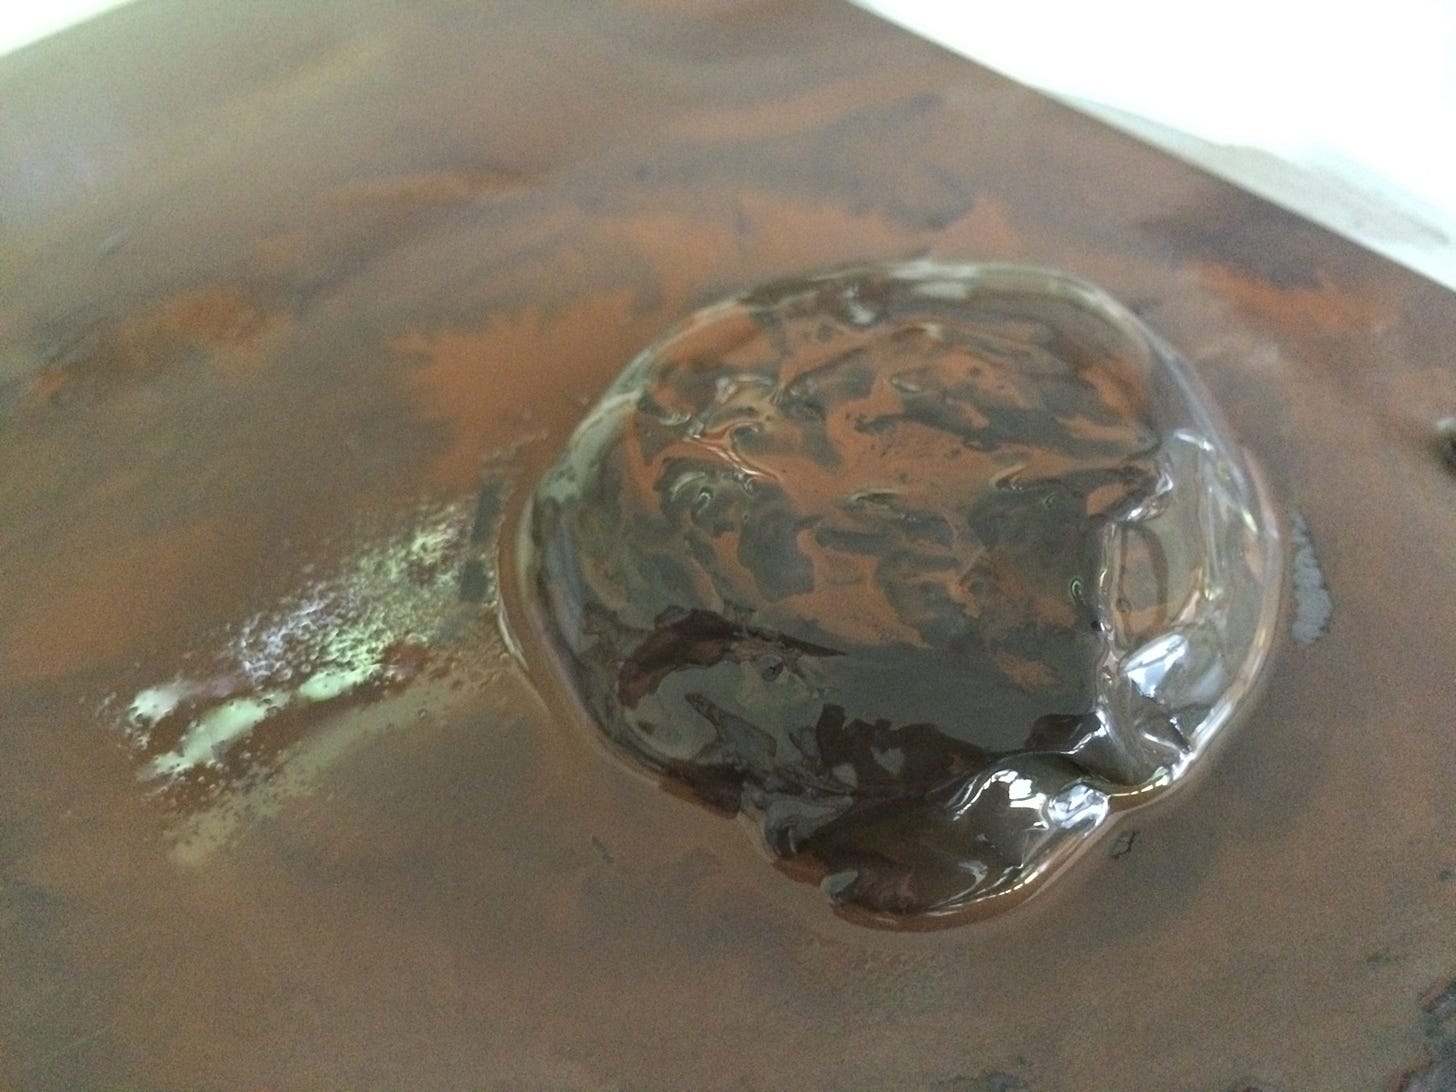
In these circumstances — and also when you know what you’re doing and you’re working on a painted window with 12 or 90 pieces — it’s usually the best policy to mix a sufficient quantity of paint that you can shape it into a lump like this:
I know how most books say to mix a tiny quantity of glass paint but I promise you it’s usually better to mix a whole lot more.
2. A bowl not a palette
I will come properly to palettes soon. Now I’ll just say that one reason newcomers opt to mix a smaller quantity of paint is that they imagine the palette is where they’re meant to mix it. Since newcomers generally pick a small piece of glass to serve for palette, they certainly don’t have the space to mix a proper quantity of paint. That’s one reason why they mix a small amount instead.
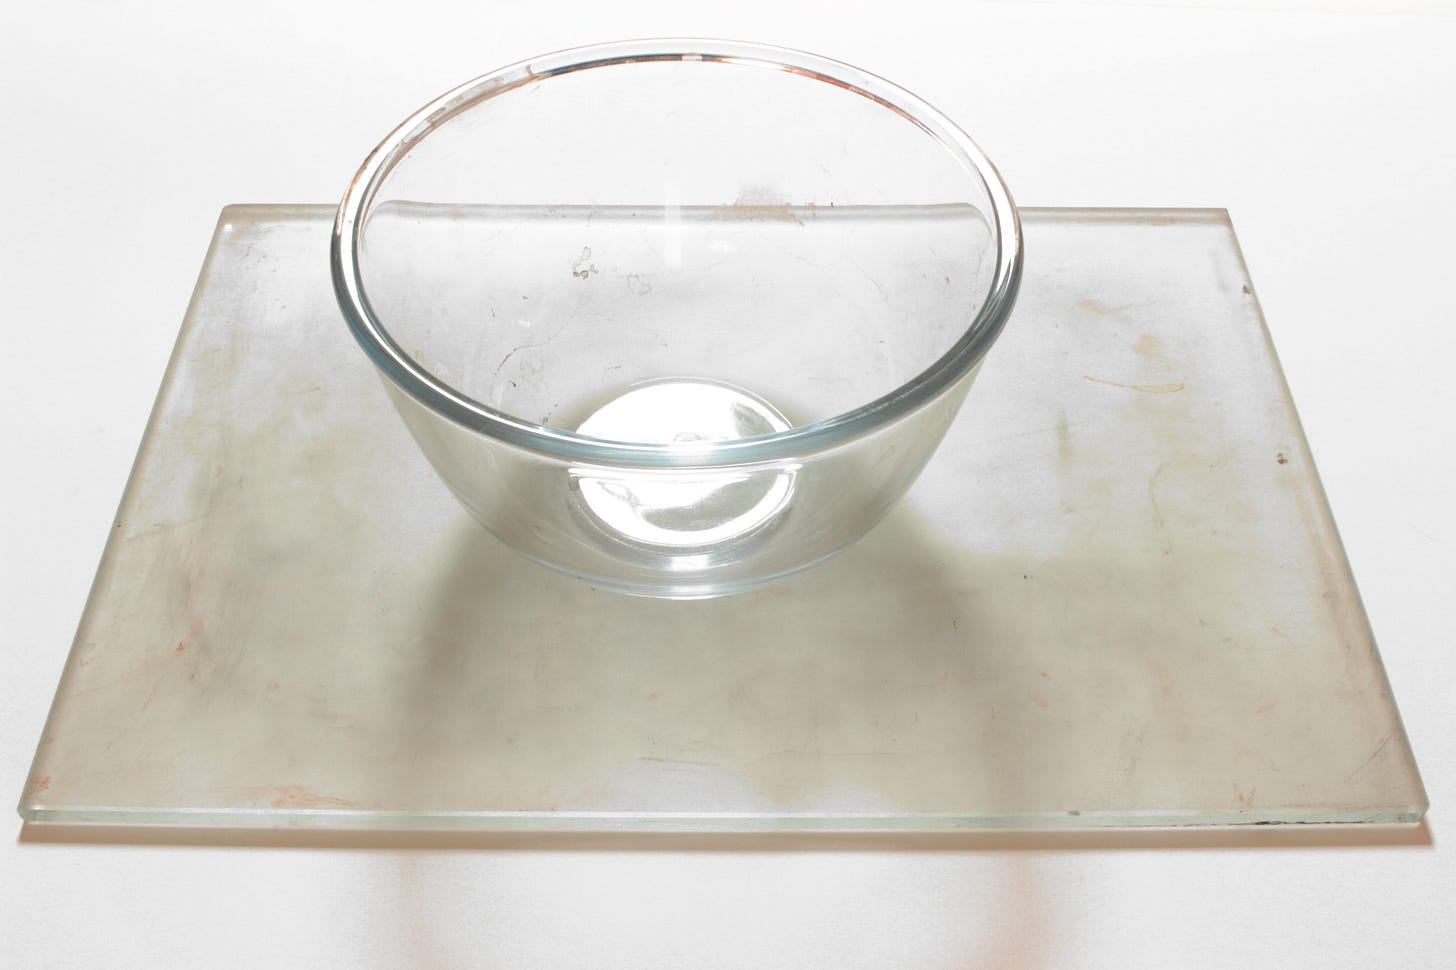
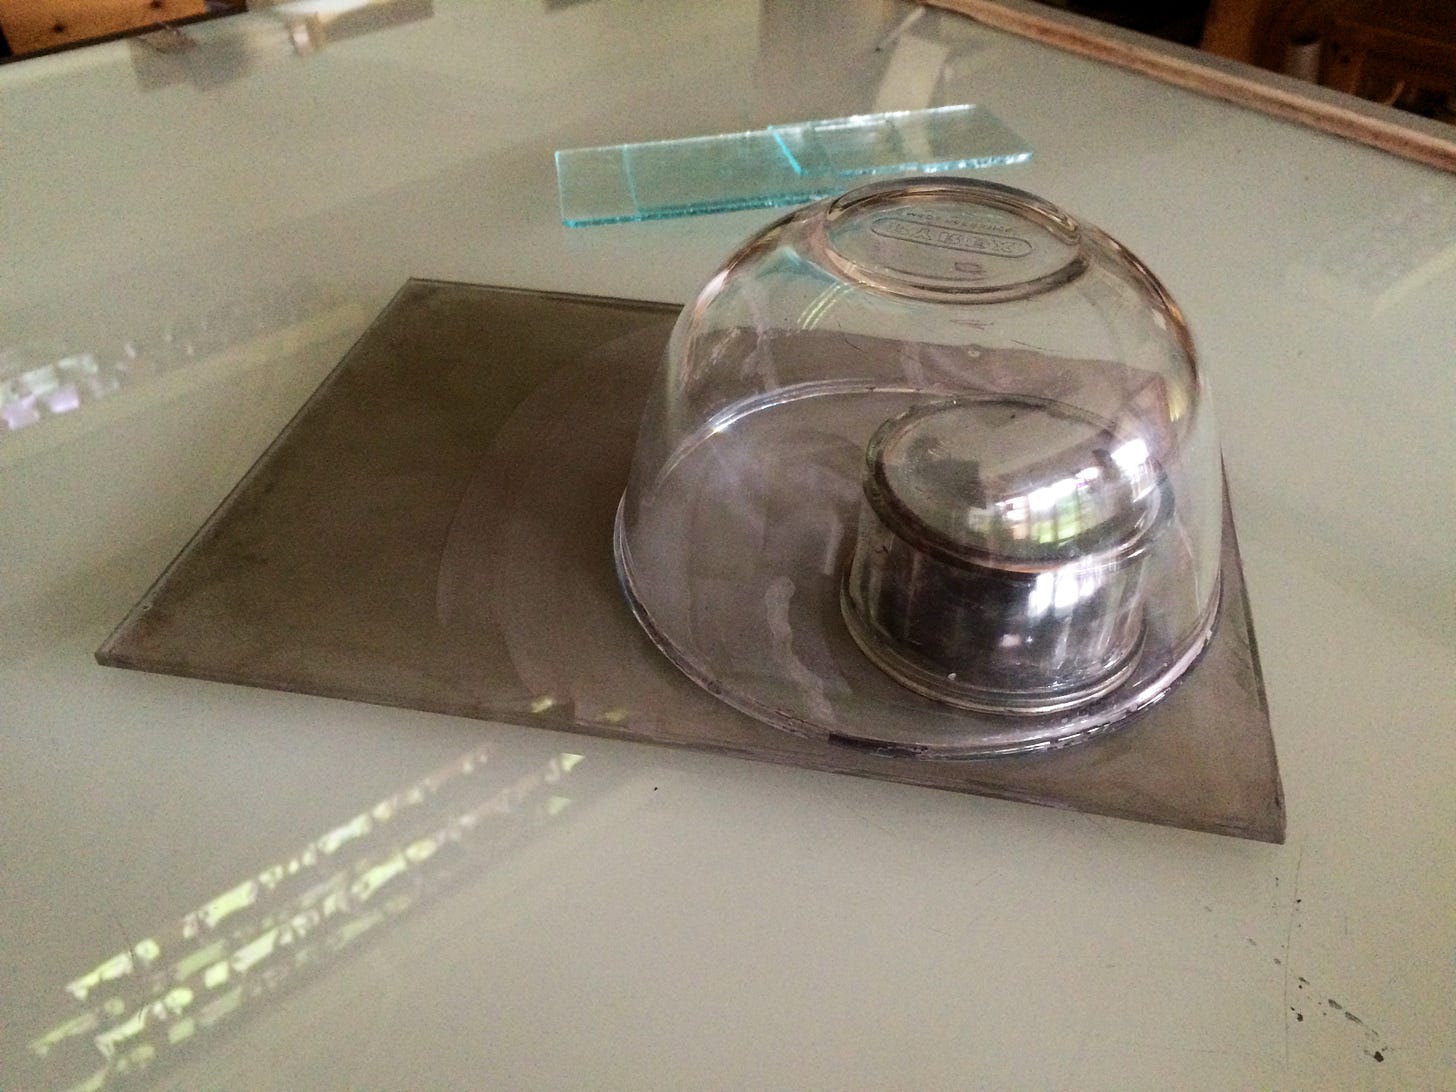
My second counsel therefore is not to mix your glass paint on a palette but in a medium-sized bowl — the kind of bowl you could comfortably whisk a 3-egg omelette in:
I assure you that you’ll mix a lot less paint than the volume of a 3-egg omelette. My point is simply that you need the side of this bowl to crush your paint against, which, as I only found out later, is a crucial part of how to mix great glass paint.
3. A spoon not a knife
Given that you’re working in a bowl, it follows that you cannot use your palette knife to do the mixing.
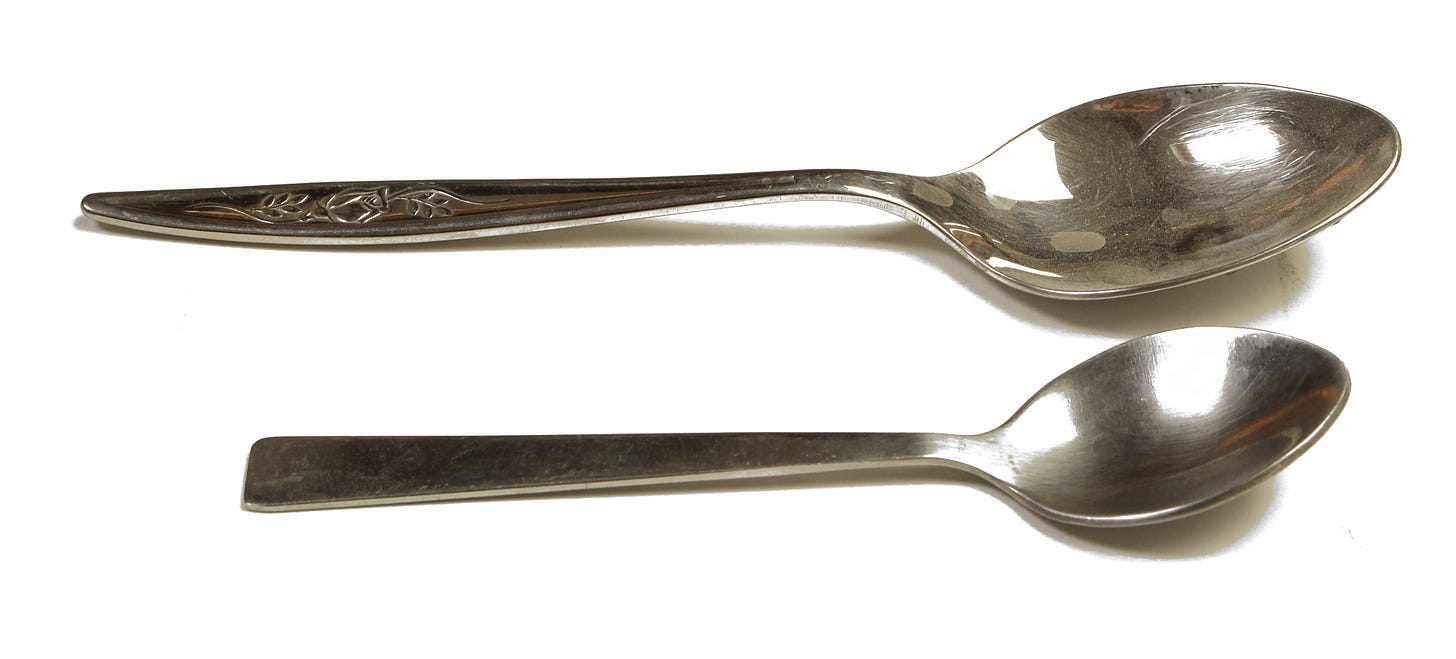
The best tool I have found is what we in England call a dessert spoon. This spoon on the top is what I mean:
That larger spoon is excellent to crush your powdered paint with. Beneath it you see what we call a teaspoon: this small spoon also has its use, which brings me to my next point.
4. Surprisingly little water
For about four heaped teaspoonfuls of glass paint — and here’s where the smaller of those two spoons is useful —
.. you might only need a bit more than one teaspoonful of water, and somewhat less than a teaspoonful of liquid gum Arabic.
This surprises many people.
But what happens in a bowl is that you can crush and smash the powdered glass paint so that the little liquid which there is, is evenly distributed throughout.
When the liquid is evenly distributed, there’s plenty to go around. I never knew this; it even surprises experienced glass painters.
5. Mixing paint is hard work
However, to mix paint properly — which here means: to distribute liquid evenly throughout the powdered glass paint — you must work hard for at least five minutes and maybe even 10.
Don’t be surprised if your wrists begin to ache. In the summer, you might even “glow” a little with the exertion. That is how it should be. It really takes a lot of strain and effort to mix paint well. Don’t imagine it might be different. Don’t think that if you perspire you’re doing it wrong. You might even sigh and groan. You’ll very likely rock the table. I accept it’s not hard work like digging ditches is, but nonetheless it is hard work.
6. A paste not a liquid
But what is the goal of your exertion?
It is not, I declare, to finish with a runny liquid (this being another misconception which causes newcomers to stumble when they first start to trace).
What you’re aiming for is actually a paste.
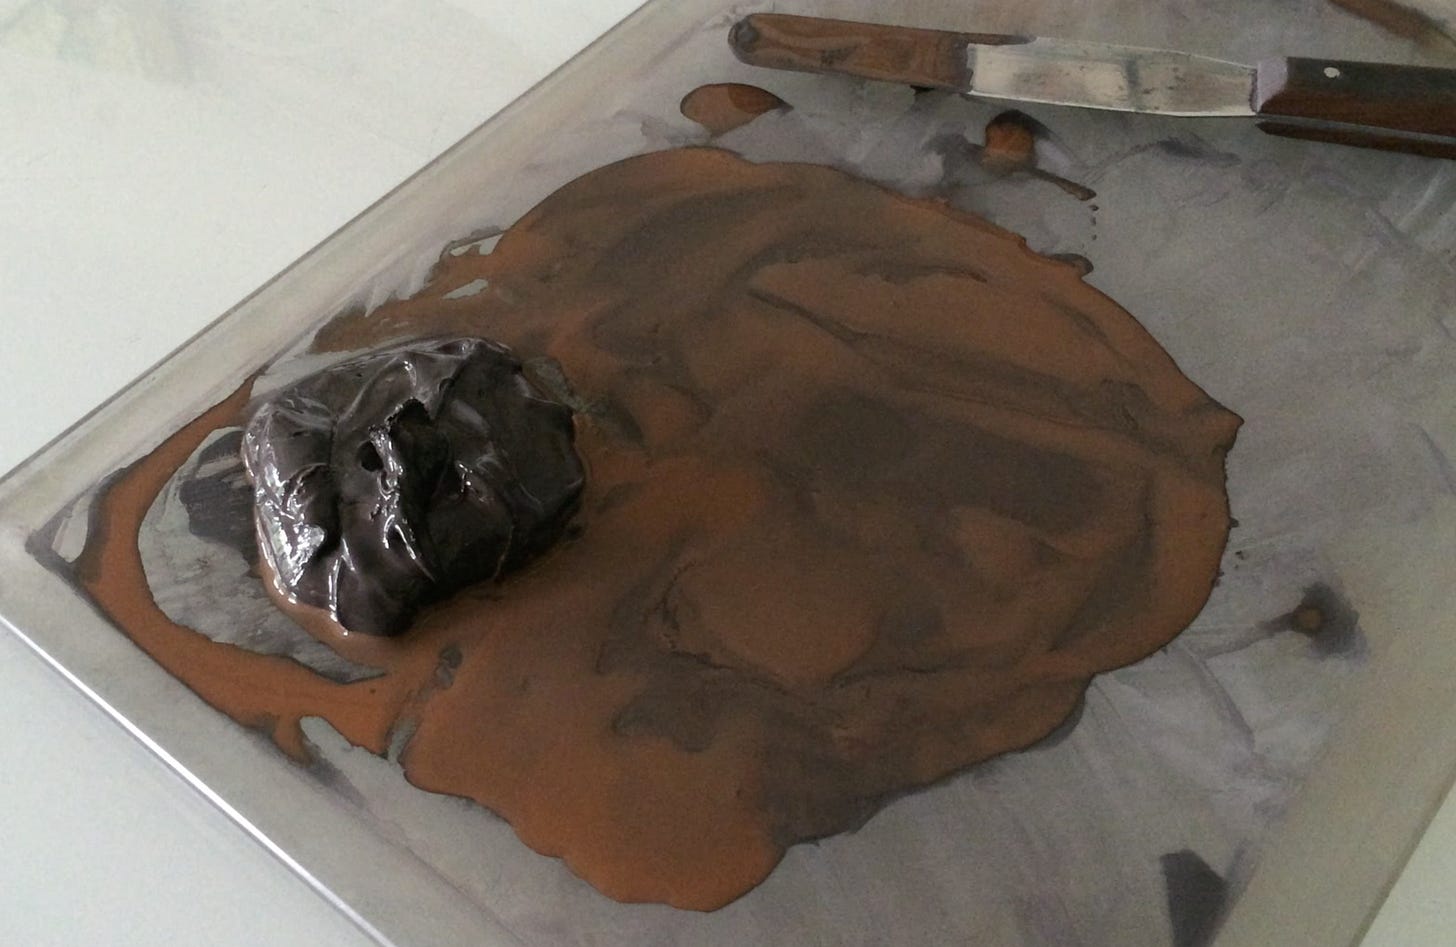
This paste could be creamy like mayonnaise or toothpaste, or stiff like builder’s putty: what matters is that, by means of your knife, you can pat and shape your paint into a lump, a mound, which holds its shape, and glistens:
That is, your goal is not to prepare a mixture you can paint with as it is.
Your goal is to prepare a concentrate. Yes, a concentrate which you can use a little at a time to dilute into whatever kind of paint you need: light or dark, thick or runny.
There are many benefits to mixing a lump of concentrated paint (as opposed to a teaspoonful of runny paint), such as:
It dries more slowly and thus needs less attention.
There’s enough of it that you can really get to know it and quickly figure out how to make it do your bidding.
You can always see whether you have enough to undertake the next phase of painting (because what you do not want is to run out half-way and thus be made to interrupt your flow of work to mix more paint).
7. A large palette not a small one
This brings us to such questions as, Where will you keep your lump; and also, Where, slice-by-slice, will you transform it into whatever kind of working paint you happen to need.
It’s obvious that a small palette would be inadequate. There’d scarcely be room for the lump of concentrated paint, never mind room for you to prepare your reservoir of working paint.
From which it follows that you need a big palette — far bigger than would naturally occur to most beginners, and unfortunately also bigger than will be provided to newcomers in many adult evening classes or weekend courses.
But with a palette about the size of a large envelope or a piece of typing paper, you’ll have the freedom of movement you need to work efficiently.
It is also large enough to seal and store you paint until the next time:
8. Test and get to know your paint
Newcomers might worry their paint must be exactly such-and-such or else it’s wrong.
This is not the case.
Just as I said the lump might be creamy like mayonnaise or toothpaste or stiff like builder’s putty, so I tell you know that there’s a wide range within which, when you know how, you can paint beautifully with it.
But what you must do first is get to know your paint.
“Getting to know your paint” is like what a musician does when he is confronted with a new instrument, be this a piano, violin, guitar or whatever.
It’s also like what a carpenter does when he takes up a new chisel, saw or drill.
First of all, everyone must practise, newcomer and professional. Everyone.
Here is not the place to demonstrate the tests you do to become comfortable with this paint you have just mixed. All I want to do again is to guide your expectations. Then, when the time comes, you’ll understand the process far better than would be the case than if you first were the victim of innocent and likely wild assumptions.
Say it takes 10 or 15 or even 20 minutes to mix your first lump of glass paint: don’t then be surprised if you spend another 10 or 15 or 20 minutes or longer to test and maybe adjust it.
After all, it’s a large quantity of paint which you’ve now made: a quantity that will likely last you days or weeks or maybe months.
This up-front time you spend mixing, adjusting and getting to know your paint is time you’ll save hundreds of times over when you come to do the actual work.
Suffice to say, I wasn’t shown any of this when I first started. I was told to mix a teaspoonful of paint with far too much water. I was told to mix it on a tiny palette. This meant I ended up with runny, sloppy paint which always threatened to escape the confines of my tiny palette, and, crucially, was useless for a newcomer to learn to paint with. It was also useless for an experienced glass painter, which, I now think, is why my teacher never gave a demonstration but rushed on to the next student in the admittedly over-crowded classroom.
If you’d like to learn more, we’ve prepared this course, comprising an ebook and 8 videos: how to mix your paint, how to test it, how to store it, and also how to revive it the next time you come to paint.
If you’d like to get this ebook and videos, click the button below.
In half-a-day, you can learn to mix a perfect lump of glass paint. This is the kind of paint that we use every day in the studio and all our demonstrations. Therefore you can be sure this method works:
Note: don’t dismiss this opportunity just because it’s free.


