After I left my 10-year role as business analyst for a company in “The City” (London’s Wall Street); before I began my on-the-job apprenticeship in a past-its-glory but still prolific stained glass studio in the Midlands—renting a dismal, draughty, thin-mattressed bedroom for the weekday nights, commuting to my spacious, warm and sunlit house in London at the weekends: I took a “gap year” at a then-reputable adult education college—it is no longer such: I, like Biedermann, have allowed a mass of institutions to decay which I inherited as an English citizen and was meant to care for until time came for my own and other people’s children to be enriched by them as I once was, but I have failed—where I enrolled myself on all manner of “right-brain” courses (don’t rap my fingers for this figure of speech—I know it’s only that: if someone cannot observe the vicissitudes of their glass paint with a scientific, “left-brain” eye, his inevitable and lamentable way must be to pretend his special talent is for “abstract art”)—courses such as drawing, pottery, calligraphy, photography, and, of course, kiln-fired stained glass painting.
The year divided into three terms, each term consisting in ten weeks, each week containing one three-hour lesson per course, each course therefore providing some 90 hours of practise and instruction across the year.
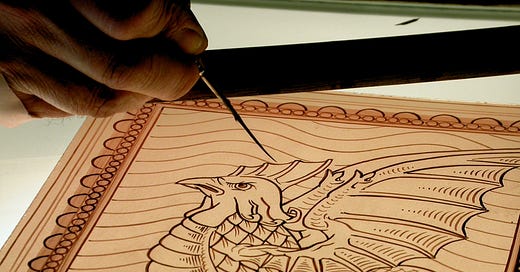
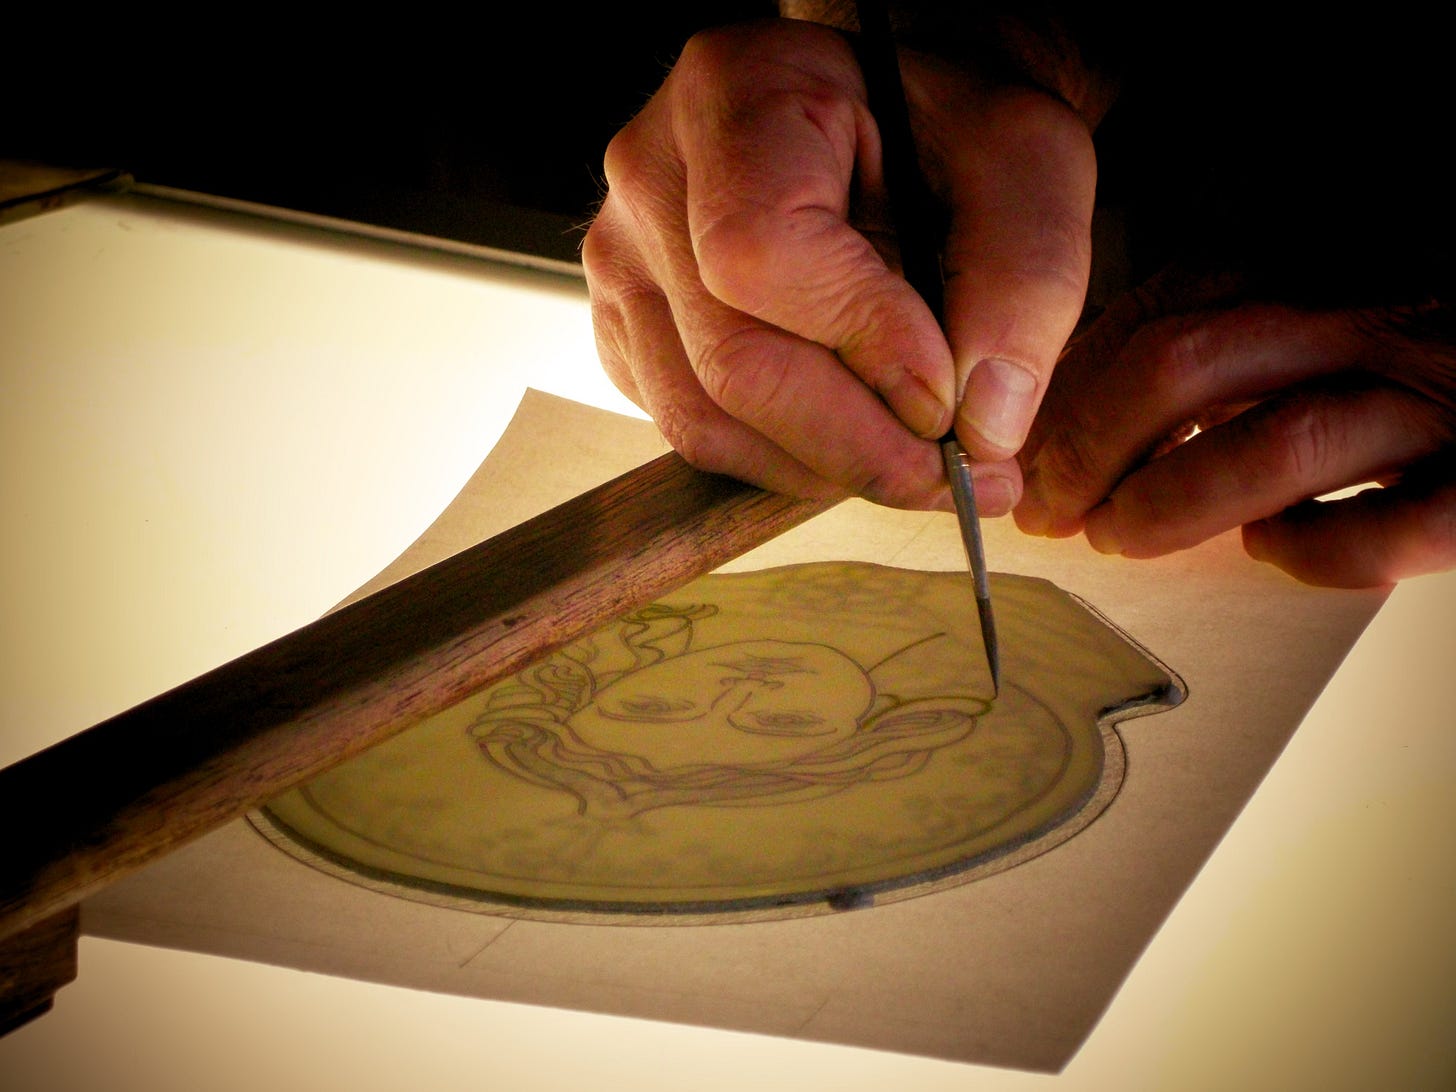
In all that time, the teacher whose task it was to teach us kiln-fired glass painting, never so much as whispered to us how we might first copy the design with light, fine lines—that is, trace the design …
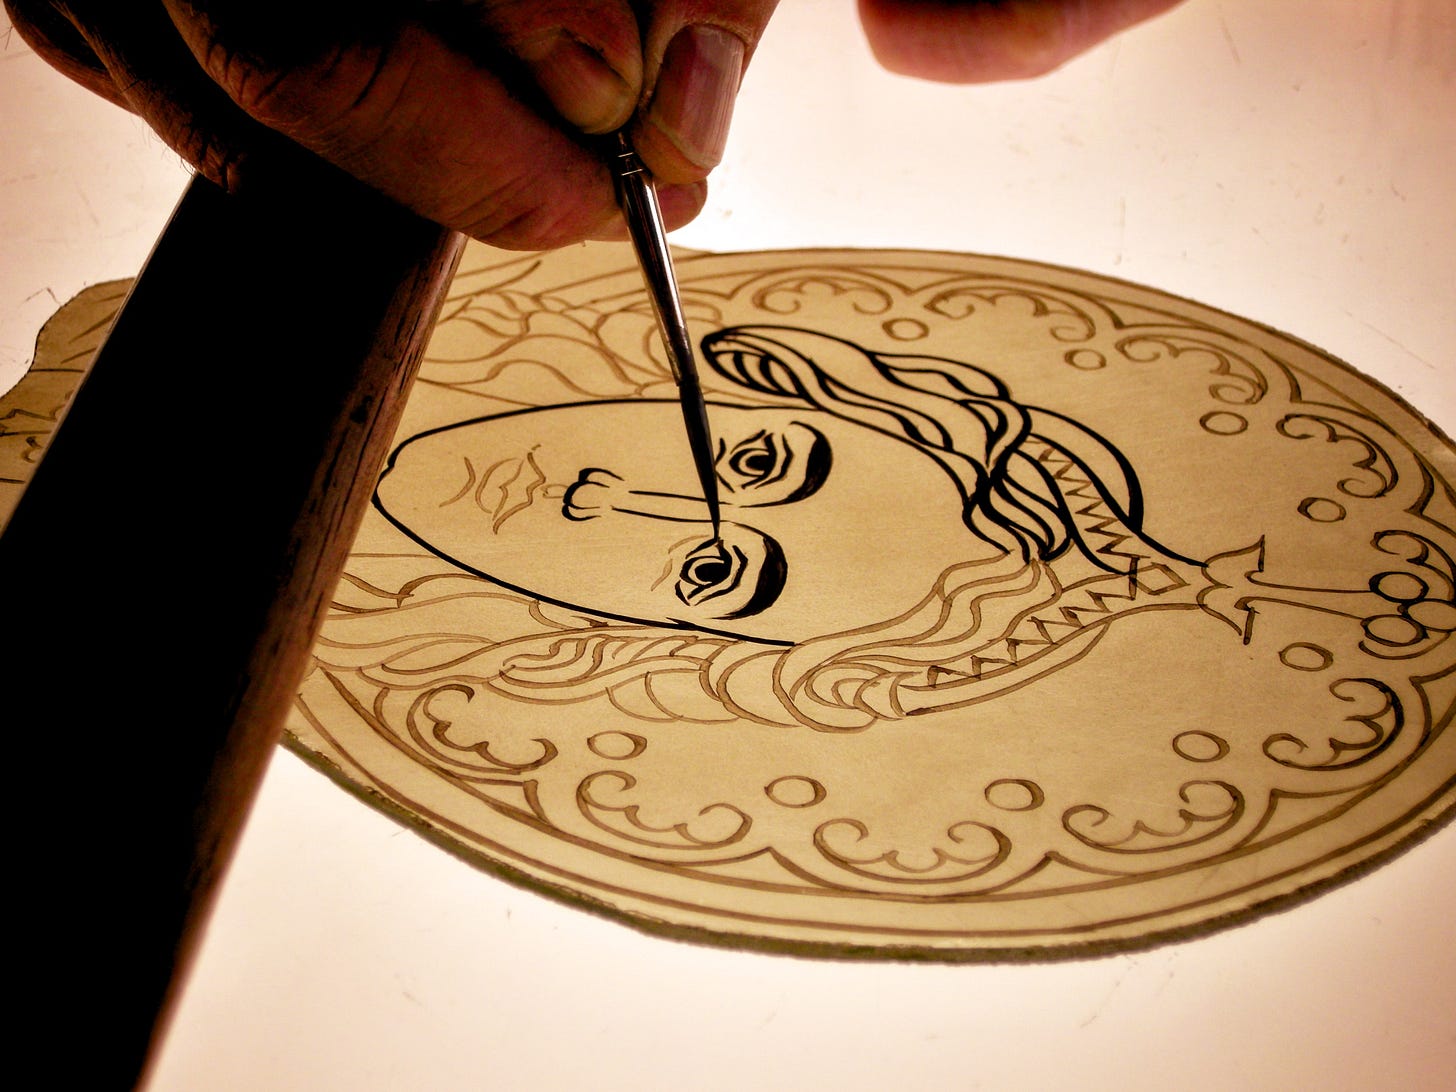
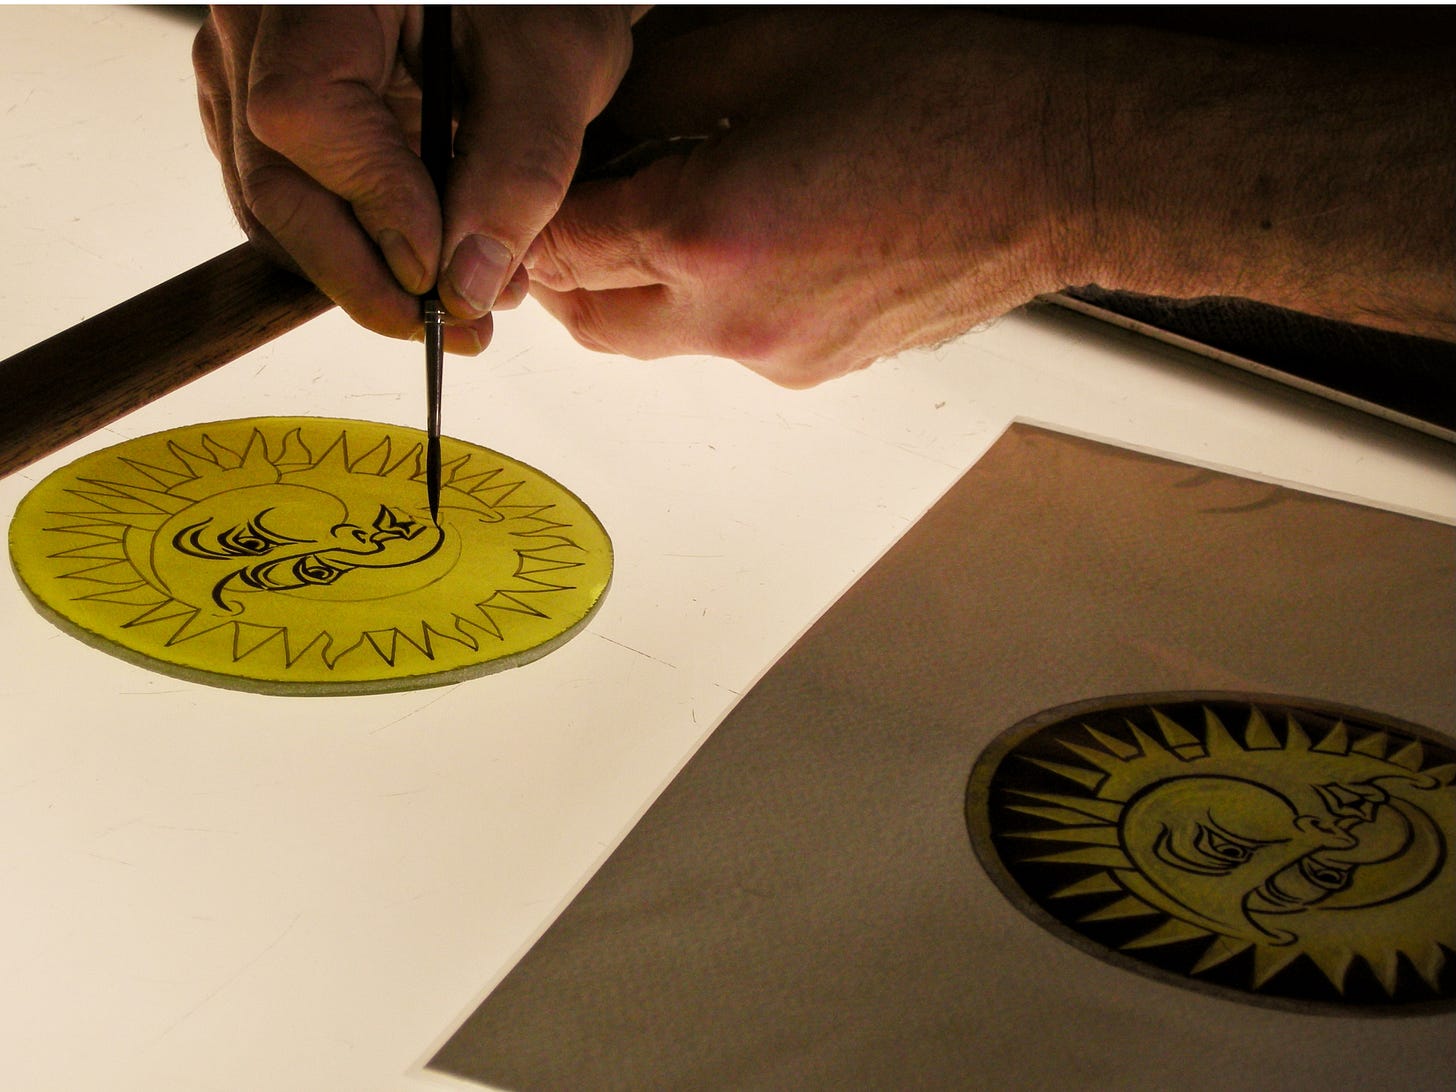
… then—this, a second, separate step—remove the design from underneath the glass, and reinforce those lines (and sometimes go over them a third time) till they became the lines which the eventual viewers truly needed, a process we call strengthening, the topic of this present letter to you:
I am prepared to bet my painting hand on it: my teacher never said it once.
Instead, lines—all lines: thin lines, thick lines, light lines, dark lines, regular lines and shaped lines—went down one after the other and in one go till every last one of them was in its place, the design still underneath the glass.
Why?
I never saw any of my teacher’s finished stained glass windows: it is possible that this was how he painted. His style.
A second hypothesis I have formulated is: it is possible there was no space to safely store unfired glass from one week to the next.
Please observe I am agnostic on this matter: I admit I do not know. Following an inflicted, cult-infected childhood, it is the way I find myself to be. Indeed, I like to say “I do not know—however I surmise that …”. It reminds me I am not compelled to believe the things which other people say, especially when they scream or weep or seek to throw my honesty or character into doubt. (Recall my reaction when confronted by the so-called proper way to work with silver stain. I was compelled by instinct to dismiss the experts and their books and find a different way, a way which worked for me—just as you should, once you have absorbed the points we have to give you while you seek to learn from us.)
This is why I am particularly exercised you do not make the following error of reasoning, for it would be grotesque:
Undercoat, then trace, then strengthen etc. …
This is how to paint for ever and a day.
That is, I don’t want you to elevate this sequence of letters and techniques beyond its proper station.
This sequence is but a guided introduction to the brushes, paints and tools.
No sooner have you spent sufficient structured time with said brushes, paints and tools than you are free to act in any way that works for you. (I am prepared to bet my painting hand that my first teacher did not say this either.)
Therefore to be clear: our studio’s in a lovely, desolate spot where, left to our own devices, we certainly do things in a thousand different ways and thereby paint a ton of weird stuff—as should every newcomer, if that’s the way he is inclined, after sufficient rehearsal of the techniques and exercises that we present in this and other letters.
Let’s therefore park the weird stuff and focus on the commonplace for now (though don’t take the “for now” as in any way promissory or contractual: some things are best kept to oneself if work itself is to stay in any way enjoyable).
By “commonplace”, I mean: undercoat, then trace, then strengthen etc.: it is an excellent way of learning.

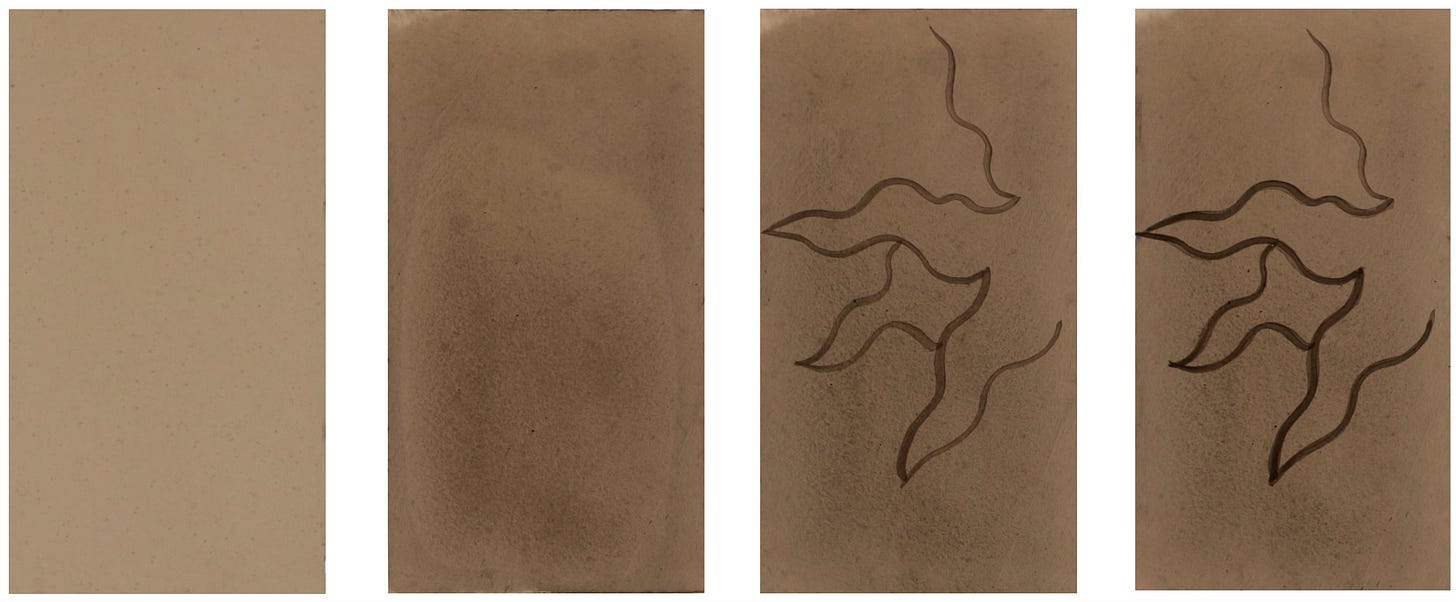
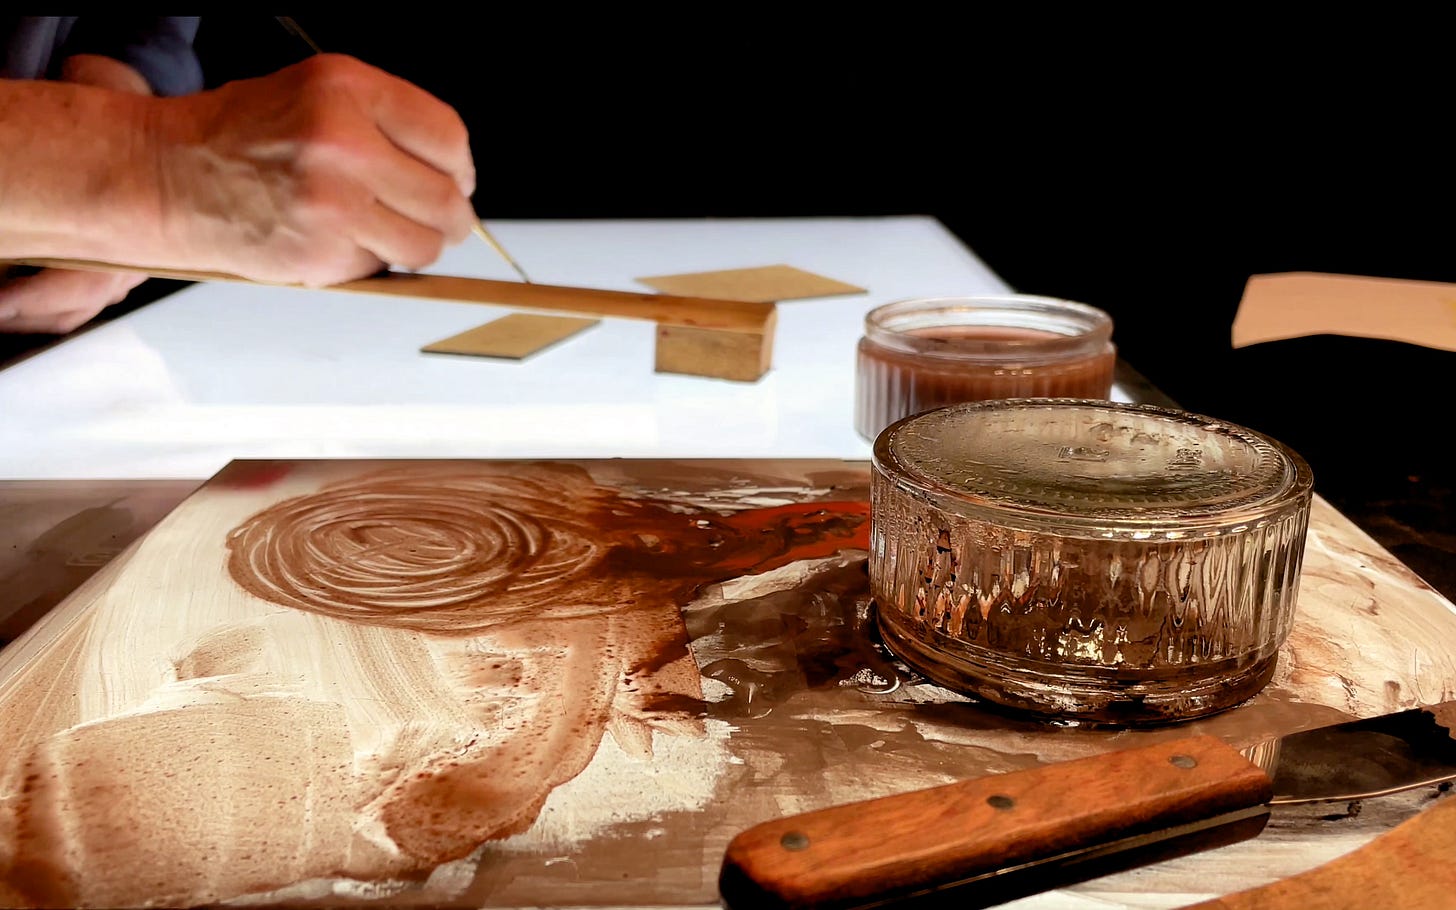
You know without my saying so, our habit is to use a test-patch on the light box and / or to use a “companion” piece (a fraction of the whole) in order to warm up as you see here—this time, warming up for strengthening:
In this case therefore the sequence goes as follows—it is the sequence of the colour of the paint I ask you to consider:
Now pause to think about it: the “strengthening” paint you witnessed in the demonstration—does it not resemble … tracing paint?
I think it does: don’t you?
And did we not remark, some weeks ago now, how “tracing” paint could often look like … undercoating paint?
I know we did. (Our basic instruction was, to take some undercoating paint and to darken it a little.)
While you’re learning, the high and purposeful standard we recommend is that you should make your strengthening paint a little darker than your tracing paint (and by that same token that you should make your tracing paint a little darker than your undercoating paint).
But it must be said (although it is not the kind of point my first teacher ever made):
Undercoats can be light or dark;
Trace-lines can be light or dark or thick or thin;
Strengthened lines can be just a little stronger than the trace-line or stronger by a mile, and they can be the same size and shape as the trace-line or a flowing, wildly different one.
Indeed, when your strengthening paint is really dark and really flowing, it can also serve for you to flood with, as you’ll see here towards the end:
Heavens!—this “strengthening” paint is as unlike tracing paint or undercoating paint as it is possible to be.
Yes, indeed, it’s how things sometimes are.
Strengthening paint is a range, just as tracing paint is a range, just as undercoating paint is also. It’s important you should know this.
Now to pull back and describe the path the newcomer should take in order to acquire the skill of strengthening.
The essence of our teaching method is, first, for you to experience the paint and brush and knife and process in their purest, simplest forms; and then, once familiarity and habit have set in, to add more variables to the mix:
Start with simple trace-lines on the light box which you strengthen. And repeat this many times, including highlights.
Proceed to simple lines on glass, repeating them as often as you need—there should never be a rush to build foundations.
Then practise with a simple design.
At first, the newcomer will perspire and fret to strengthen three lines accurately!
You would think he thought the world was ending …
In time, he’ll grow to tackle one hundred lines an hour without giving them a moment’s undue worry.
How to practise strengthening on the light box:
The newcomer’s most vicious obstacle—it is as if the Devil, who is an enemy of Beauty the same way he is an enemy of Truth, inserts this wicked, tempting thought into his mind—“An exercise as simple as this one is will never teach me how to strengthen”.
True—you must perform the simple exercise a multitude of times, and also pay attention to every moment (which the Devil loathes, because it makes you harder to distract).
How to practise strengthening on bits of glass:
The newcomer’s most vicious obstacle—but I am not so old I do not know that I repeat myself …
But what I say is true: thousands do not succeed to learn to paint stained glass because they do not start the way that we propose.
Yes, were you working in our studio, you would learn a different way, I admit it—you would learn by painting a thousand strips of border in one week, and hearing what we had to say about each one of them.
But we are here and you are where you are: therefore we must devise a way for you to learn and teach yourself which you yourself can monitor.
How to practise strengthening a simple design: first clean and undercoat your full-sized glass, not forgetting a small piece for its companion (which you saw us strengthen earlier).
Then trace the design which by now will be familiar to you …
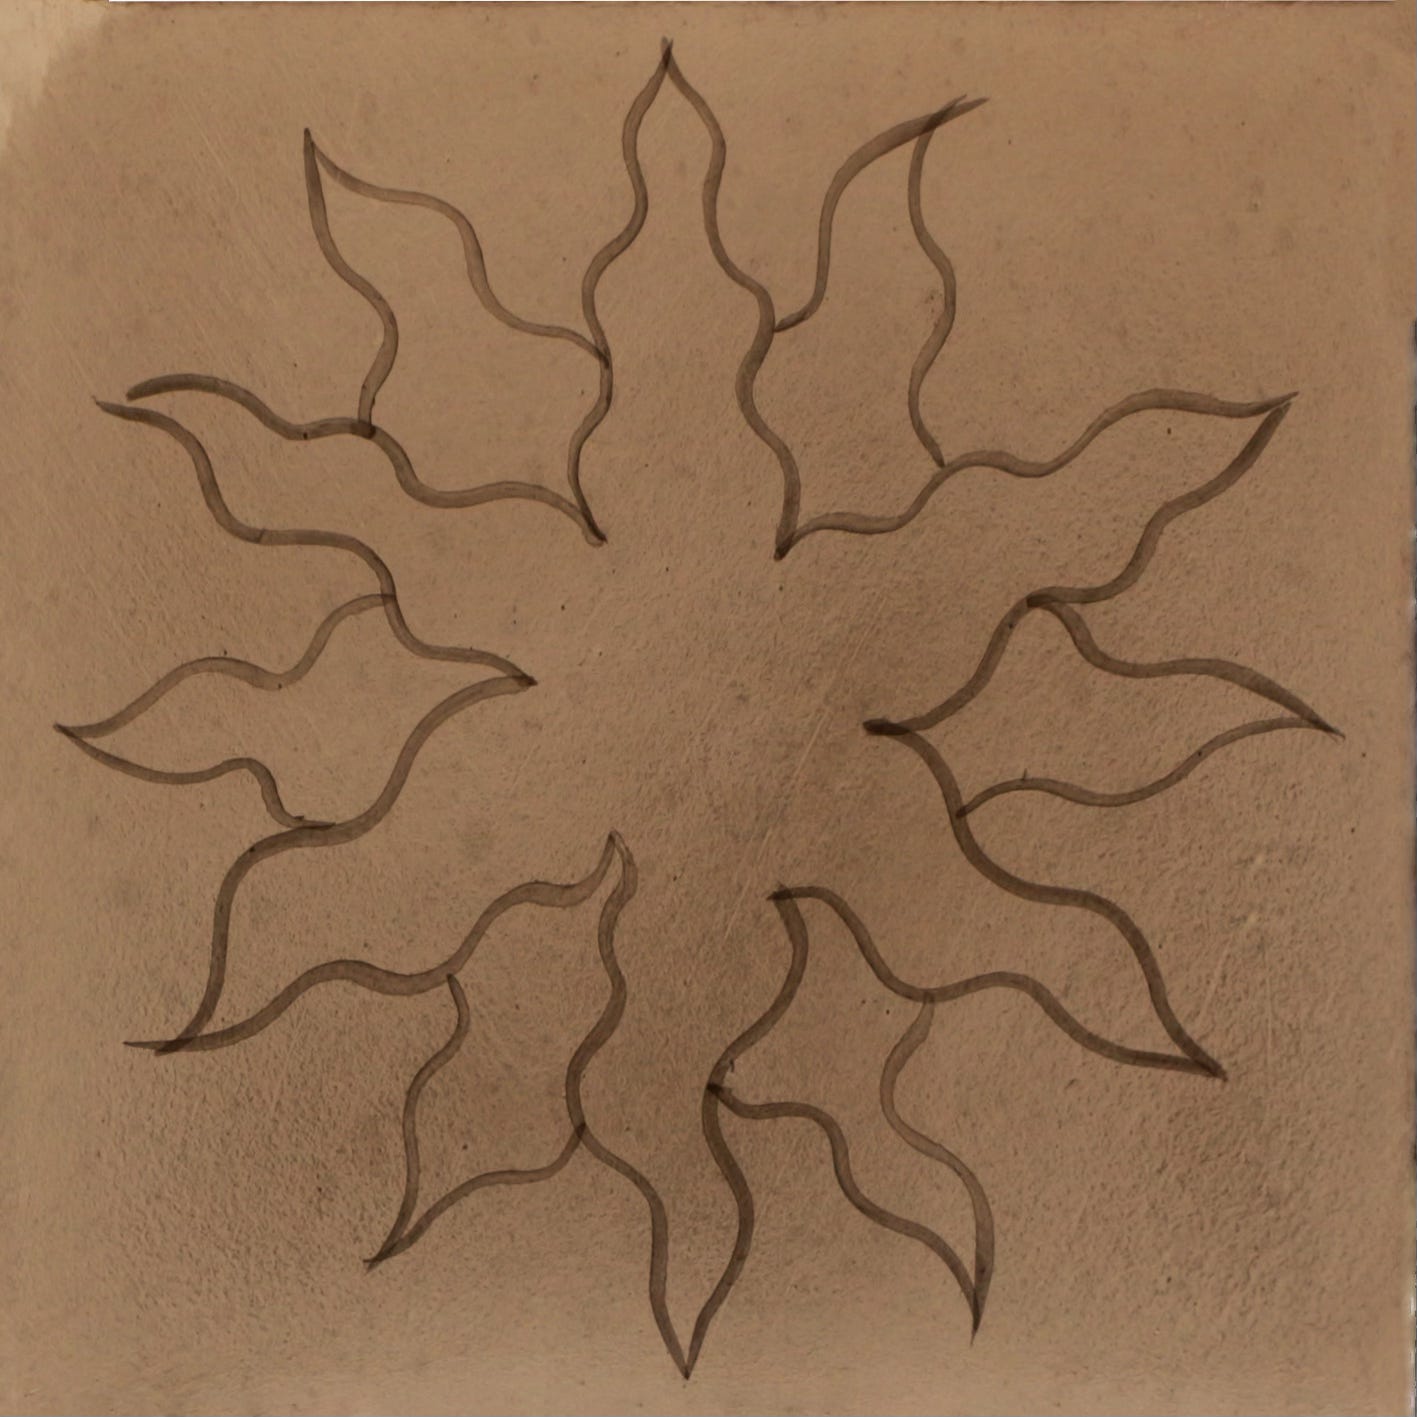
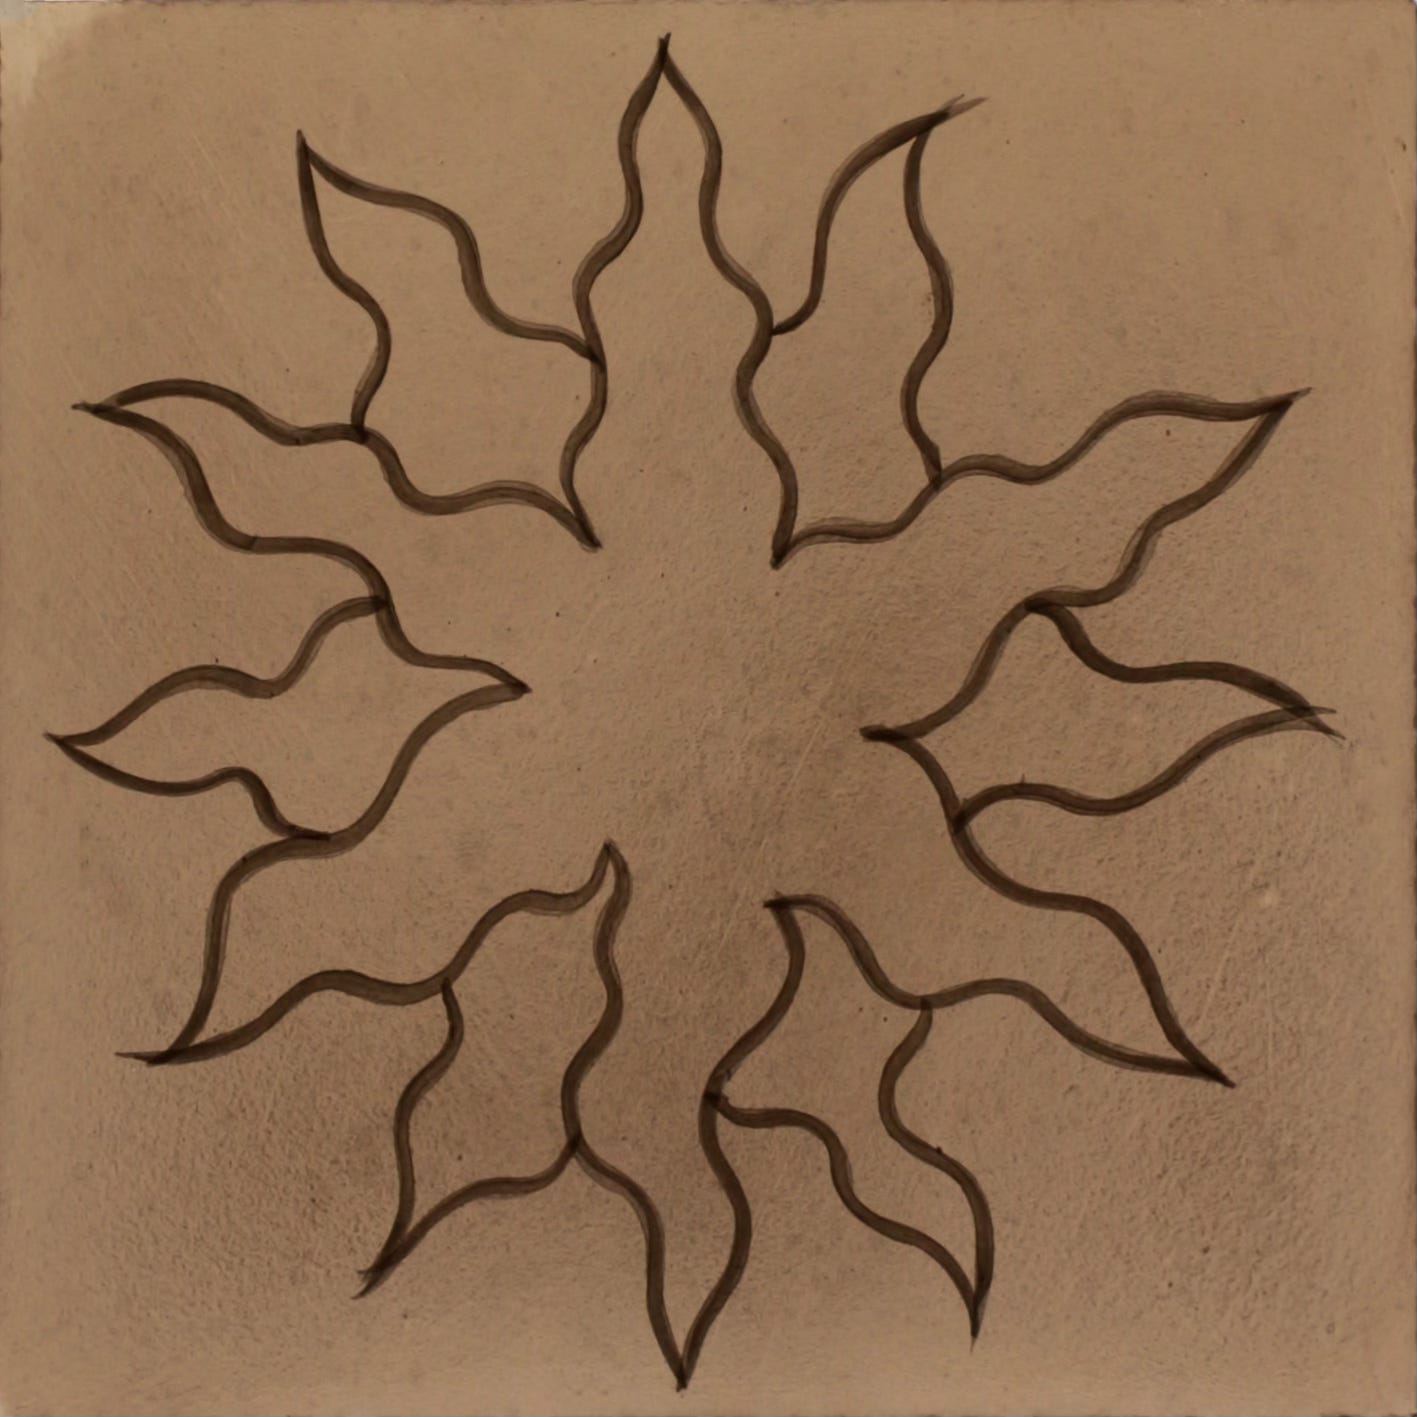
Here’s your target:
When companion piece and main piece are dry, practise strengthening on the companion, then tackle the main piece. Also give yourself a test patch (which we omit to do—tsk, tsk—in our demonstration).
Here are some points you might observe:
How to refresh the reservoir of tracing paint.
How to load the tracing brush.
How to move the glass so it is always in the best position for the line you want to paint. (It’s fine and usual to move the glass for every single stroke.)
How to hold the bridge.
The pace of tracing.
A crucial point: what do we often do to get the paint flowing? Answer: watch the “false starts” …
These “false starts” use the absorbency of the two layers beneath (undercoat and trace-line) to suck paint into the brush’s tip, where your paint can now do the work you want it to.
You also use the “false starts” to confirm that the colour of your paint is as it should be, and that your eye is exactly focussed on the line you wish to strengthen.
If you expand the video to full-screen, you’ll likely find it easier to see what’s going on.The tidy-up of brush and palette at the end.
Here’s your target:
Some distinctions:
Flooding must be fast or else the paint will congeal before you have the time you need to spread it. Hence flooding paint must be runny (but not so runny that you cannot carry it and control the way you bring it down onto your glass.)
Tracing can be fast or slow. However, if your paint forces you to trace quickly, you can infer that it is likely wrong. My proposal is, you must be able to trace slowly (your paint must permit it), if you choose to: that consistency of paint will assist you in your pursuit of dry, light lines (which is your target while you are learning).
Strengthening is always a bit slower than tracing: there’s more drag on your brush, and more dried paint beneath your brush to suck its moisture. This means you load your brush more often than when you trace.
“How do I know how thick and dark to make my strengthened lines?” The only way is through experience.
Immediate experience in the shape of testing on your test patch or on your companion piece.
Preparatory experience which you accumulate by making test pieces which exemplify different ways of painting a particular design: when you’re happy with one particular approach, you then proceed to paint the piece “for real”—as it were, a live performance, after much rehearsal.
Accrued experience, “life experience” if you will: for days, weeks and months, you live with what you’ve made, observing it in different lights, against different backgrounds. You might make the pieces into windows: something that looks fine to you in the full blush of youth might grow to seem less satisfactory as your sense of triumph wanes. Or, indeed, the other way around. You observe and slowly learn whatever lessons your eyes and soul can glean.
We all need experience because: that a strengthened line works “perfectly” on your light box is by no means a sure sign it will work beautifully surrounded by 50 other bits of painted glass, all encased in lead, and against the natural light. Our brains must learn to see things differently while we strengthen—similarly to how we have long learned to see distance and perspective.
By failing and succeeding you develop a sense for will be required from any line, so that it holds its own.
To say it again: this is a wonderful way to learn, or—indeed—to improve your skill with brush and paint.
But how you paint “for real” will be settled by such factors as the design, the glass, the window (its size, its position), the building, and the light. Until you’re faced with the specific situation, who knows what you’ll do?
I chose to keep this letter open to all subscribers, not just to those of you who pay.
Therefore, when the series ends, what I’ll do for those of you who pay is, I’ll assemble the letters within a PDF and Kindle-ready ebook, along with a handy index whose items will be hyperlinked to the ever-growing catalogue of videos. This will be free to paid subscribers (along with other bonuses yet to come).
Godspeed till next we correspond, a fortnight hence.





I have to ask, maybe I'm missing something, but my own admittedly limited experience leaves me unable to understand things like this: "...when your strengthening paint is really dark and really flowing" and "strengthening paint is as unlike tracing paint or undercoating paint as it is possible to be" and "flooding paint must be runny." If I start with what I'll call a "standard lump" consisting of pigment and gum arabic and water or glycol or some liquid or other, then the only way I know of to change how it goes on the glass (light, dark, runny, whatever) is to vary the amount of liquid I add to it. When I make it "really flowing" for example, it's automatically not "really dark." If I make it runny enough to stay wet while flooding a large empty area, then (again in my limited experience) it's too thin, i.e. doesn't have enough pigment, to be opaque in one coat, at least not consistently across the whole flooded area. Do I just need to practice more, or is there actually some difference in the lump itself, or have I just not found the sweet spot where every physical property of the paint comes together in a fine balancing act?
Yes, McGilchrist is provocative. So happy to learn you followed up with him. I am working through his book, The Master and his Emissary. Much to ponder.