Before we start, we must jump forward to the end, then backward to the beginning, and then I promise you we’re good to go.
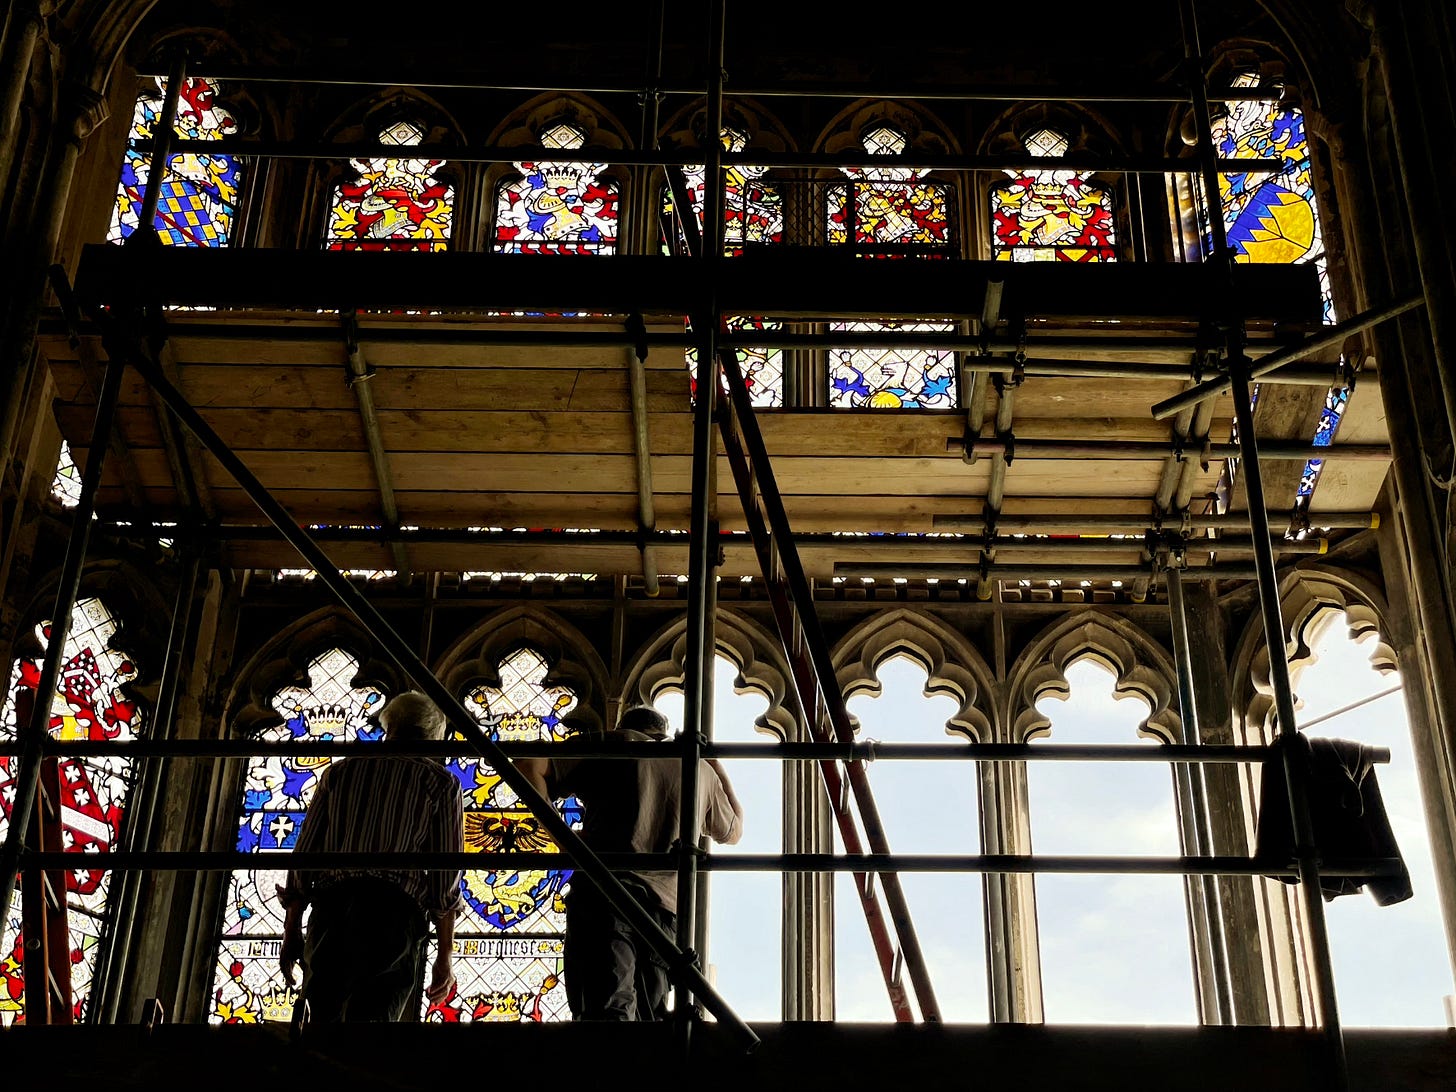
Forward to the end: the ancient stained glass windows, the details of whose restoration you are reading, will be double-glazed.
Indeed, the four remaining openings you see below are already mortared in with sheets of toughened glass:
(And, goodness me, there’s a wild story for you there—just wait and see: it turned my stomach.)
Thus, while the English heavens might often open, neither a drop of rain nor a gust of wind can touch this restoration.
Backward to the beginning: our method, you will remember, has been to relate the story of just one section of just one window, thereby nominating this 1/36th fraction to represent the set. (Full series of letters, here.)
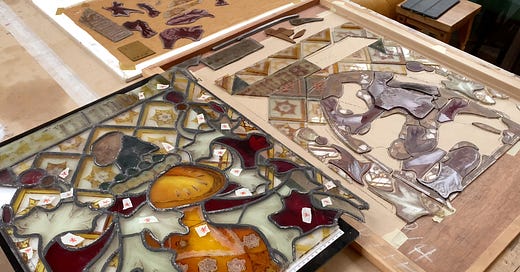
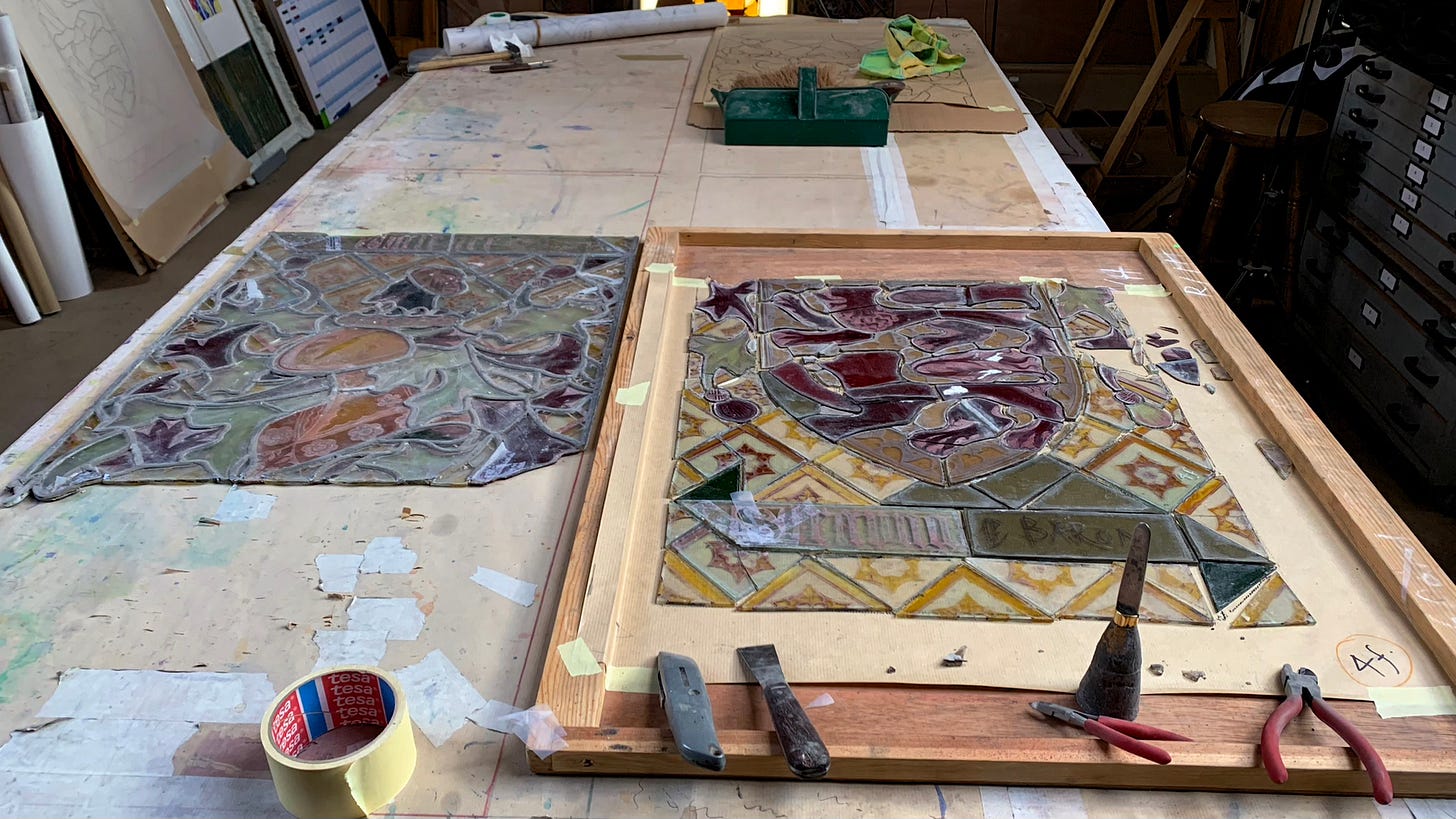
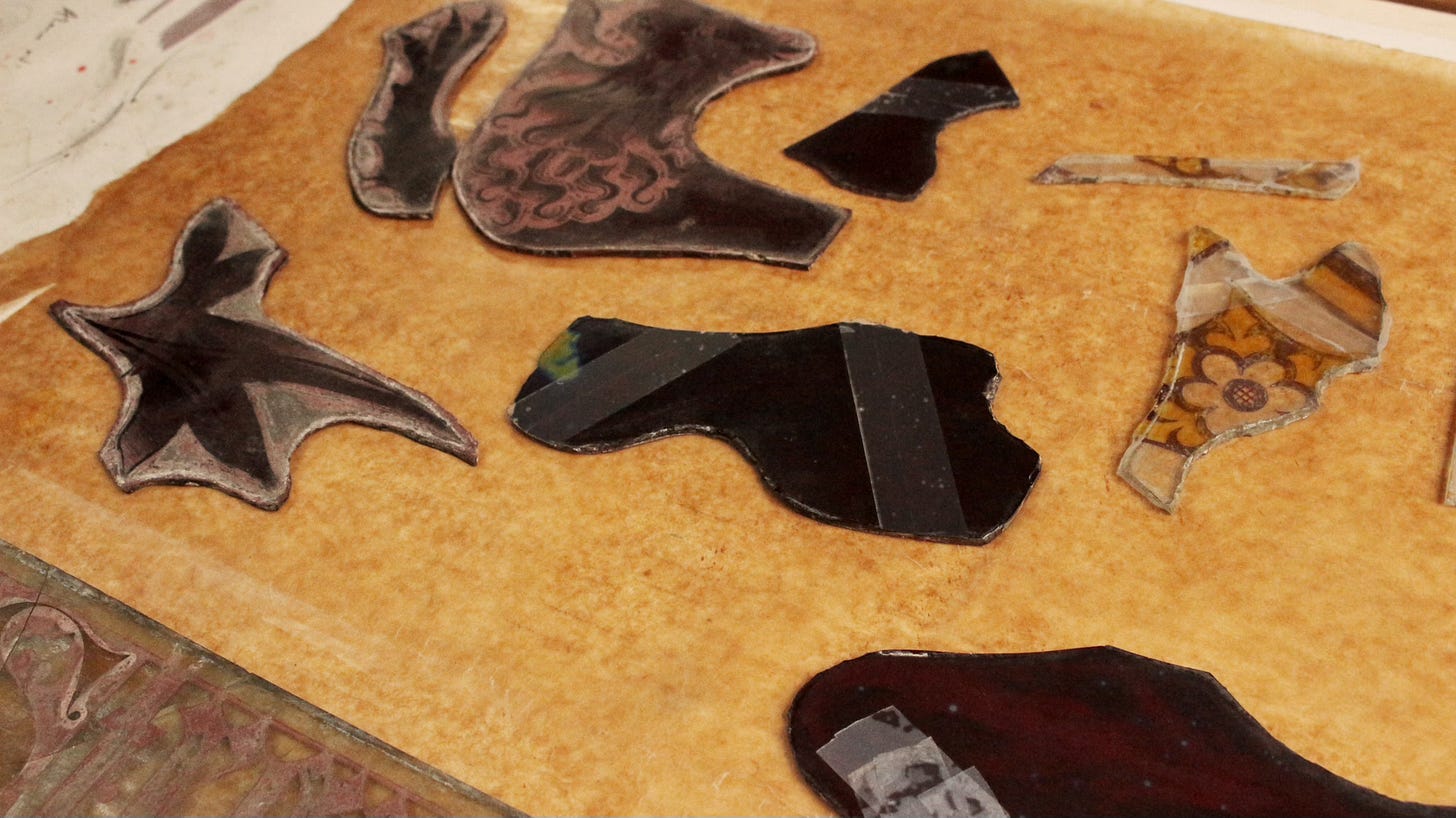
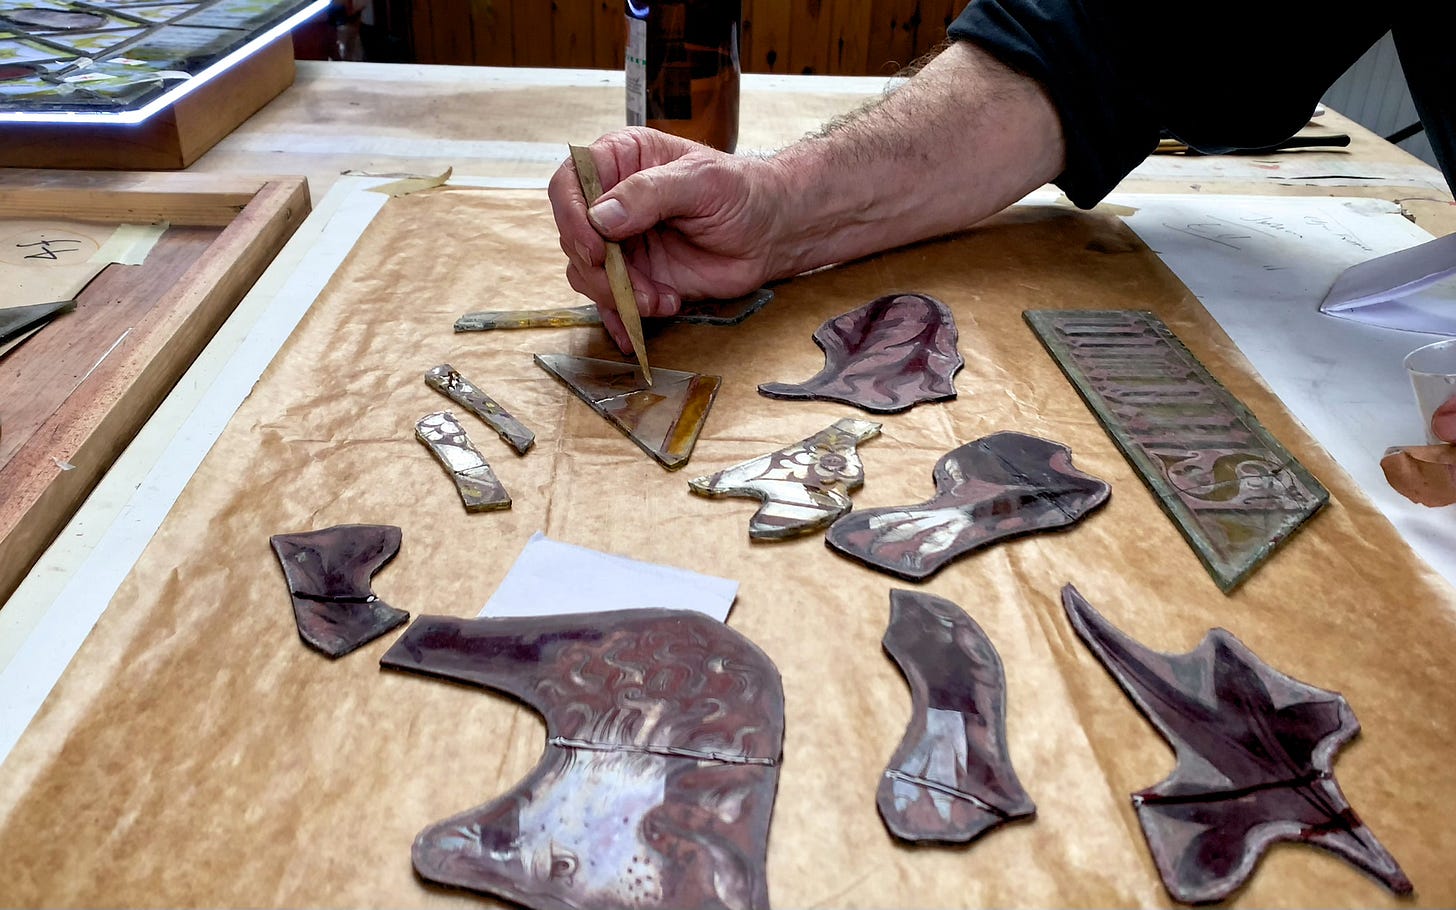
That said, whilst not every section had to be stripped down, the bottom-half of this one did, which process left it disassembled, though organised, on a tray:
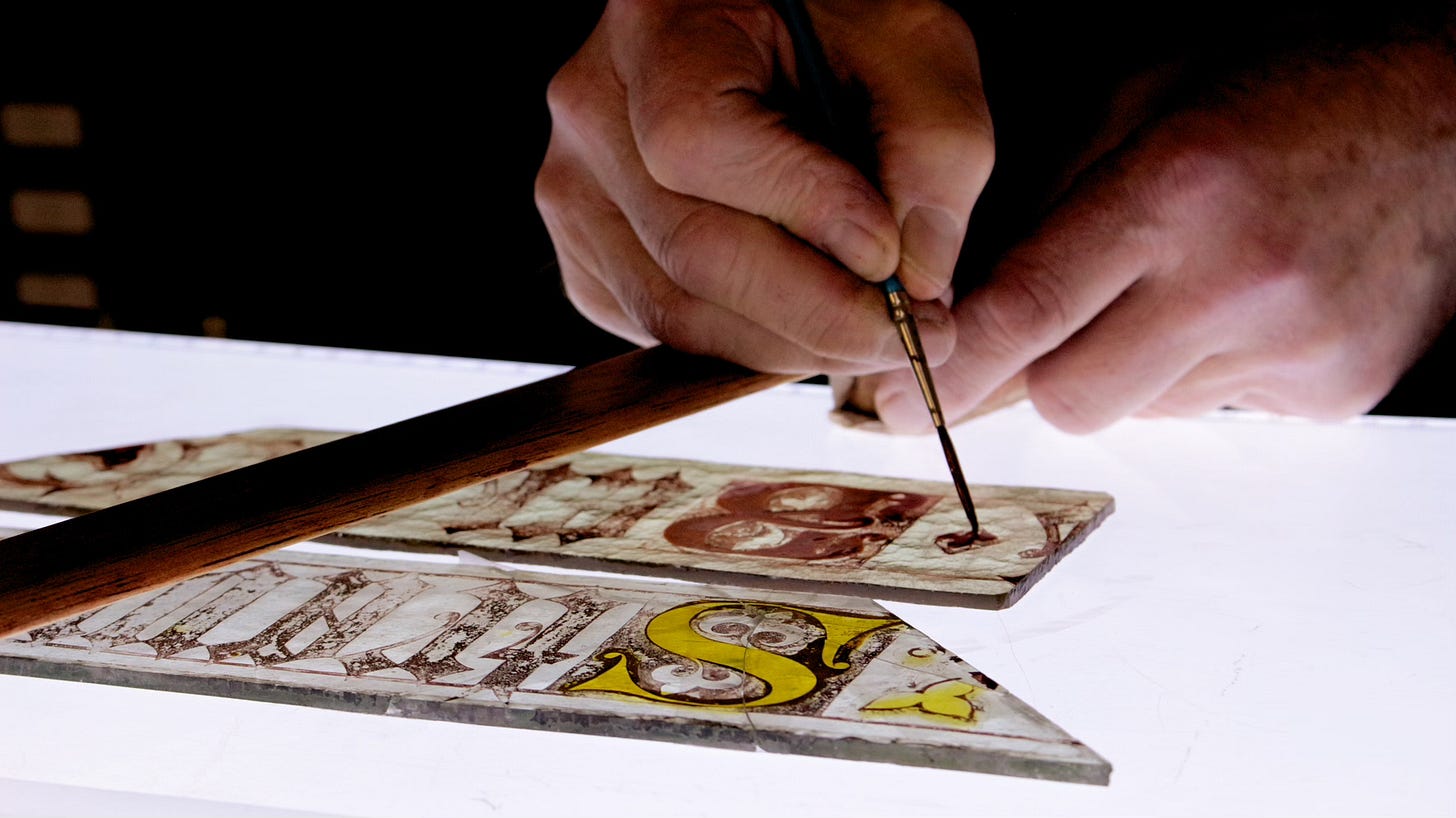
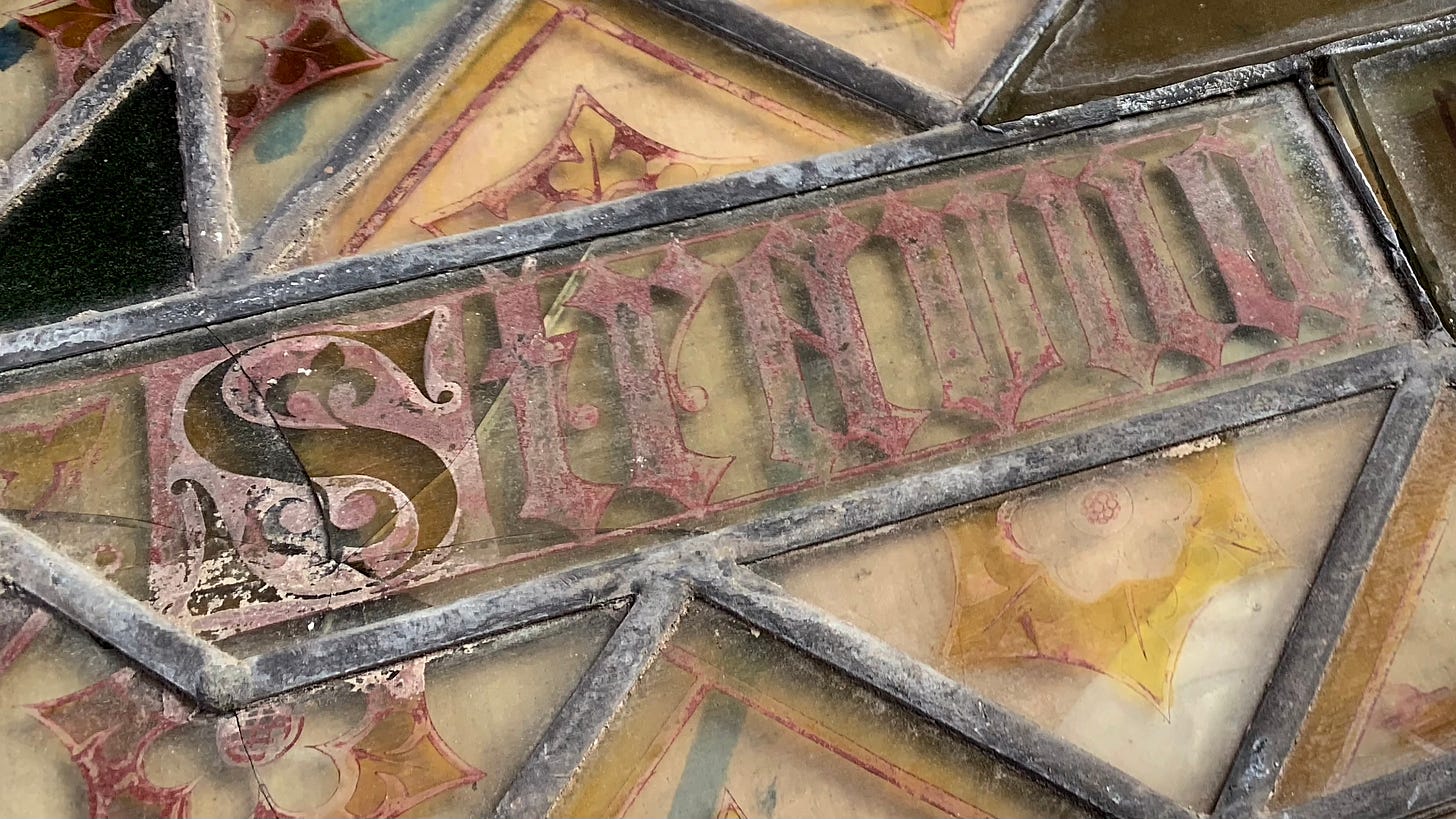
Because a lot of glass was simply missing, there followed many re-paints, most recently an inscription:
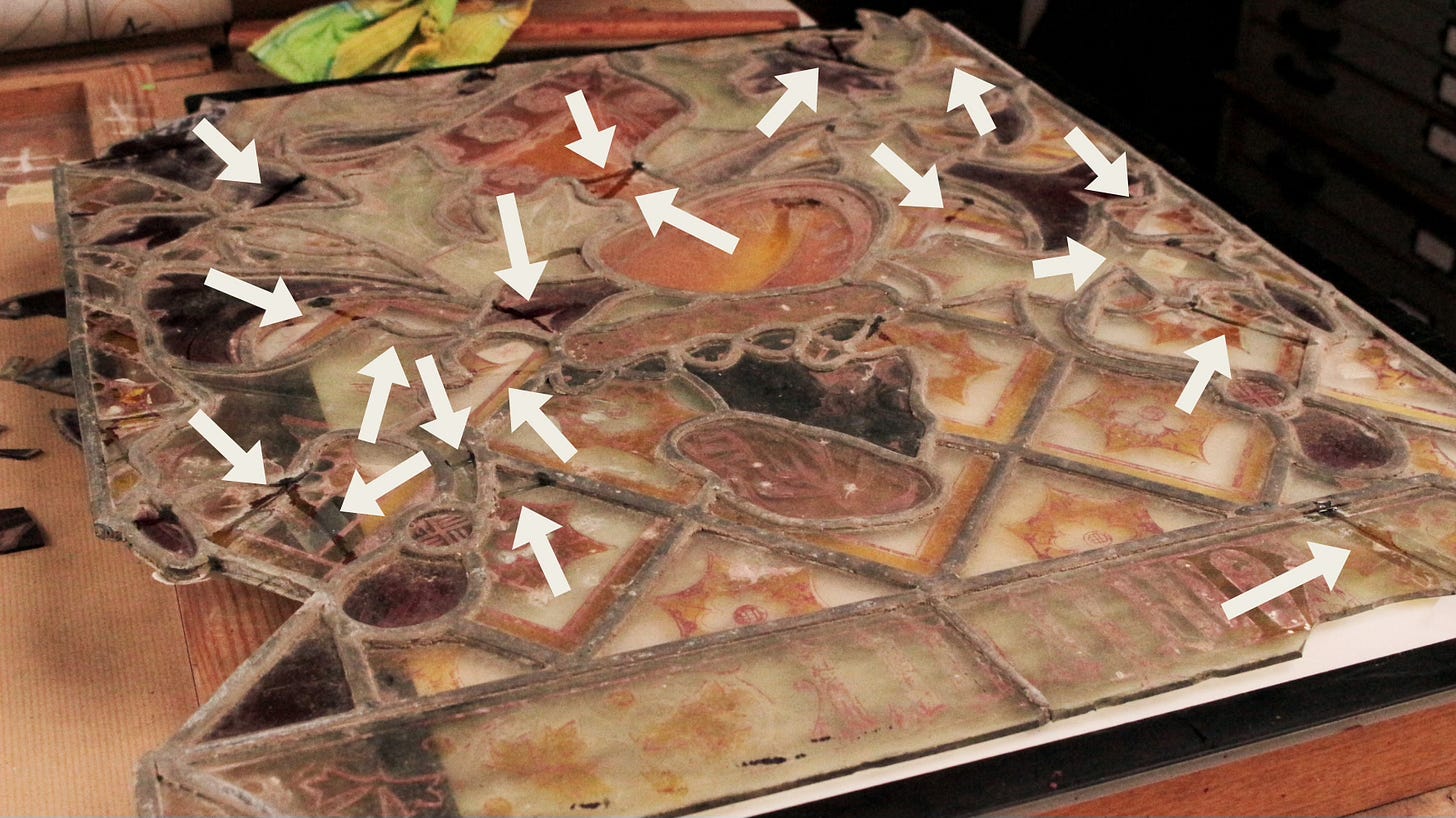
A lot of glass, however, was available but smashed:
Therefore onwards to the task of gluing, which the Elevated call “edge-bonding”—I don’t know why, though I wonder if such language commands more prestige, which has never been our interest.
The vile putty straps were our first concern. It was a mercy they did not fight to stay in place. But then they rarely do—putty straps are not usually as strong as they are ugly:
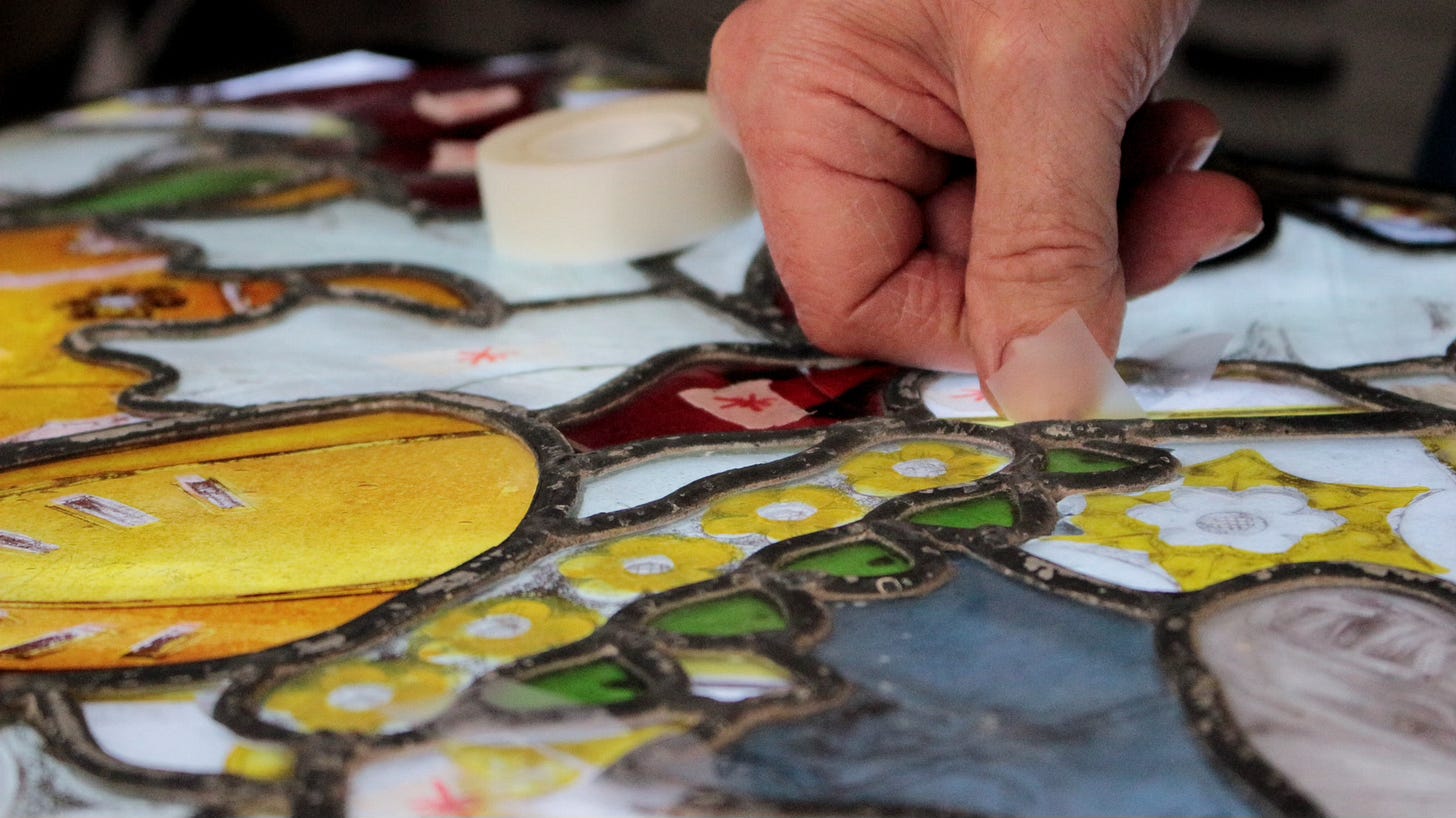
Next, on the light box, with the leaded glass now turned paint-side down, we found each break, used acetone to clean it, sealed it with a strip of low-tack tape, and, to help identification later on when we’d be gluing on the other side, marked each separate piece of glass with a scrap of masking tape:
Even so, we missed a break:
It was bottom-left.
But we spotted it before the time arrived for us to work with glue.
It was the same procedure for the disassembled pieces from the window’s lower-half, except that, since there was no doubt they needed gluing—how could there be?—there was no need to mark them with a scrap of masking tape:
Every piece was also cleaned with acetone on front.
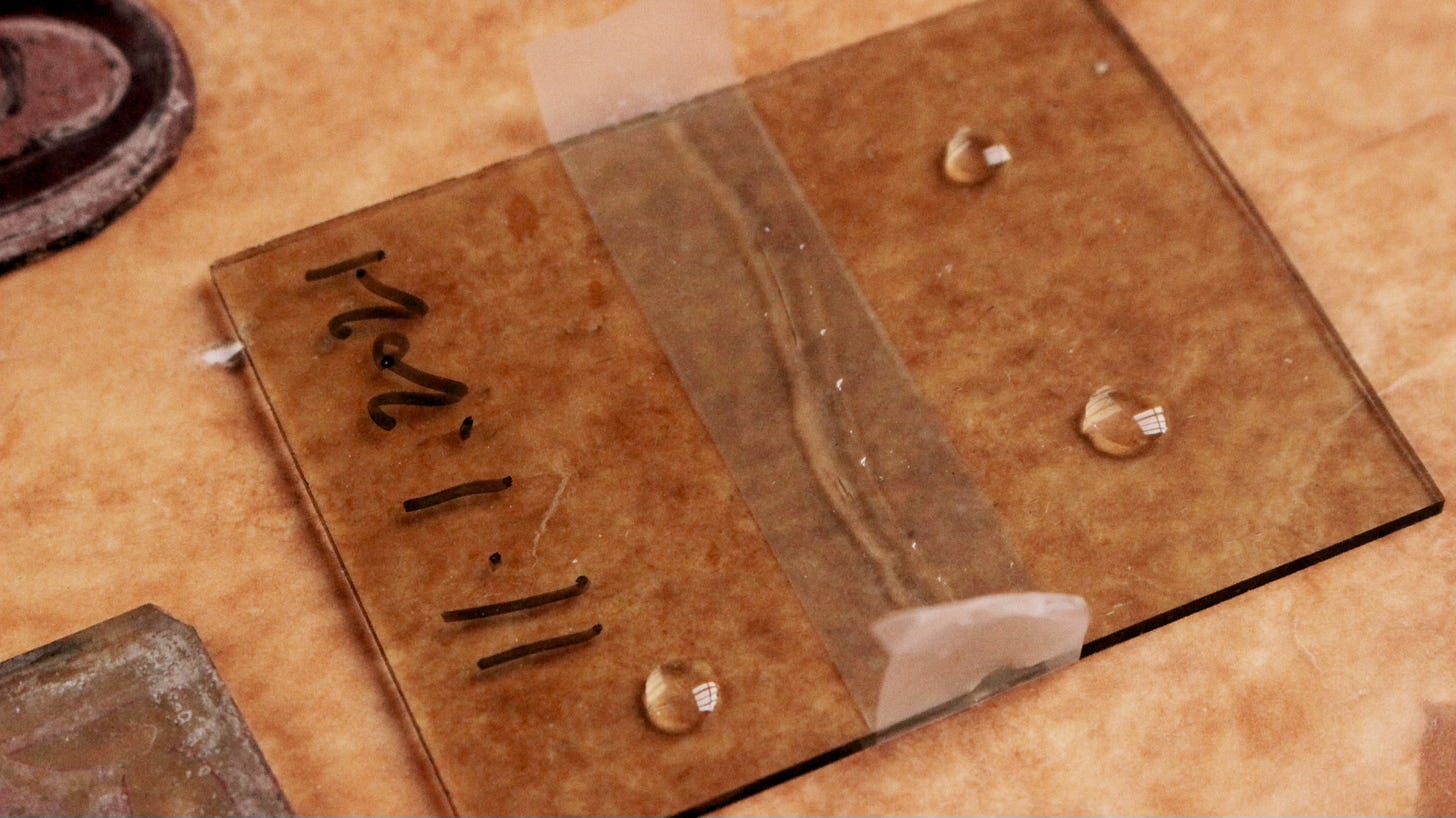
Next we took a piece of ordinary glass, ran a length of tape across it then cut across the other side—it’s easier in that order:
We did this, more for peace of mind than certainty, so that we had some broken glass to glue and test.
Now, ready to begin, we weighed the glue—Araldite 2020, an epoxy (as opposed to silicone: don’t ask), requiring 100 parts of resin to 30 parts of hardener—and mixed it thoroughly:
We applied glue to the breakage in the test piece, and also added spots:
Then onwards to the broken ancient glass. Although it wasn’t necessary with these pieces, sometimes—for instance, when the glass was rippled—we’ve used warmed dental wax to make sure that broken bits of glass stay still and close together. This glass was flat, and the tape held it together.
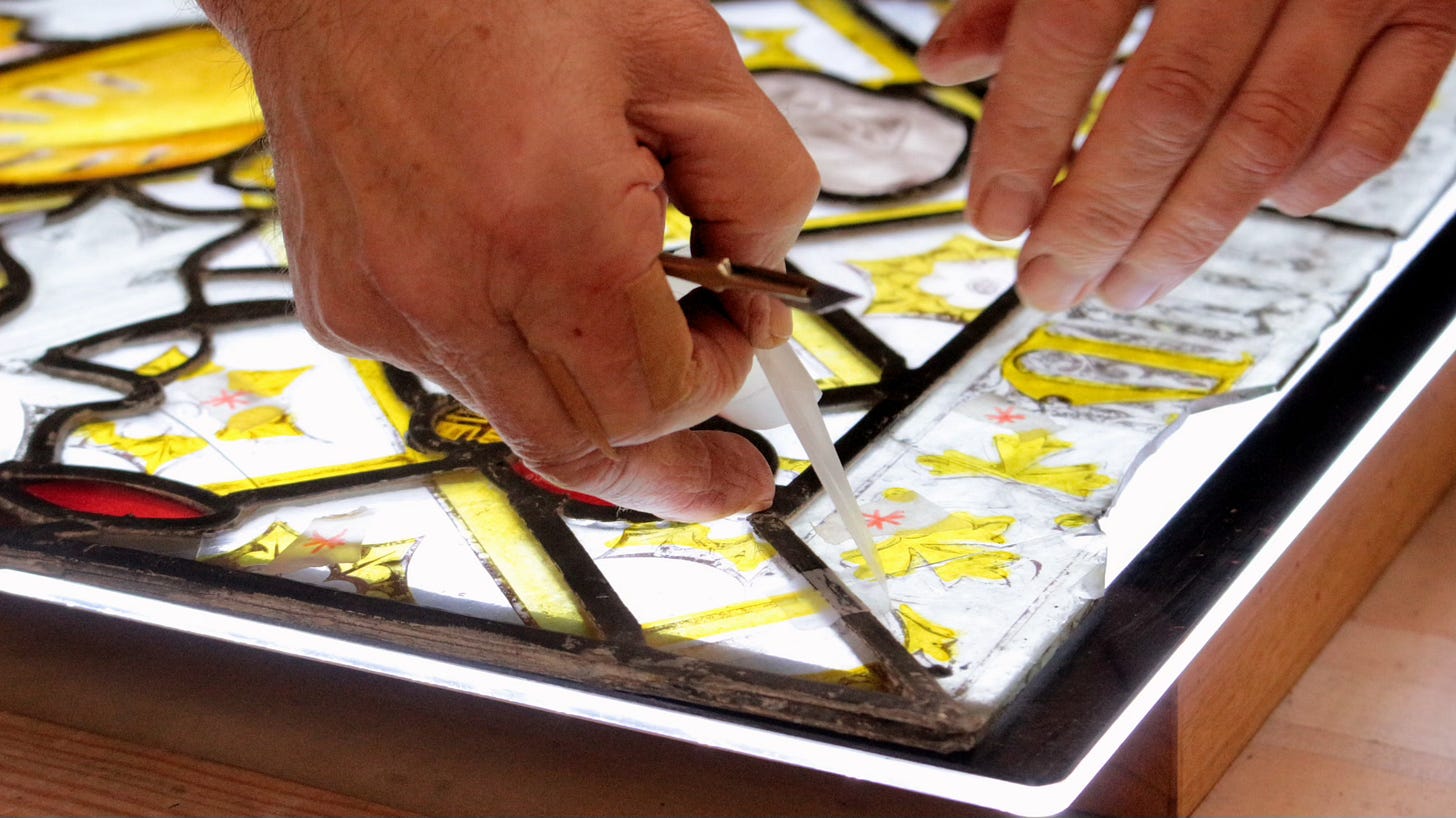
Our practise is to apply enough glue across the surface of the breakage that surface tension can suck some down into the crack before the glue has time to set, where the low-tack tape beneath will stop it simply running through:
Remember, all the broken glass had earlier been de-greased with acetone.
Then we left the glass …
… to work on other matters:
Since we’d started first thing in the morning, we could check our test piece before we left for home that night (though much good would it have done our sleep had we then discovered that the glue remained as liquid as the moment when we’d applied it). And—no reason to have imagined otherwise: with excellent scales, we’d measured the glue by weight—it had begun to set:
It’s encouraging to end one day, looking forward to the next.
On the second morning, we verified that the excess glue scraped cleanly from the test piece’s break:
We also checked how well the broken glass seemed glued—gently, and mainly out of curiosity. Whilst 24 hours is our glue’s documented setting time, the result also depends on temperature and humidity. That’s why we gave the process extra time and, although wind and rain will never touch this glass again, made sure there never was a need to rush.
The glass felt fine. This provided us with confidence for our next task, which was scraping glue from all the breakages, and cleaning them:
That done, we once more returned to other work, coming back only the next day to remove the tape:
That left one final job, before starting over again with our next batch of gluing:
A wry memory I’ll share before I say goodbye. We were once accredited to a illustrious society for conservation.
Every three years, in order to maintain our badge of honour, we had to re-apply for membership.
This meant reporting on a recent restoration project we’d undertaken, and supplying the client’s contact details so that the client could be interviewed and our submission thereby verified.
The second requirement had always been a burden. Many of our clients had armed security: it was difficult enough for us to talk or get to see them. Fat chance therefore that they’d take a random call, or that their computer network would even permit an unsolicited email from some could-be-anybody-with-no-sense-of-urgency and likely no-sense-at-all-for-how-to-build-a-business.
Then one year we learned the first requirement had changed. Henceforward, no photographs would be permitted in the report: everything had to be described in words.
How about “Shan’t”? I ventured.
Back then we had more years ahead of us than we do now, but even then we didn’t have enough of them to prepare dense paragraphs of dry prose for Administrative Man, as opposed to working with our hands.
We therefore allowed our membership to end.
What’s more, my gentle reader, we flourished to tell this tale (although those whose days consist exclusively in gluing will no doubt bristle at my casualness: “no masks? no gloves? no temperature control? and where’s your isolation chamber?”).
But just imagine if these letters to you contained nothing but my words.
Oh, I know, I know, my style is irresistible. Yet photographs do help.
Next time we’ll talk about techniques again. I’m in two minds: it’ll either be strengthening, or softened highlights.
In the meantime and forever, we wish you all the best.
P.S. as the therapists always say in those YouTube videos we can’t help ourselves but watch to check our bestie’s not a serial killer, this letter was for information purposes only. If you think your glass needs edge-bonding gluing, consult a professional. Besides, given the choice, we prefer to paint.





Hello, Sylvie - The glue we used is called Araldite 2020. I'm sorry I don't know of suppliers in Canada or North America in general. A different epoxy is called Hxtal NYL-1 which I am as sure as I can be you will find in your country. Here also is a link to an article you might find useful because it's important I tell you we aren't experts with glue - we only follow the instructions. Many other people (some of whom read this newsletter) know a lot more than we do. If any of them read this comment, can they please say something (Hugo!). Anyway, here's the link: http://www.buildingconservation.com/articles/stainglass/stainglass.htm
I'm sorry I don't know the answer to your question, Chris. Although this article doesn't answer it either, you might find it useful: http://www.buildingconservation.com/articles/stainglass/stainglass.htm .