Techniques
Letter 8: tracing - the name contains a clue
So obstinate is my desire to keep tracing inside the small (although admittedly important) box where it belongs, that, no sooner do I announce it as my plan to at last discuss this topic with you, I immediately delay the start of my discussion so that I might resolve a matter arising from an earlier letter which I judge more important.
“More important than tracing?” the newcomer exclaims, who then collapses, whimpers, trembles, although eventually continues:
“Last time you distracted me with your tale of silver stain combined with honey.
I admit I was amazed.
But this does not give you license to stir my hope then trample it underfoot as if it were a worthless bauble and I a nincompoop or dandiprat.
This is your eighth letter on techniques—and not a word so far on how to trace. Good sir, I warrant that your pace and process are most unusual.”
Indeed they are. Yet this is not to say they are ill-judged.
For you will soon discover that your hard-won confidence with paint, palette, knife, bridge and badger, not to mention your skill with cutting stick to highlight and with tracing brush to flood—have as if wound the clockwork spring within you to a perfect tension, and also cleared a smooth and lovely path before you.
Be patient therefore just a moment longer. You are in a place to learn to trace if not within an hour then surely with a day or five’s hard work:
Besides, the proposed adjournment is not sine die; it is simply for eight intriguing paragraphs, as you will see.
This matter on my mind is consequential—that’s why it cannot wait: simply because I have proposed (see letter 6) that the newcomer learns flooding as a means whereby he might shed fewer tears when time comes for him to learn to trace—I do not wish you thereby to imagine that flooding is an inferior technique: a garnet, as it were, by comparison with the priceless diamond that is tracing.
For inferior it is not: inasmuch as you have any interest in traditional stained glass painting and traditional stained glass design—traditional as opposed to that hopeless barren modern idiom where practitioners drip and splatter enamels on once-lovely glass, then immunise their lack-of-talent through some swelling and pathetic artist’s statement—flooding has the capacity to make or break your painting in a way which surely takes us back to your design and how your design instructs you where to cut the glass which you will paint on.
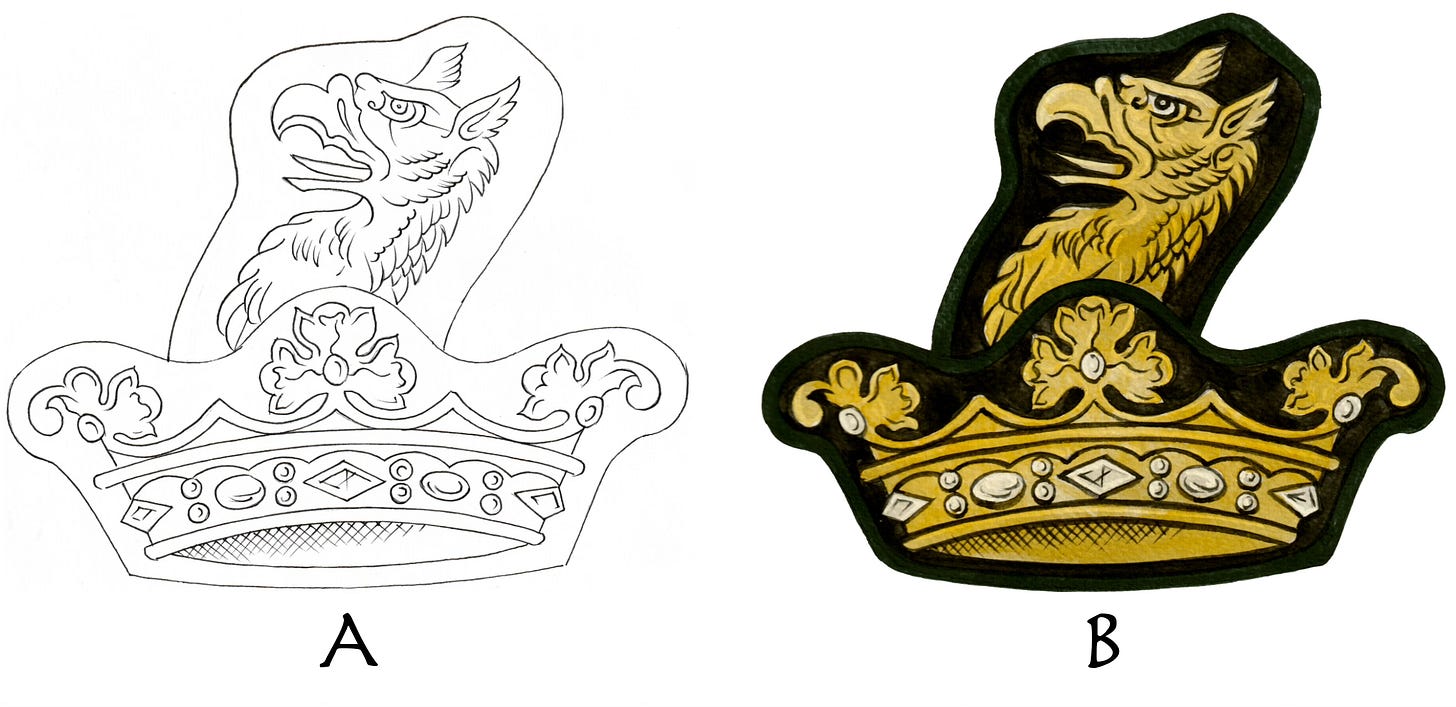
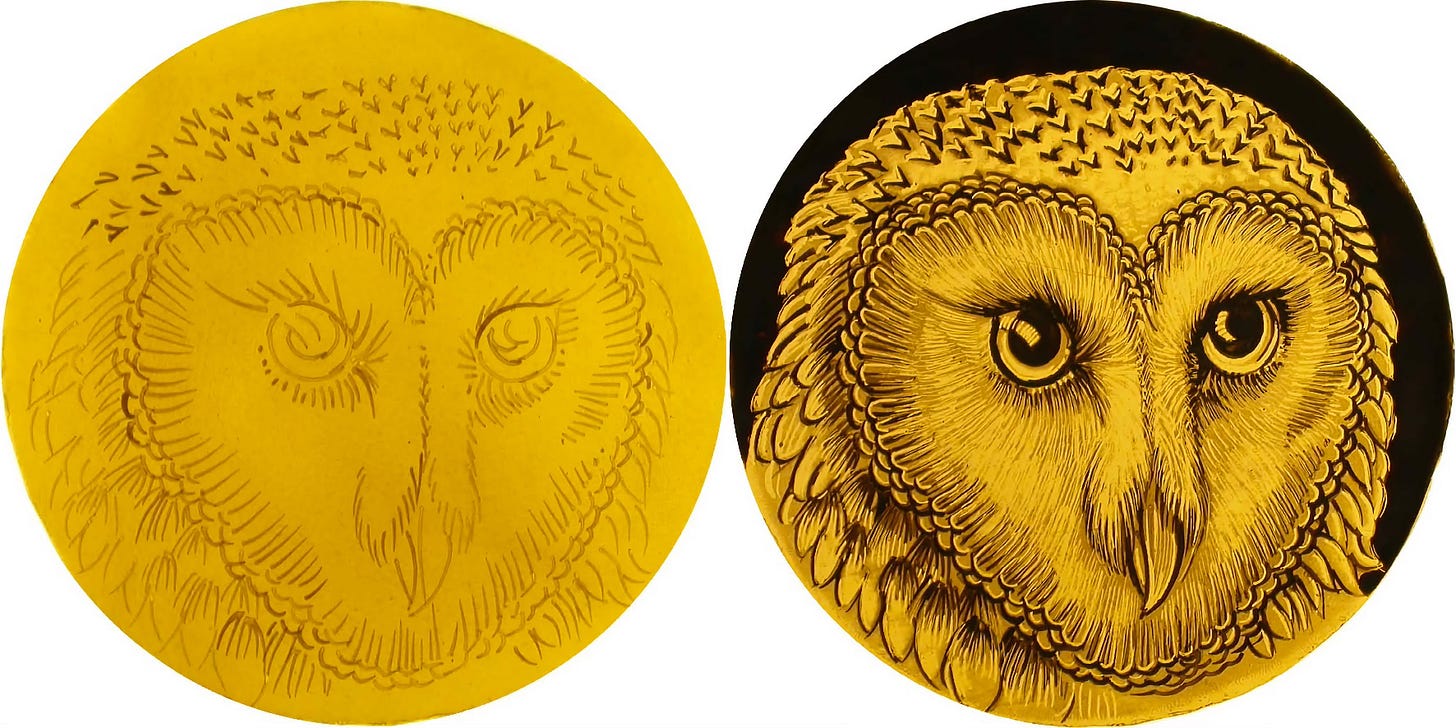
Look at these two images which I place before you now:
Figure A, suitably enlarged, indicates how to cut your glass and also how to trace it. Figure B evokes the finished painted glass—the lines put in, with ample flooding all around the edges. Everything appears in order. We hold high hopes the painted glass will therefore be spectacular.
Now I ask you to imagine the impression you’d experience were the painted outline brought significantly closer to the glass’s edge, that edge now trimmed to follow said outline in close detail, and with the quantity of flooding thereby diminished.
To my eyes, the effect would be disastrous and cramped.
But sadly legion are the churches I have visited where saints’ heads seem lassoed by the surrounding leads, their hands likewise lashed and trussed as though their owners were engaged in a freakish or prohibited activity.
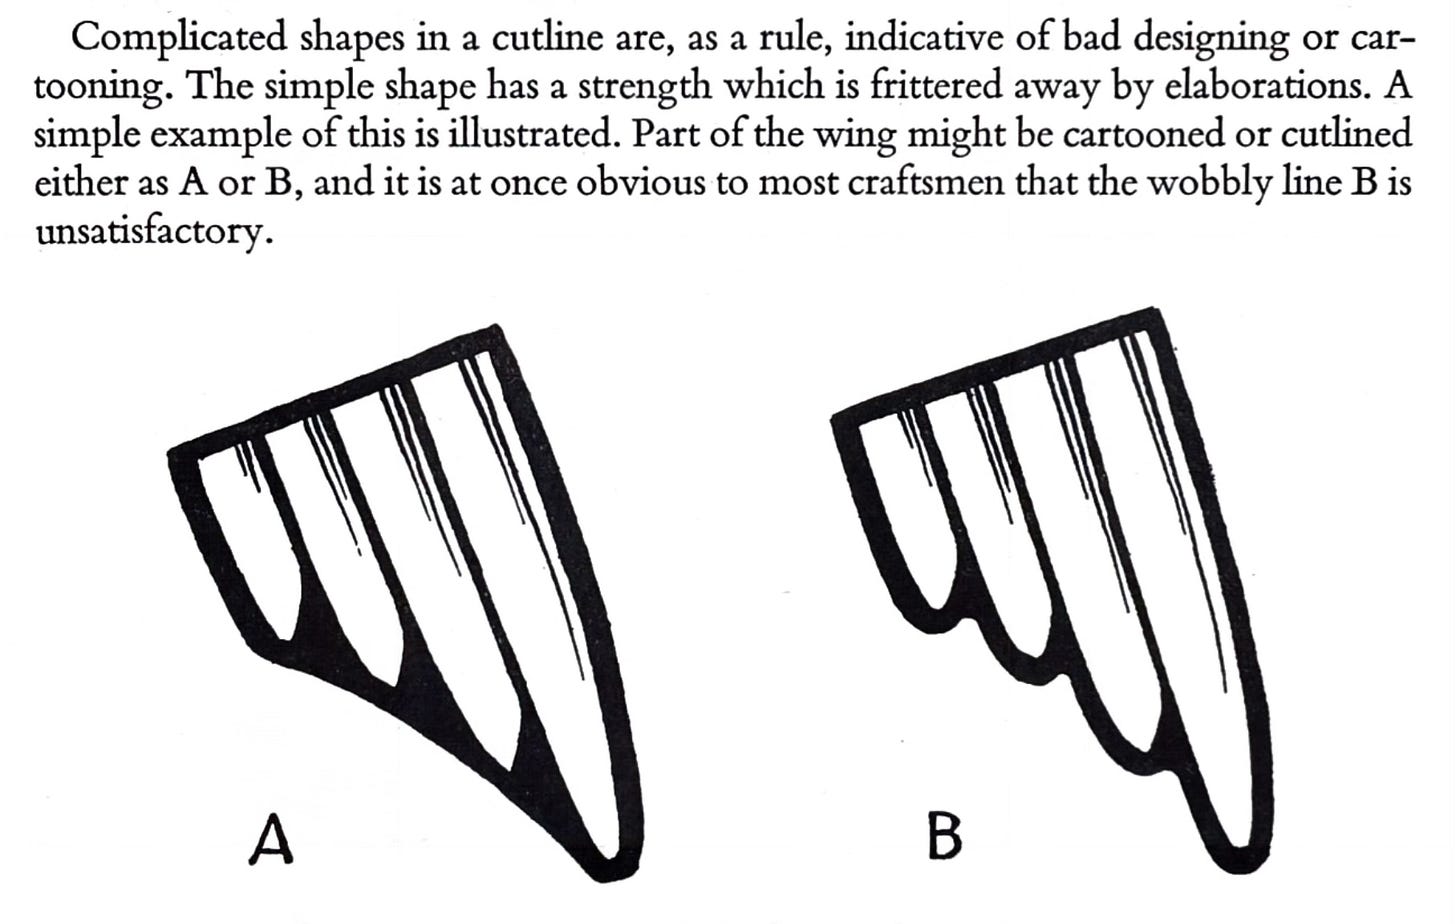
Nor is the simply my opinion. To quote a trusted source from that now distant time when trust was earned, not demanded from you as a feudal baron extorts fealty and tribute from his lowly vassals:
I doubt, alas, that this point is truly obvious to most craftsmen, or else I would not suffer the way I often do. Therefore I implore you to simplify your cutting and let flooding play a helpful and expanded role. Flooding is a diamond amongst diamonds, despite the expedient role it’s served in bringing you thus far.
I am now happy to move on. Time for a moment’s celebration …
… for then the work begins.
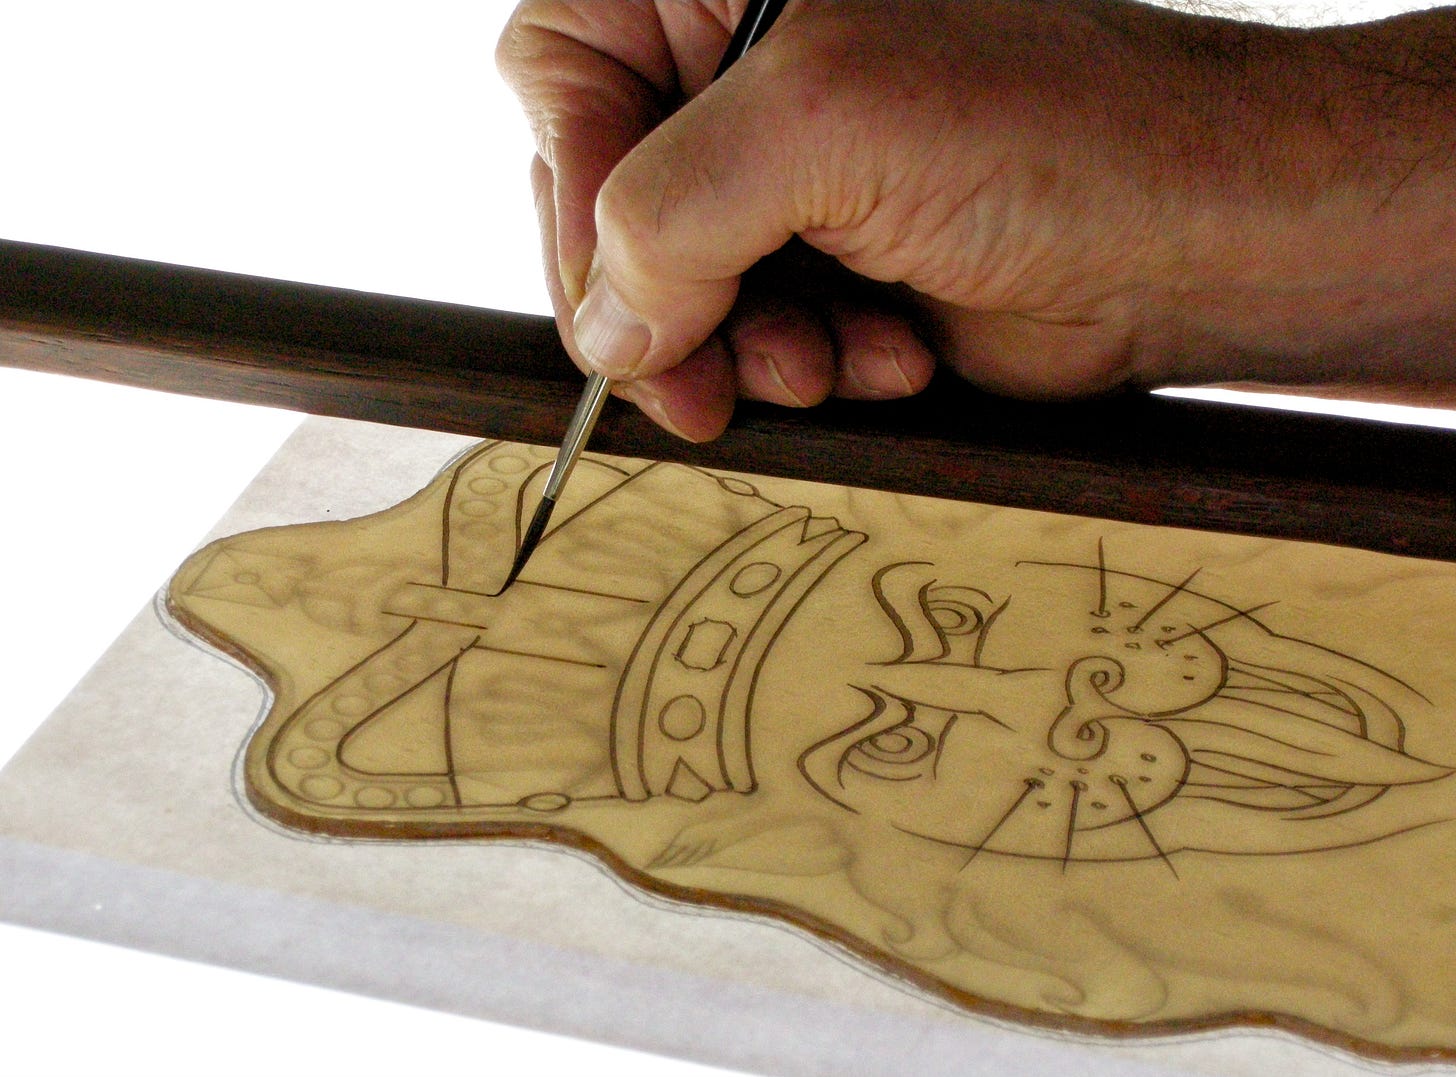
What is tracing? Tracing is when you put your glass on top of the design and, with light dry paint, you copy some or all of the lines.
Why is tracing difficult? There are several reasons. One reason is, there might be many lines for you to copy:
The task therefore requires you to maintain focus and accuracy for anything between five minutes and half-an-hour or longer (a harsh demand indeed these days—not, however, that you cannot often find a place to take a break).
Other reasons are:
Sometimes the design isn’t clear about precisely where the lines should go: the ensuing doubt can rock your peace of mind and thereby rob you of your steady hand.
It’s not simply the number of lines that you must copy. It’s that usually you should aim to copy all of them with roughly the same density of paint. The uniformity is beneficial to the techniques which follow; however, it can be taxing to achieve.
Sometimes the colour of your glass will make it difficult to see the design. That’s why we recommend the newcomer begins with tints of yellow or green: there is sufficient colour in such tints for the newcomer to slowly grow accustomed to the challenge, but not so much colour that learning becomes a squint-eyed struggle.
The undercoat, which we recommend you usually prepare your glass with, contributes to this difficulty. But we consider that the benefits which the undercoat confers outweigh the hardship it can undoubtedly impose on tracing. Besides, you always have the option to make your undercoat very light indeed—you’ll just need to add a sufficient quantity of gum that your undercoat can take your brush’s pressure and not dissolve beneath the wetness of your tracing paint.
Your glass somewhat distorts your impression of the design. This means that, unless you position your eyes exactly perpendicular to whichever line it is that you are copying and also trace exactly what you then see, you’ll misrepresent the place where, according to the design, the line should go. In practise, no matter how hard you try, your traced glass will always differ in some measure from the design. (Hence the necessity that your lines be light, a topic I’ll return to in a while.) I cannot quite depict this with sufficient accuracy but you’ll experience the phenomenon soon enough:
But all the same, tracing is not that difficult. For a start, tracing paint is quick and simple to prepare:
Make or revive some undercoating paint.
Darken it.
Mix it further while you load your brush—yes, while.
If you’ve followed our advice and practised how to undercoat for several weeks, it really is that simple. Observe in the following demonstration that you can use the palette knife to do the quick and dirty work, and then involve the tracing brush to finish off:
Notice how the palette’s paint looks dark, while the actual painted lines do not.
You might be surprised to learn that this darkness of the palette’s paint is only part-illusory, which part is an artifice of the camera’s lens and how it handles contrast.
But the other part is real. The palette’s paint is truly fairly dark, and yet the actual painted lines are not: this is because a lot depends on other factors such as how much paint you load your brush with, how heavily you push down, and the speed with which you move the brush.
Yes, I understand, with comments like that, we apparently return to how difficult it is to trace. But I defend myself by saying it is my duty as your teacher to prepare your expectations for when you yourself set to and practise.
Therefore consider yourself advised: it’s not unusual for a reservoir of dark tracing paint to yield beautiful dry light lines. Anyway I promise you, when you pay attention and do the exercises I suggest, you’ll soon learn instinctively to adjust the speed and pressure with which you trace, in response to the quantity of paint you choose to load and the particular line which you are tracing now.
Here’s another demonstration, just as quick as the first. This time pay close attention to how the paint is tested, for it’s only through such testing that you can truly measure what it’s like:
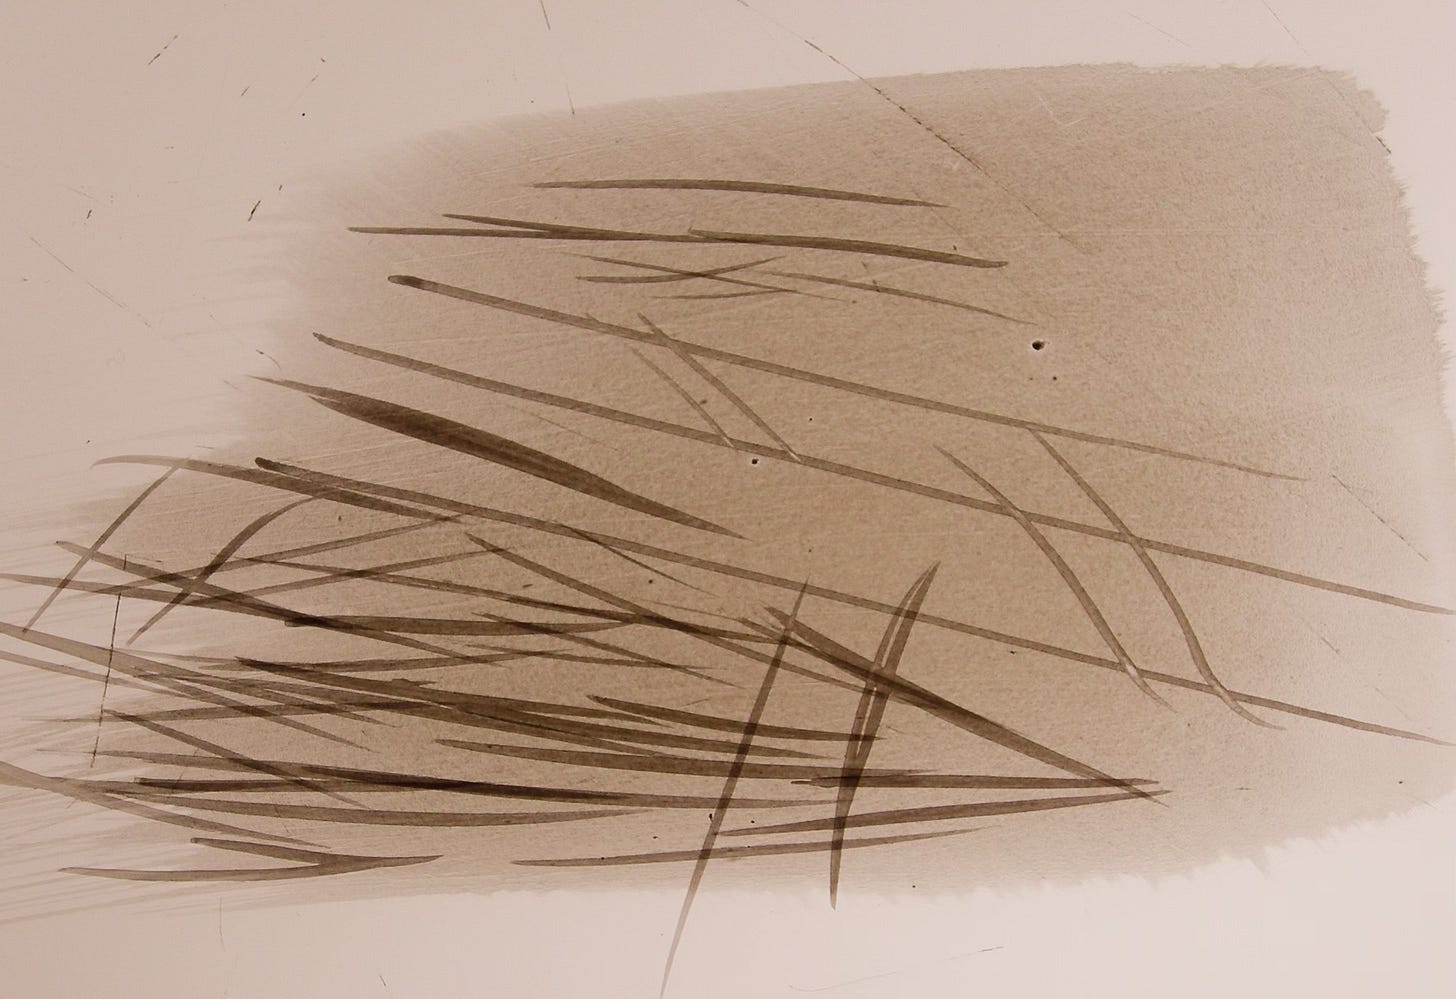
That’s right: you often have a patch of undercoating paint where you dab your brush’s tip and paint a line or curve or several.
You dab the brush’s tip to loosen any excess and make sure the paint is flowing; you paint a line or curve to assure yourself the colour is as you want it, and, later on, that your paint is roughly similar to the other lines you’ve traced. Therefore by the end it’s usual for your “test patch” to seem a mess, though this belies its usefulness:
In this third example, you’ll see the patch go down (and, in our English weather, dry rather s-l-o-w-l-y).
You’ll also observe another way of darkening paint—a small quantity of paint previously set aside expressly for this purpose.
Also note how the hake brush is used to lay down a boundary of thin somewhat watery paint which the tracing brush can draw on, as needed, to create the perfect mix—thus dark paint in one corner, liquid refreshment in the other three:
With good paint on your palette, and following the pared down regime I’ll describe and demonstrate for you below (the newcomer should on no account begin with a design, however simple), tracing will soon become a delicate and delightful task.
Let’s now put one eye on the palette, the other eye on the brush’s tip, and attend to how you keep the paint in good condition as its quantity dries up and shrinks through constant use:
How then do you learn to trace? If you’re learning by yourself and on your own, the first stage is to become familiar with:
The paint (its colour and viscosity),
The tools (how you hold them, how you swap between them, where you put them down),
And with the pace of the technique (stopping and starting to refresh your paint, testing your paint each time you freshen it, dabbing your brush each time you load it).
You do this without the unnecessary complication of a design.
That is, you learn and practise the technique in its purest form—as it were, uselessly, first on a wide and open light box (where there is little constraint on space and movement), only later on bits of glass (whose area is confined)—keeping everything as minimal as possible, your mind forever focussed on the quality of these distilled experiences.
This was the same approach I recommended to you that you might learn (or revise) your undercoating, highlighting and also how to flood.
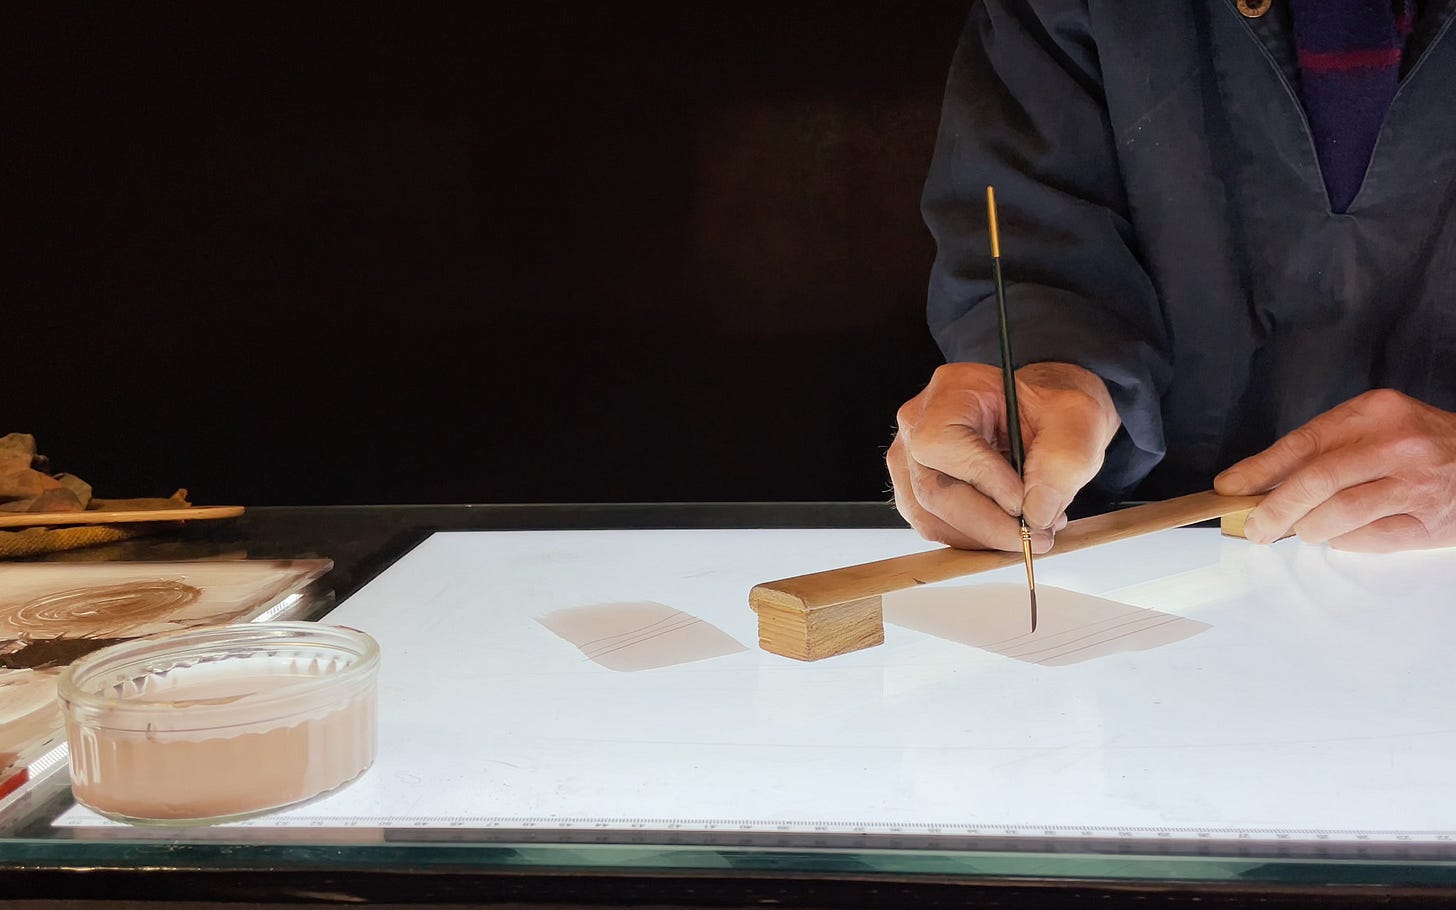
And thus will it also be with tracing. First you experience how it feels just working on a light box:
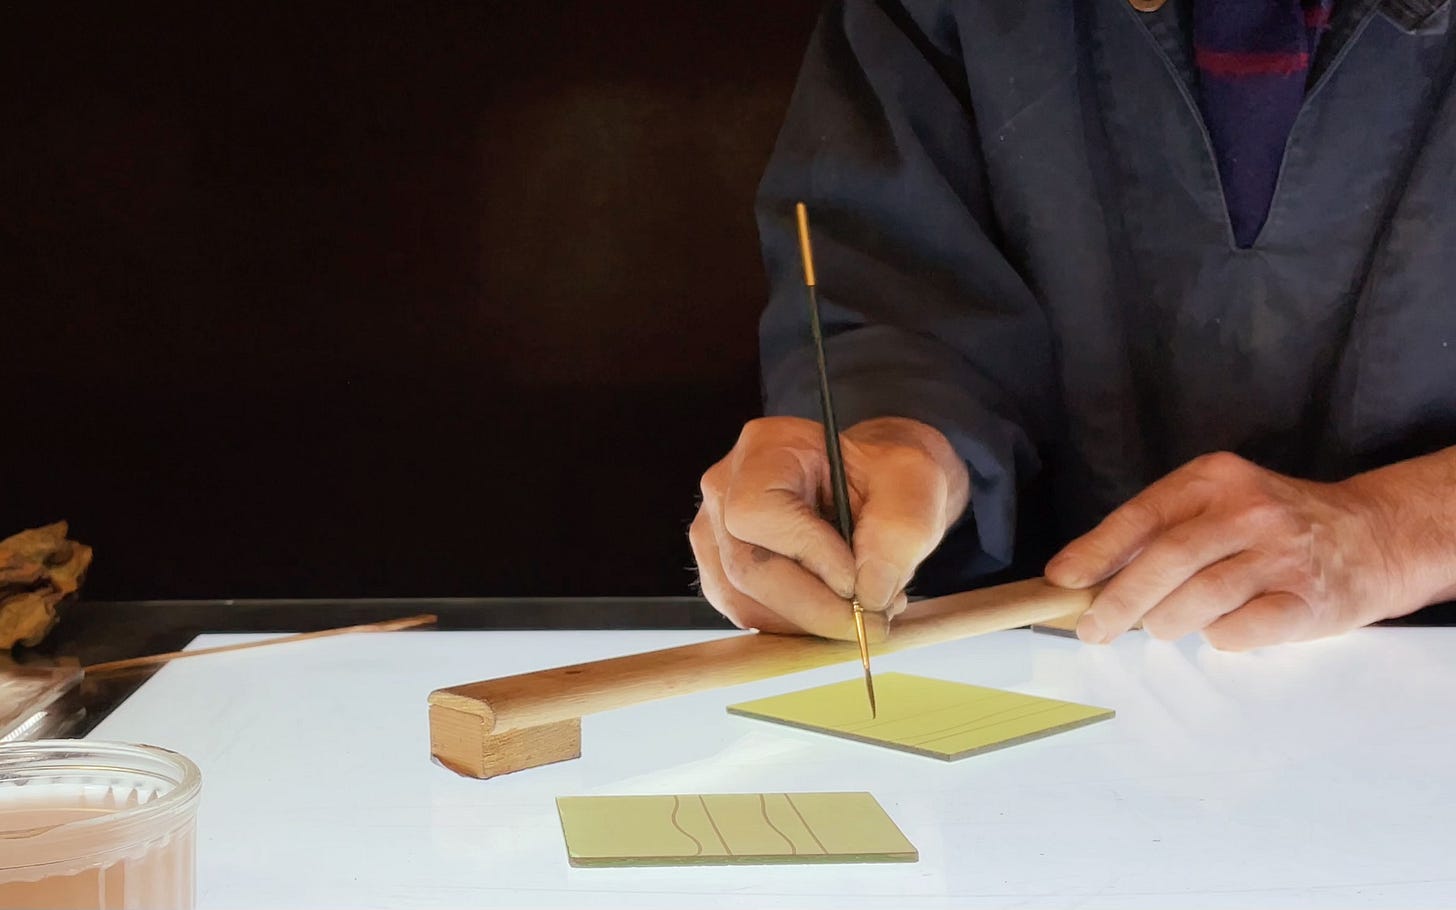
Later you experience how it is to paint light dry lines on bits of glass:
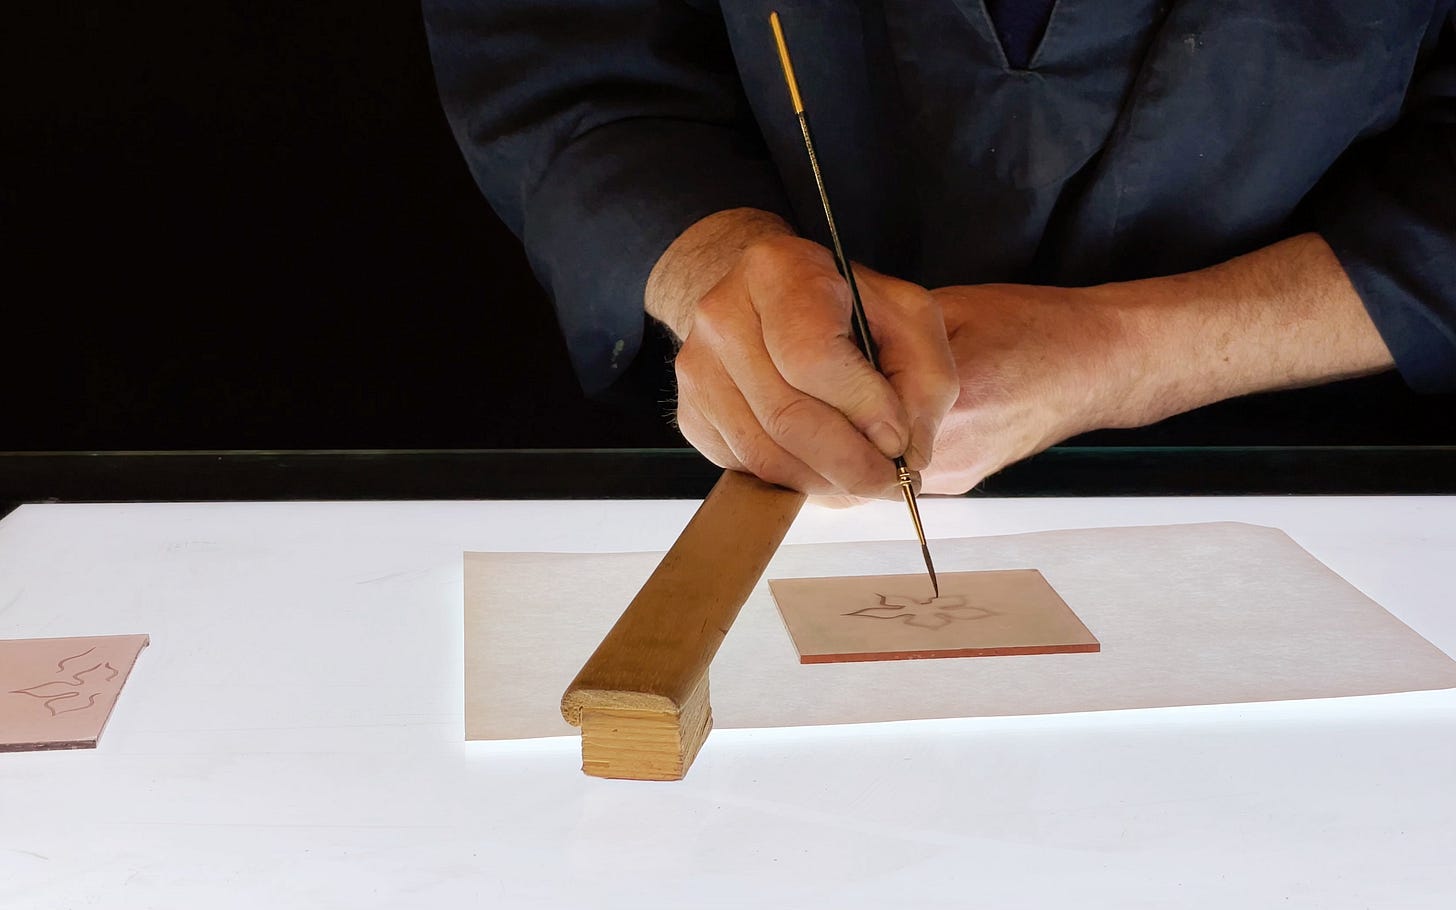
And only following this as-long-as-it-needs-to-be period of experience and reflection do you then put your nascent skill to use:
No matter you are learning or revising on your own, we are here to guide you and will provide some demonstrations for you, below.
Before we get there though, there’s a point I wish to make to you which comes from learning in a studio. However it will still relate to you though you are working on your own.
You see, a different way to learn to trace is to join a studio where you are employed to cement and likely also clean up when everyone has gone home.
I know, I know, a naive soul is always looking out for studios needing painters.
The trouble is, even if the naive and employment-seeking soul can “paint”, the vexing questions are, “Can he paint as fast as the studio schedule requires?” and “How quickly can he learn the necessary styles?” (for there’ll be many).
It also begs the question: “If he’s so good at painting, why does he need this job?”—the last thing any studio wants is a high-strung metro-narcissist whose feelings are too sensitive to fit in with the bustle (these days immediately called “bullying”) of making and shipping windows across the country and into foreign lands.
Imagine therefore you spend six months’ cementing.
First off, don’t downplay it (no matter what the others say): your job is to make sure the lovely painted windows keep out the rain and wind—they are windows, after all.
Second, remember that workmates will fall sick, or leave, or that they sometimes just can’t finish all the work there is.
One day therefore there’s a good chance you’ll be asked to help with leading (assuming you’re not so much of a “painter” as to imagine that leading is beneath you—these types are not as rare as you might think—and I’m confident that’s not the way you are because a person of that ilk would long ago have judged this letter far beneath him).
Do the leading well—better still, also solder beautifully (not a risk-free undertaking, because careless, ugly soldering will ruin how a window looks: it can do anything from melt a lead to crack a piece of painted glass, which will not win you any friends)—and your colleagues will take note.
You might then be asked to cut some glass.
And now, provided you also do this well, you will make yourself a certain darling to the painters when you suggest you also clean it. The caveat is, to say it again, that you do it well (for no one likes to think their glass is clean and then to find great streaks of grease across it). In this way the painters in the studio are sure to note you show a basic understanding of palette, paint and brush. At which point it’s not a big jump, when a suitable project comes along, for one of them to say:
“Once you’ve cleaned this tray of glass, can you also prime the pieces with an undercoat?”
Though your heart now pounds with tumultuous excitement, conceal your eagerness and extract two necessary concessions:
You require an example of the depth of tone the painter wants.
The painter must be sure to verify from time to time that the pieces you are undercoating are up to scratch.
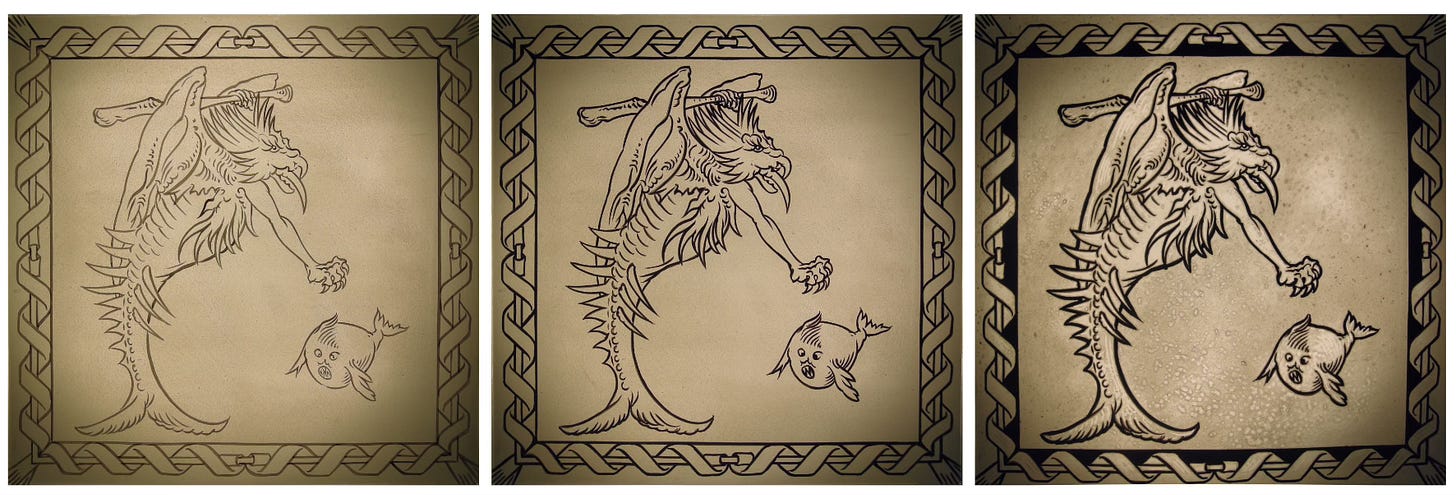
But even if you do this to perfection (and I’m sure you will), do not now imagine—even if you continue to do it to perfection for a year—that you’ll be asked to undertake the likely next stage in the painting process; that is, to trace.
For, unless they trust a colleague to the limit of their professional and artistic life, most painters prefer themselves to do their tracing.
“Ah, ha!” you say. “This shows what I’d suspected all along, that tracing is a diamond amongst techniques”.
But it shows nothing of the kind. The brutal truth is, now matter the many hours of care you take with it, it’s rare that someone will ever see your tracing.
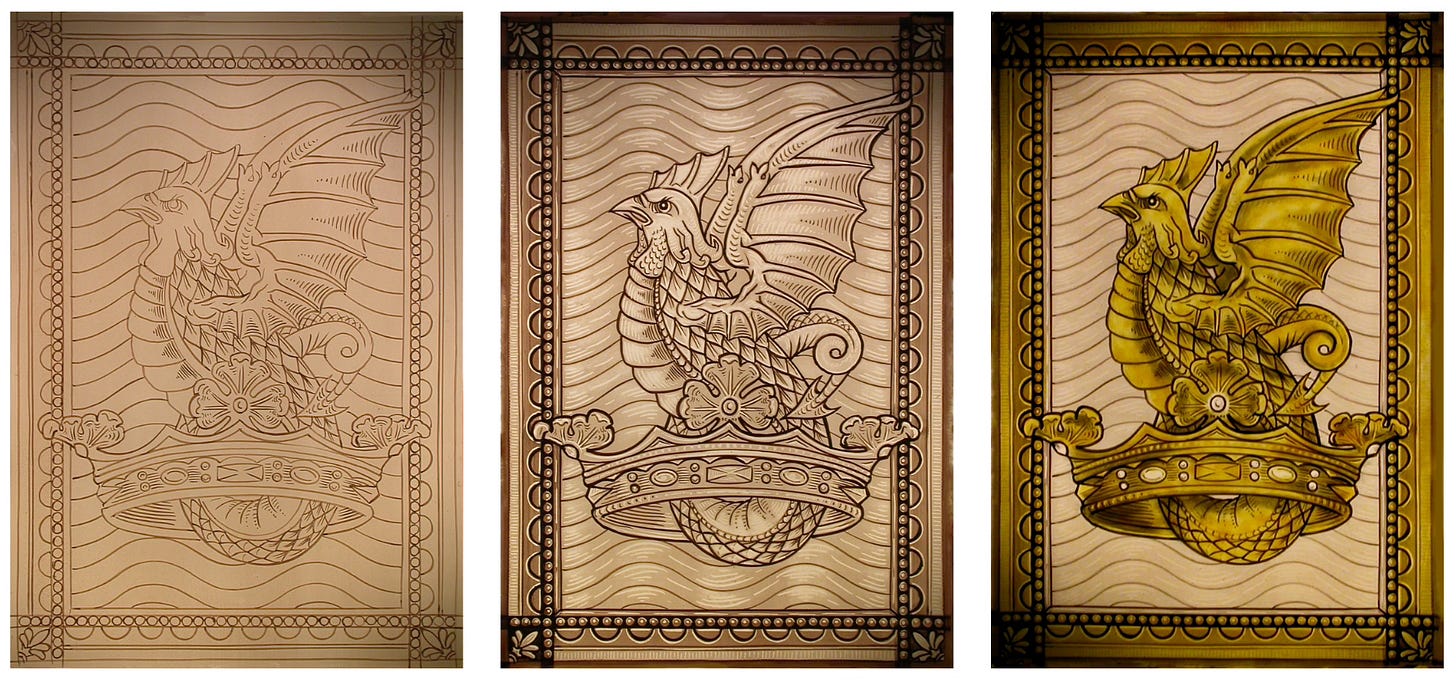
No one likely ever sees your tracing and yet—hence why most painters prefer themselves to do their tracing—your tracing provides the foundation for everything which happens afterwards.

What the glass painter knows, which the newcomer does not, is what matters and what doesn’t matter in the tracing with regard to everything which happens afterwards.
This is why, no matter how helpful you are with cutting or leading or soldering or cementing, no matter that you clean glass beautifully or lay down perfect undercoats: no matter all these things, a painter will likely never say, “Please trace this design for me …
… then bring it back for me to finish it off”.
For, without long months and years of practise, it is almost an impossible task for another painter to understand what’s wanted.
But don’t despair just yet, or ever: sometimes it occurs that a project comes along with lots of border.
This is where your months and years of diligence can be rewarded.
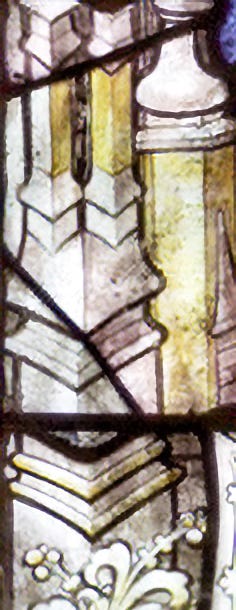
In this way it happened in the studio where I trained that an order was one day received to make a full-sized copy of this window:
Yes, it’s tall and wide, and there are quatrefoils and traceries as well.
Such were the crazy deadlines we always worked to, I’d be surprised if the ten of us had three months from start (including replicating the cut-line from blown-up photographs of the faded original designs, retrieved from the archives of a Victorian museum) to finish (polished so the windows gleamed, then packed in crates, which someone had to make, for immediate despatch to the airport and onward to its final destination).
A piece of glass was no sooner cut than it was rushed along for painting, no matter where it came from. In other words, much like a film is made—that is, out of order, where the actors have to jump from (act 1 scene i) to (act 4 scene iii) then back to (act 2 scene v) and so forth: thus did the glass painters each one of them paint frantically.
Eventually things log-jammed: the painters had their hands full with the faces, feet, hands and clothing, nor should we forget the armour which is always testing.
This left a lot of decorative in-fill, particularly up and down the border, left and right, where there was yard upon yard of what’s called architectural canopy.
Here’s where a relative newcomer to a studio can get a lucky break. It’s like standing in for someone in the back row of a chorus for Hamilton or Wicked. You never want to cock it up, but even if you do, it’s likely that the audience’s eyes and ears are focussed on the front-stage stars.
Thus it happened that three of us were unleashed, naturally not just to trace the architectural canopy—now you know enough to understand this wouldn’t happen—but to see through its painting to completion.
I don’t have any of the original designs. But here’s an example which is not outrageously different to demonstrate the painting sequence and how it is the tracing—although you certainly depend on it—is not something which the viewer ever likely sees, which is the reason why you need to see the painting to the end and thereby learn to own your tracing.
First, a design, taken from a nearby church:
Which only a fool or genius would attempt to paint. For recall a difficulty which earlier I identified with tracing: this lovely water-colour is not sufficiently precise concerning where the dry light tracing lines should go. Therefore a wise student will make time to fashion a design like this:
And our sequence in the studio where I trained then went like this:

After several days of failure and dejection, everyone’s painting as a whole improved (not simply how he traced).
The reason was because was everyone was compelled to own his tracing and see his pieces through to their completion. Our finished painted canopy was not perfect, as it would far more nearly be were any of us to paint it now, but it was more than good enough: the studio manager made sure of that.
Therefore:
Even when you’re tracing on the light box, embellish what you do with highlights or with flooding: make yourself experience what happens at the end.
Half-way through, you’ll likely want to rub things out and start again but resist the urge.
Instead, adjust your palette, clean your brush, or fix whatever it is that let you down, then carry on, and finish.
All this applies as much when you’re learning in a studio as when you’re working on your own, according to the regime which I will now set out for you.
In this first video of five—please note: no commentary or music: just tracing and the sounds of work—notice how the hake is used to refresh the palette and transform its reservoir of undercoating paint into paint that’s good for tracing with:
The remaining videos are for paid subscribers only.
Keep reading with a 7-day free trial
Subscribe to The Glass Painter's Method to keep reading this post and get 7 days of free access to the full post archives.


