This is a two-stranded sequence of letters. One strand concerns stained glass restoration. The other strand concerns the key techniques of stained glass painting.
Previously, on techniques …
I have shouted from the mountain top that hard-working glass painters in busy studios don’t mix their glass paint the way most books portray. Those books hawk the kind of pernicious misinformation which, if the world were more happily aligned, would cause real uproar within the FBI and MI5 and at the highest levels of the state: imagine a world which valued craft so highly … .
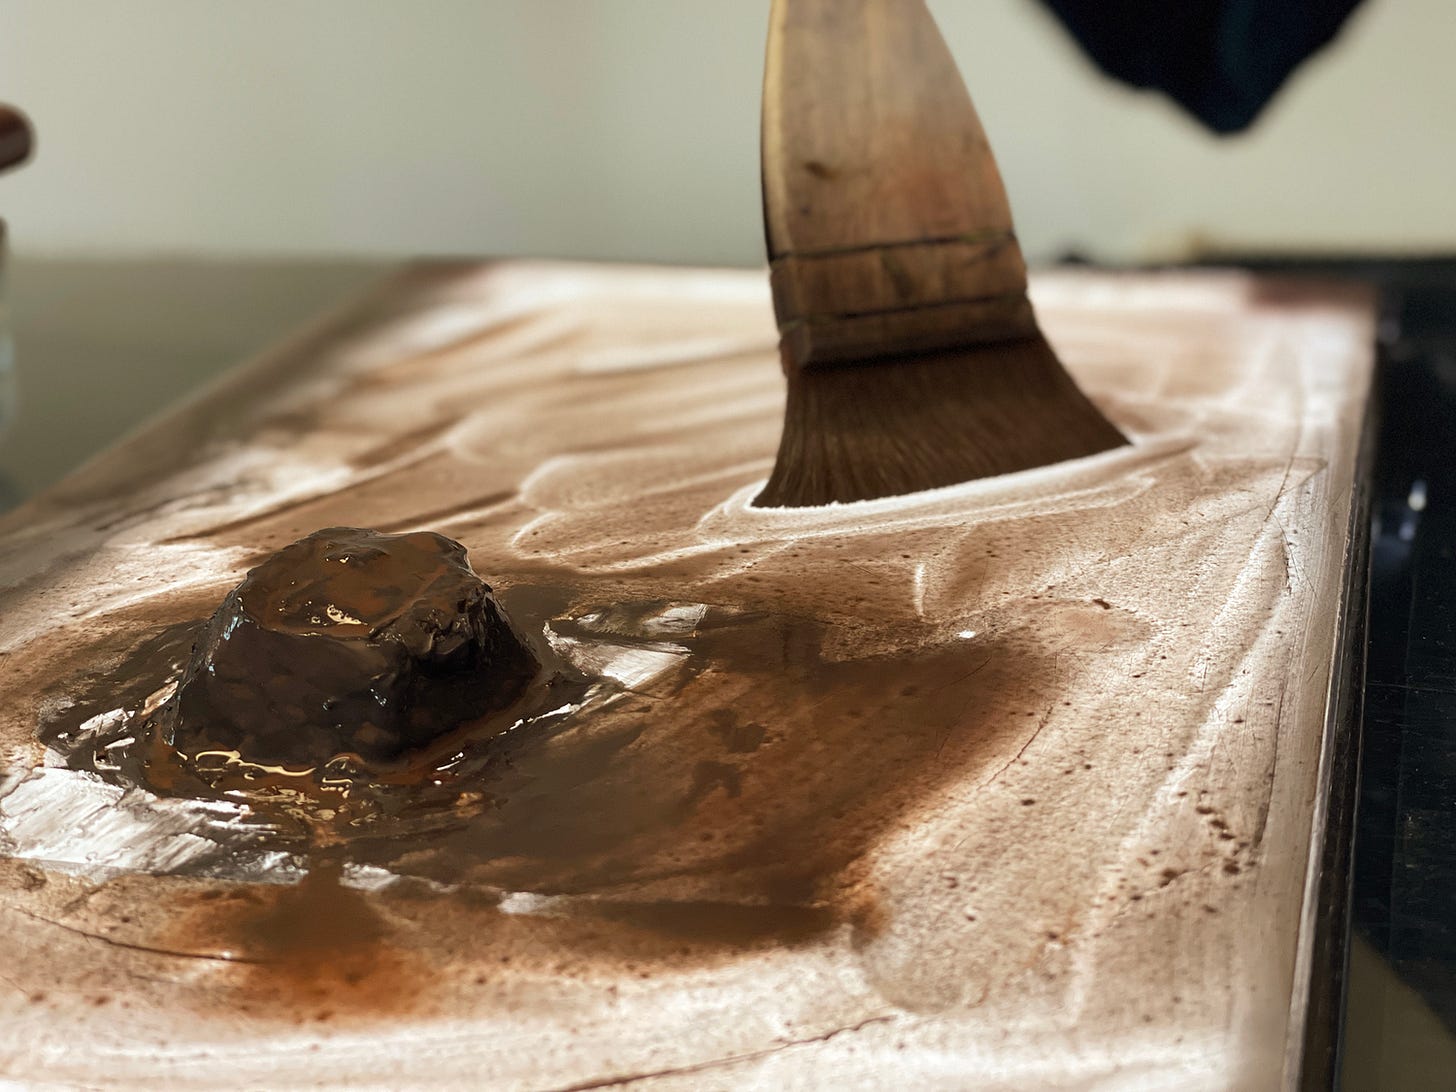
I have also subjected you to an extraordinary 22-minute demonstration showing you how the same hard-working glass painters revive said glass paint once or twice a day, despite (or is it because of?) the unbounded pressure they are under.
If you want to paint glass beautifully, you must revive your paint, just as the woodworker must sharpen his chisel or the violinist tune his strings. Think otherwise at your peril.
You’ve seen the kind and size of glass to cut to help you practise. You know about the brushes, tools and paints we use. And, in your sleep, because I’ve drummed it into you, you fluently recite the roll-call of the seven key techniques.
But in case the thrill of opening this letter leaves you distracted, I mean of course:
Undercoat
Highlights
Softened highlights
Flooding
Tracing
Strengthening, and
Emboldening.
Seven key techniques, many of which have variations: take — at last! — the undercoat for instance …
1. The undercoat, at last
Starting with a gentle, lovely tint of yellow glass like this …
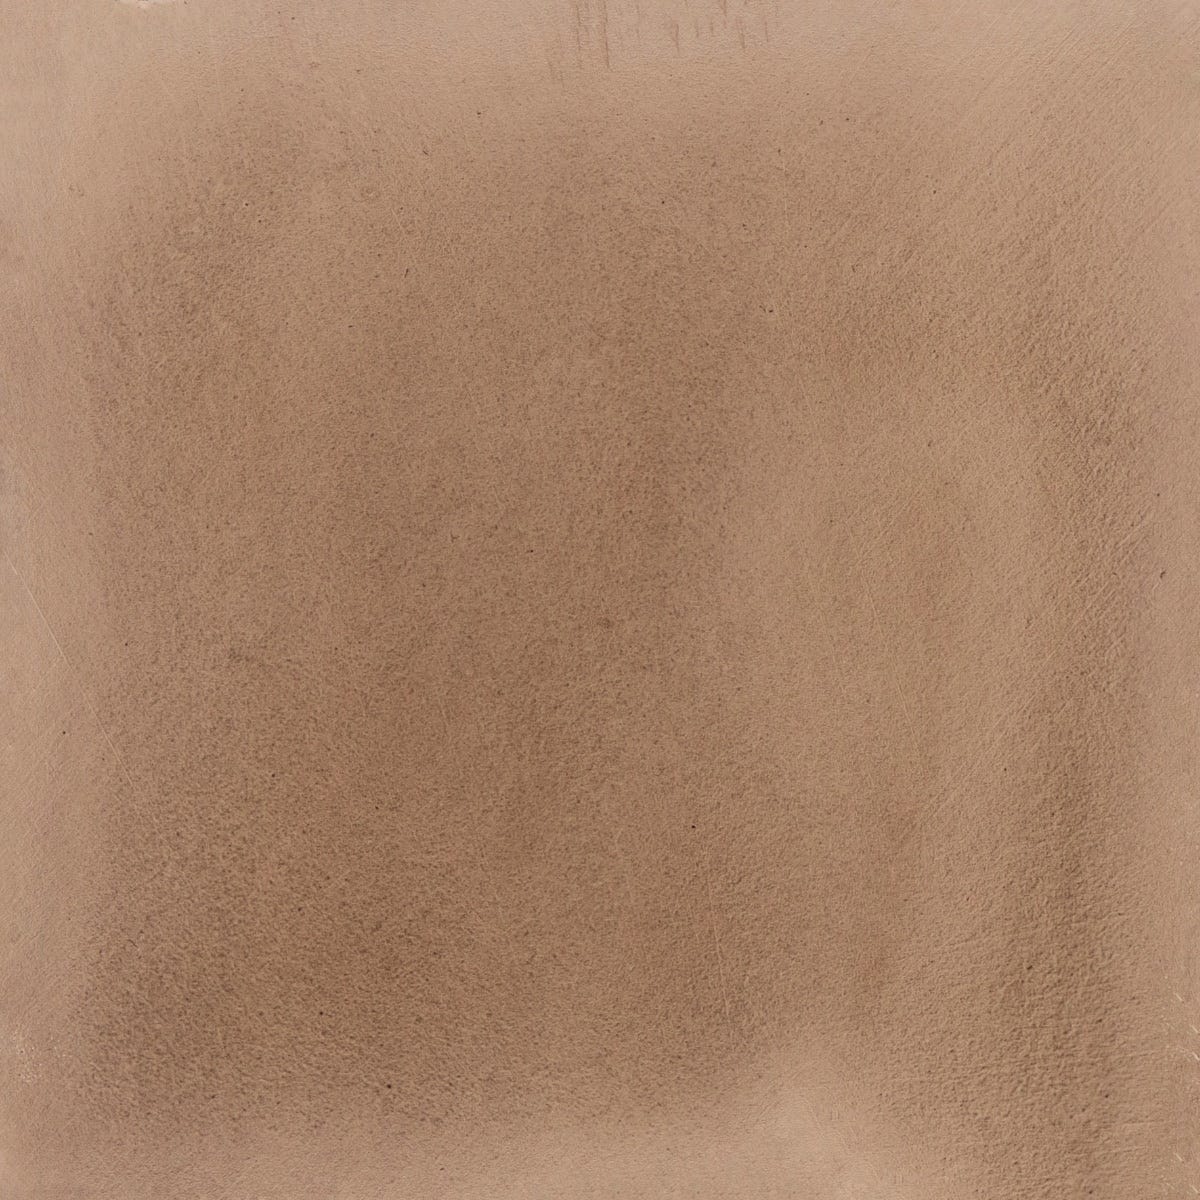
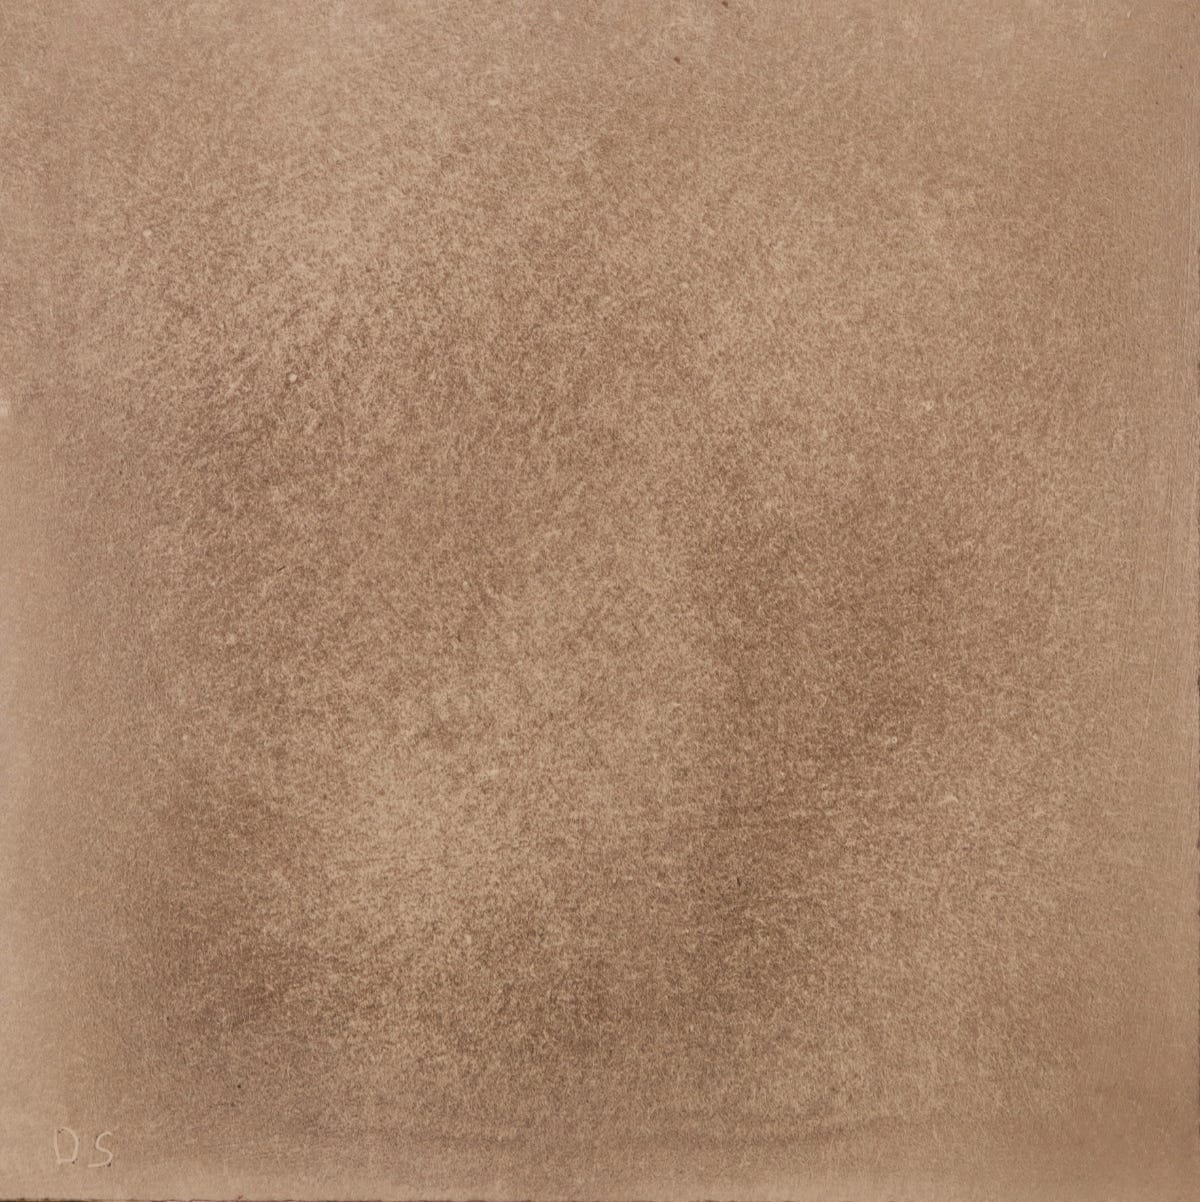
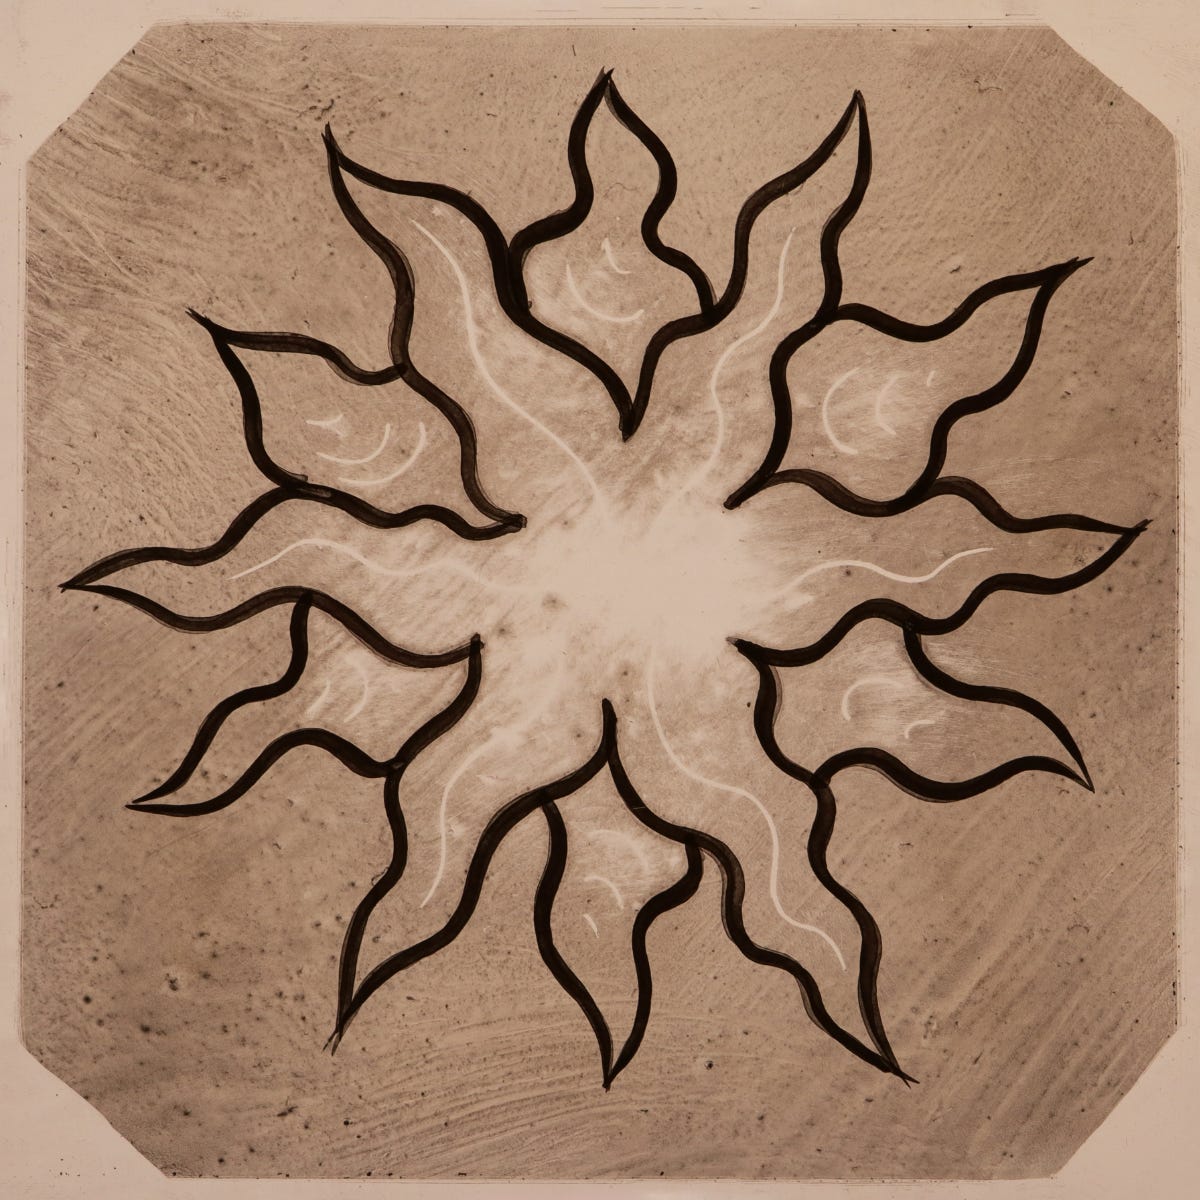
… your undercoat might be neither light nor dark, like this:
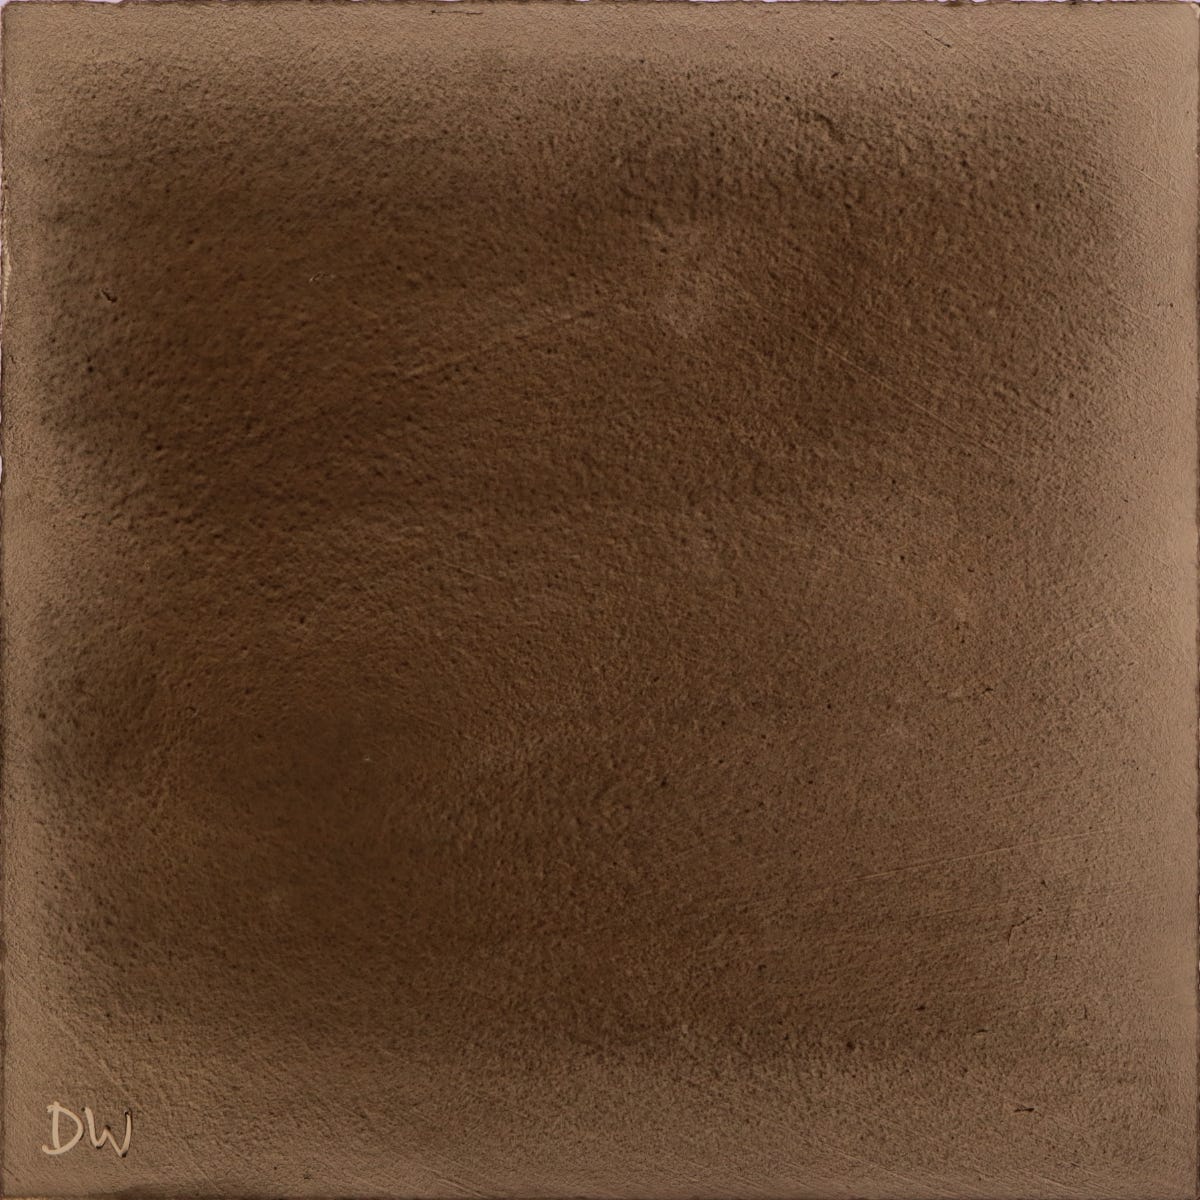
Or it could be dark like this:
Or darker.
Or light like this:
Or lighter.
Take care with both extremes, however: light undercoats, unless you add more gum, are usually very fragile until you fire them, whilst dark undercoats are difficult to trace through.
When learning, aim for “medium”.
A rough test: when you put a design beneath a light-coloured and medium-undercoated glass, you might expect your eyes sometimes to squint a little.
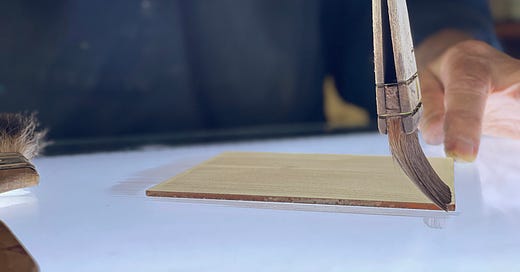
Be it light, medium or dark, and speaking in the simplest terms, if you wish to execute the perfect undercoat, the first step is to prepare your palette and load your brush:
The second, to apply the paint:
And the third, to use your badger blender to lightly sweep away any unwanted brush marks:
I now imagine myself confined by an evil sorceress to offer you just one piece of guidance concerning blending.
It is this:
With the first several sweeps of your blender, go against the direction of your painted stripes.
Thus if your painted stripes are top-to-bottom, your first several blends are right-to-left then left-to right.
Simple advice, but potent: I urge you — heed it.
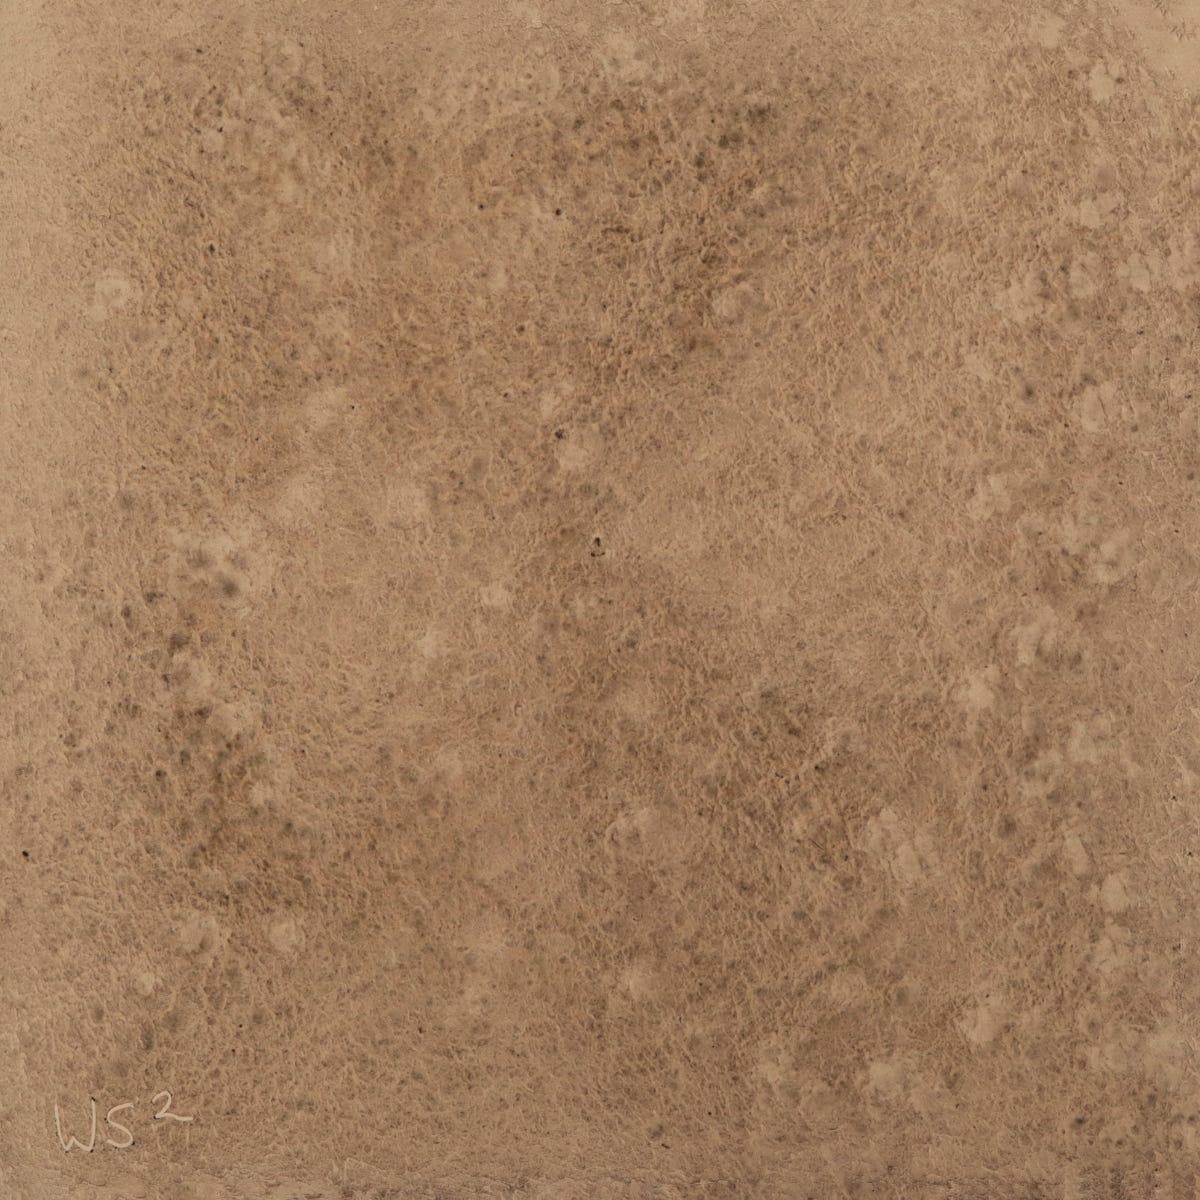
But perhaps you feel the need for texture. One way would be, instead of smoothing, to strike the wet paint with your blender. This is called a “wet stipple”:
It follows there’s a dry stipple:
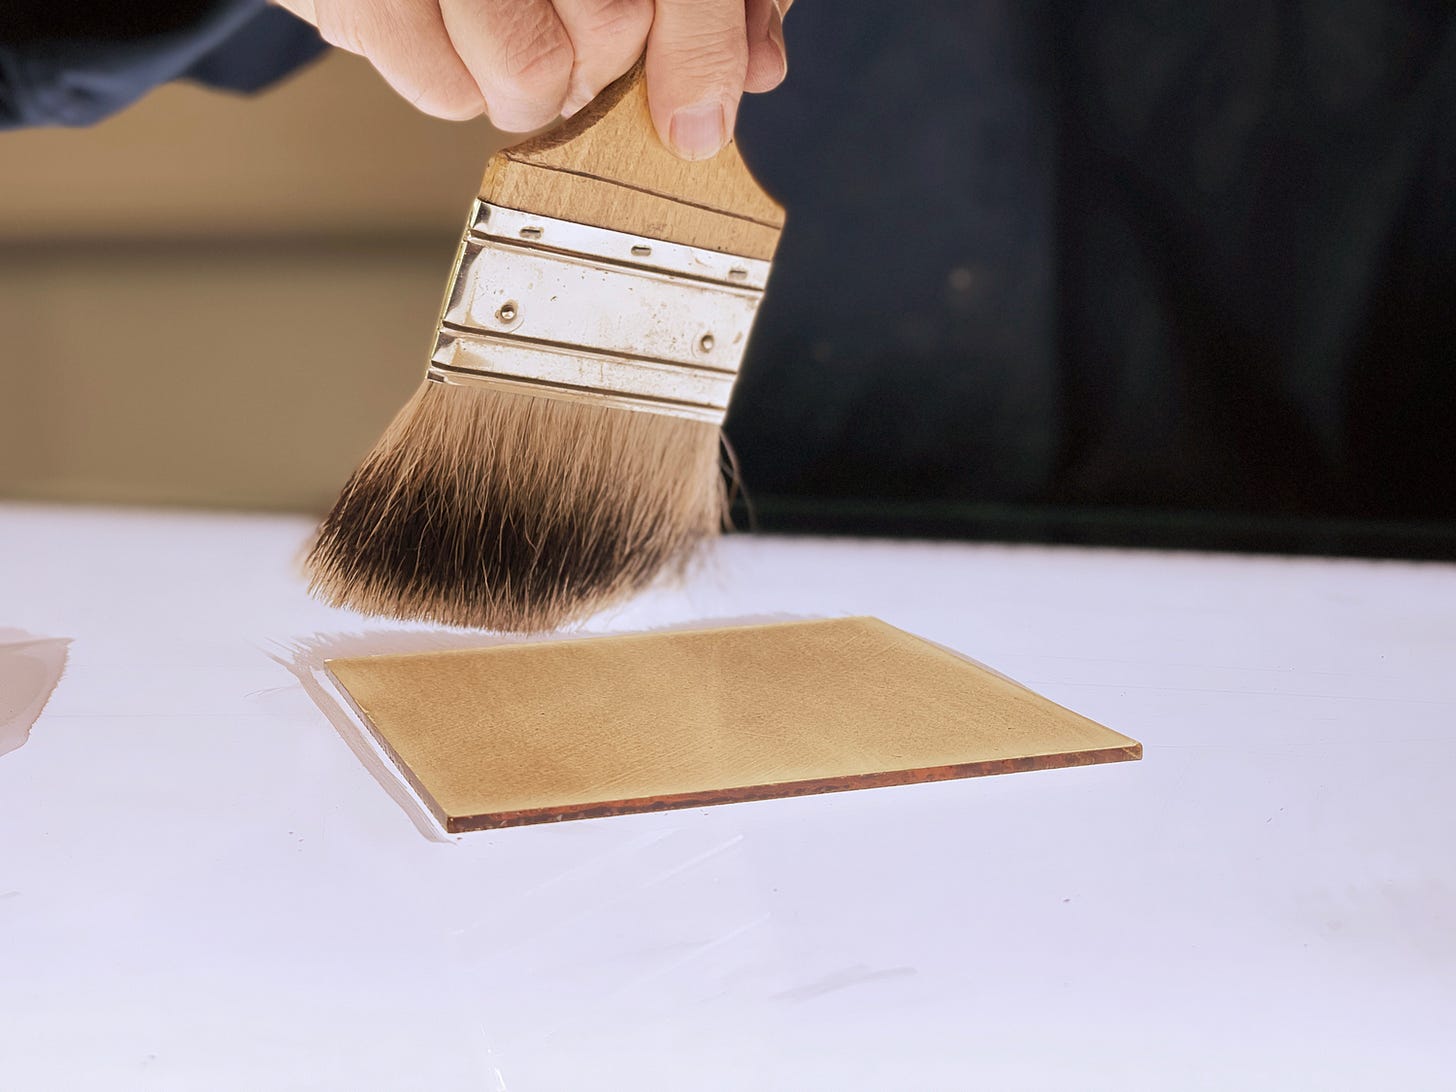
But, to achieve that effect, and because the paint and gum have dried, your badger blender might be too weak. Thus, here we go all-out much like the marines and use a tough-haired household painting brush:
I know it’s lettering that we’re ruining ageing here, but I will use your cheeky intervention to begin to make the point — and this is especially for the ears of every newcomer to this craft — that, once you master the first key technique (the seemingly dull undercoat) than you will find soon yourself endowed with skills beyond your earlier and wildest dreams, provided that you practise carefully and develop your imagination:
It is such a pity, therefore, that the newcomer is often in a futile, self-destructive hurry to start the fifth technique (which I know you know is tracing). Don’t be surprised that I plan to do something about that.
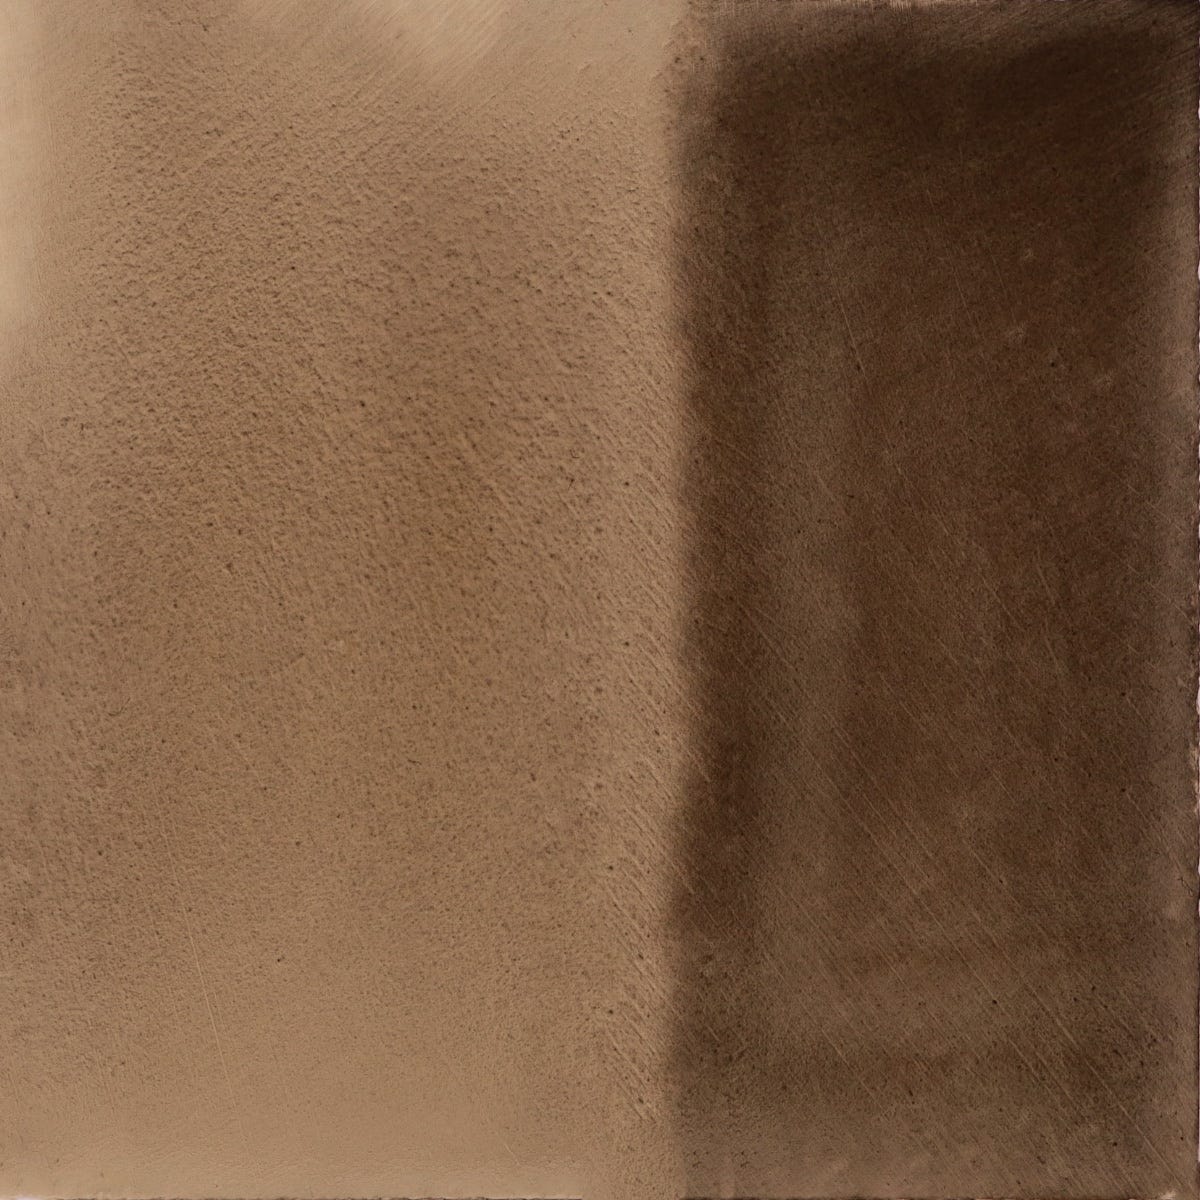
Undercoats might also have shadows in them, down one side for instance …
… or around the edges to make a kind of frame for the image that you will trace on top of it (but only after thoroughly enjoying yourself with techniques 1 through 4):
Now, however, for some boundaries. I assert this undercoat is too wet for normal use, as evidenced by the streaks of water:
Meanwhile this undercoat is too dry for normal use, which means that, if you tried to use your blender, you’d only made the problem worse:
Do these outcomes definitively matter?
Not, I believe, if you’re proficient and for some reason these outcomes are precisely the ones that you intended to achieve.
When you’re learning, though, it’s different: in the videos, you’ll see how to get your paint just right, thereby steering a firm course between the extremes of wet and dry, not forgetting light and dark.
All the same, mistakes will happen. When they do, you should be honest with yourself but must not despair. Part of learning to become a glass painter is developing an imagination that wisely distinguishes between mistakes that matter and mistakes that don’t. We can all agree that this, here, is a fairly bad undercoat:
But if you are not to despair at every set-back, you will need to find the will to persevere, for it is only by carrying on that you can discover that, in adversity, all need not be lost. Here’s that same undercoat, now settled in its proper place — that is, behind the techniques which follow it. The thought is unlikely to assail the viewer that the undercoat is bad:
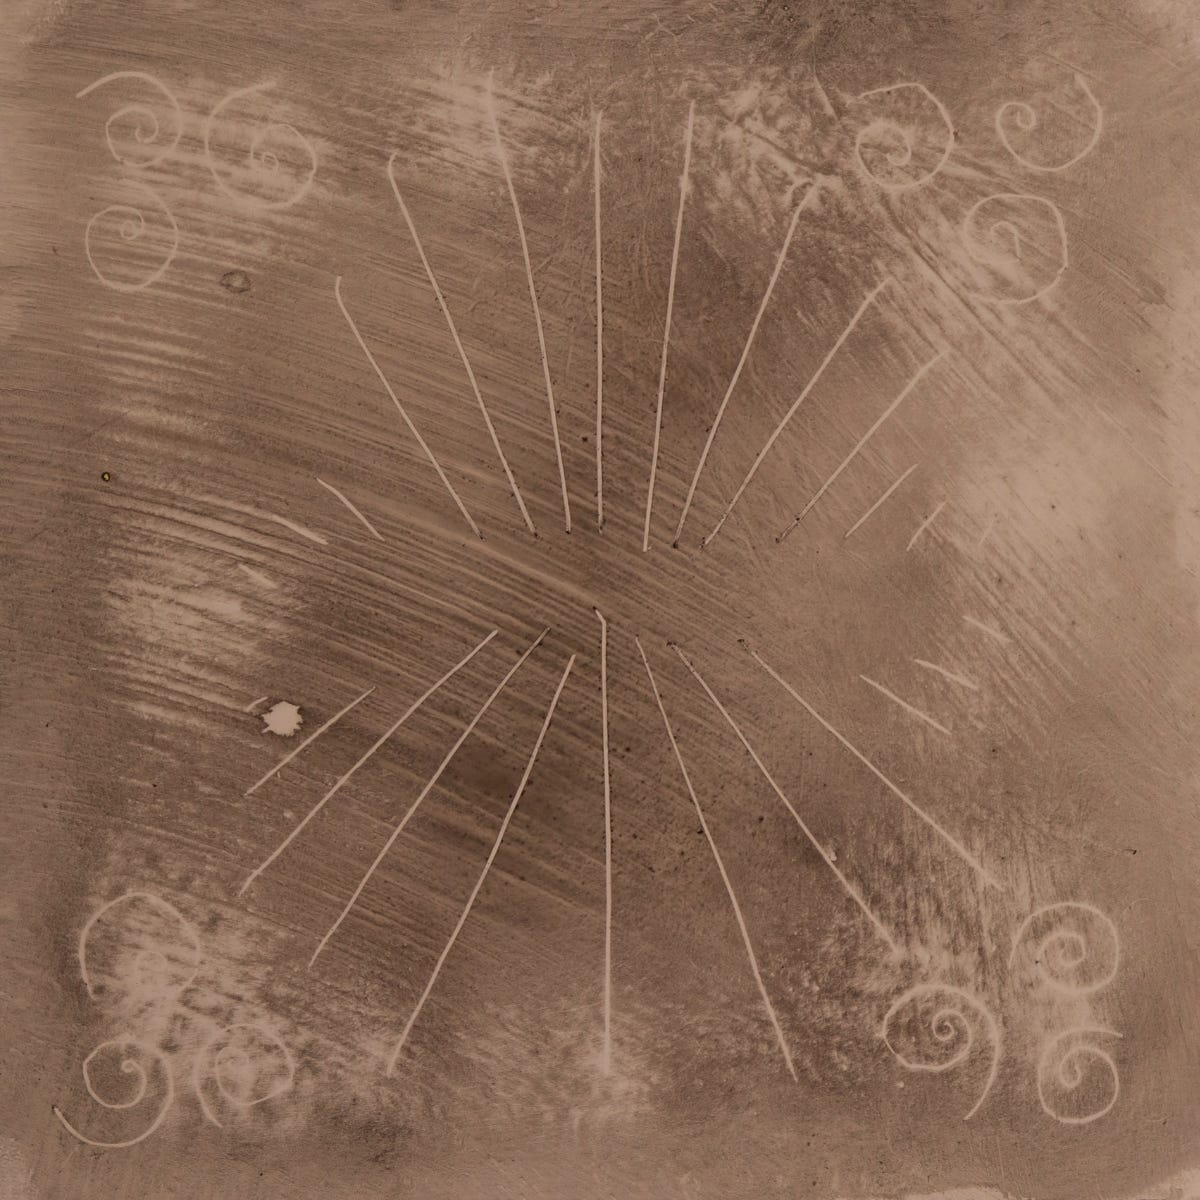
I know that by hypothesis the newcomer cannot trace and strengthen as in the photograph, above. But what the newcomer can do within an hour or a morning is learn to cut highlights in the undercoat, which means that, pretty much from the start, a poor, scratchy undercoat like this …
… can, with merely a few doodles, be changed into something like this:
I’m not saying this is beautiful. I am saying there are things the beginner can do with his mistakes which thereby teach him how much he can gain just by holding his nerve — a valuable lesson indeed.
Then, with just days of careful practise, although he cannot yet paint this image …
… the newcomer can render it a different way, with highlights, thus:
And what is happening all the while he learns to do this?
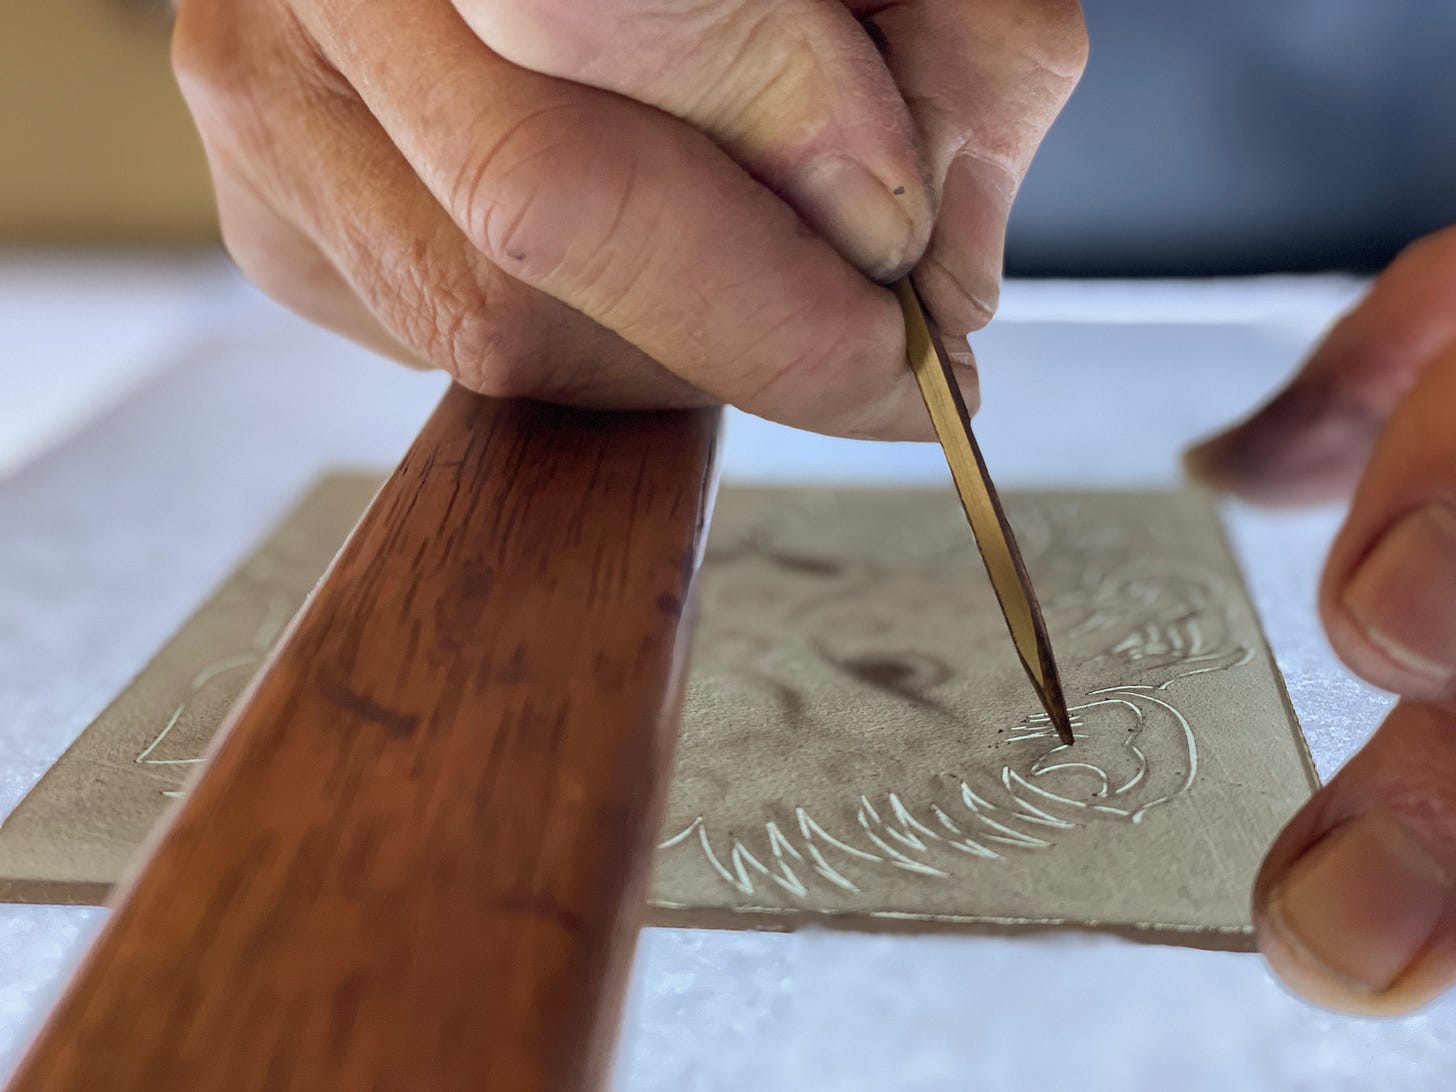
Since you ask, I’ll gladly tell you: the newcomer, to highlight this image, is learning how to use the bridge and stick, and how to copy a design …
… much like what he’ll have to do when time comes for him to learn to trace. Therefore, this is all good practise, not just for the newcomer’s hands and eyes, but also for his powers of concentration and imagination which are needed every bit as much.
And no sooner does the newcomer’s undercoat become proficient than lovely decorations such as this:
… and this:
… become achievable.
Why then the newcomer’s rush to trace? Why?
I cannot see any good reason, though I certainly accept that custom and lazy teaching might lead us to think otherwise. (Bad teachers seek an easy life. Therefore, not bothering to find a better way, bad teachers teach tracing first. Under these dire conditions, only the naturally-talented succeed, for whose success bad teachers naturally take credit and keep their jobs. Meanwhile, the normal students fall behind. It’s likely how a lot of education “works”.)
Therefore let me sternly say like Charlton Heston on Mount Sinai (I would never dream that I might speak like Moses):
The more confident the newcomer becomes with the undercoat, the more understanding he will acquire of the character and moods of glass paint; which understanding is the true foundation from which all his fluency in glass painting will spring.
And, as I’ve intimated in several of my earlier letters, had but one applicant in 18 years sent us photographic proof that he could paint good undercoats, we would have immediately deduced he could begin productive studio work without delay:
Which productivity would have off-set at least some of the huge cost in training the applicant in the other techniques we use each day.
O job-seekers! keep it to yourselves that you want to challenge Patriarchy or celebrate diversity: it’s better than enough to show that you have worked hard to learn to paint an undercoat and cut sweet highlights in it.
By the way, did you know that the name for this is diapering? See item 3:
Is it too much to ask that a trainee might know to prove that he can diaper before he starts?
Such are our intersectional times that I expect it is; which, because we decide who works with us, is not our loss.
What though am I thinking of? I haven’t said explicitly why it’s named the “undercoat”.
The reason is, this layer or “wash” of paint is used to prime the surface of the glass for subsequent techniques.
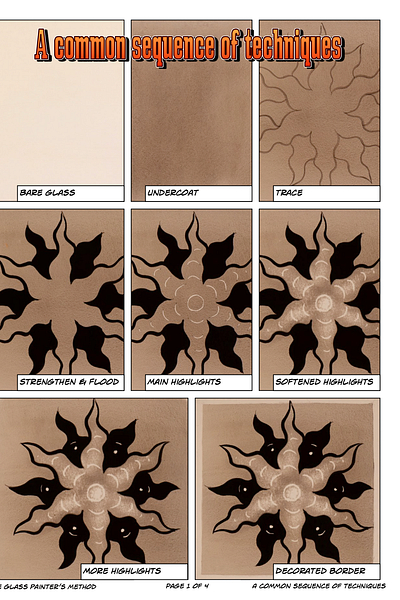
This, for instance, depicts a common sequence in our studio:

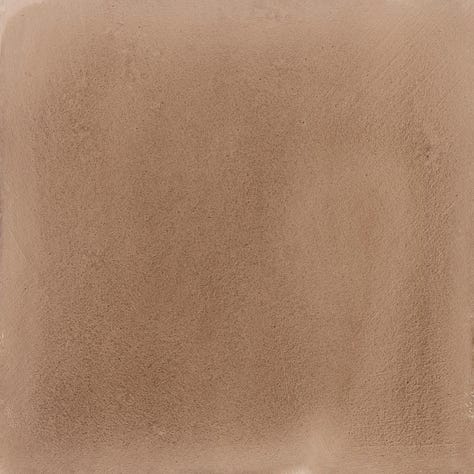



You can click a photo to enlarge it and then scroll through the photos one by one.
Here’s a slight variation involving, at the final stage, some painting on the back. But again it proceeds from bare glass to undercoated glass to lightly traced main lines, and so forth:

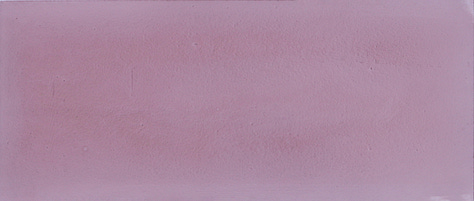
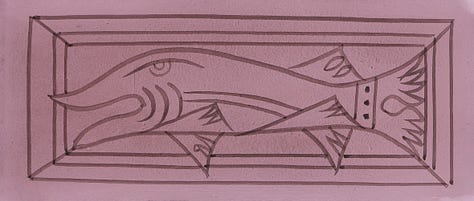


If you wish to, you can download this PDF:
Thus, the undercoat commonly comes first.
How commonly? In 18 years of studio commissions, it’s true we’ve made a handful of leaded lights — that is, unpainted stained glass windows — but I can only think of two painted windows that weren’t restorations where we didn’t use the undercoat.
I don’t say things might not be different in your case. But, if you’re a newcomer, then, given the benefits I’ve identified so far (and more will be revealed in just a moment), I urge you to explore the avenue which these letters lay before you.
Besides, I have no reason or incentive to mislead you. I simply tell you how we work.
2. Some benefits of the undercoat
In the next video, once the paint and palette have been prepared, everything is in glorious slow-motion.
Let’s use this S-L-O-W time to talk through what the undercoat can do for you, and how it helps those who contemplate your painted stained glass window.
3. How to learn and practise the undercoat
I appreciate a list sounds bossy and peremptory, but that’s not what’s in my heart. Thinking back 24 years, I just wish someone had given me such terse but brief — such miraculous — instructions.
Here are five steps which, if you rehearse them for an hour a day, will confer the skill of undercoating on you within one week.
First, mix your lump of paint and let it settle, then revive it as you see here:
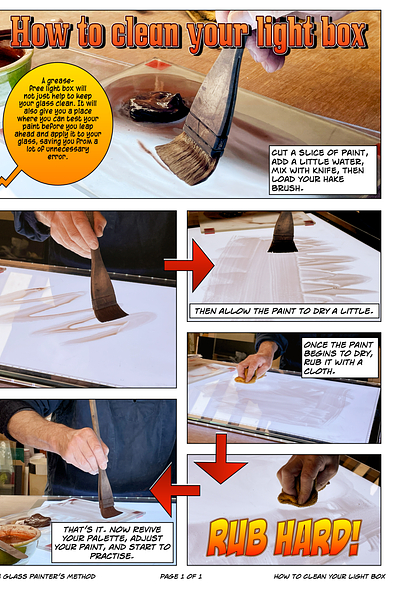
Second, clean your light box:
Third, practise what you see us do in the following two videos and three downloads.
Keep reading with a 7-day free trial
Subscribe to The Glass Painter's Method to keep reading this post and get 7 days of free access to the full post archives.


