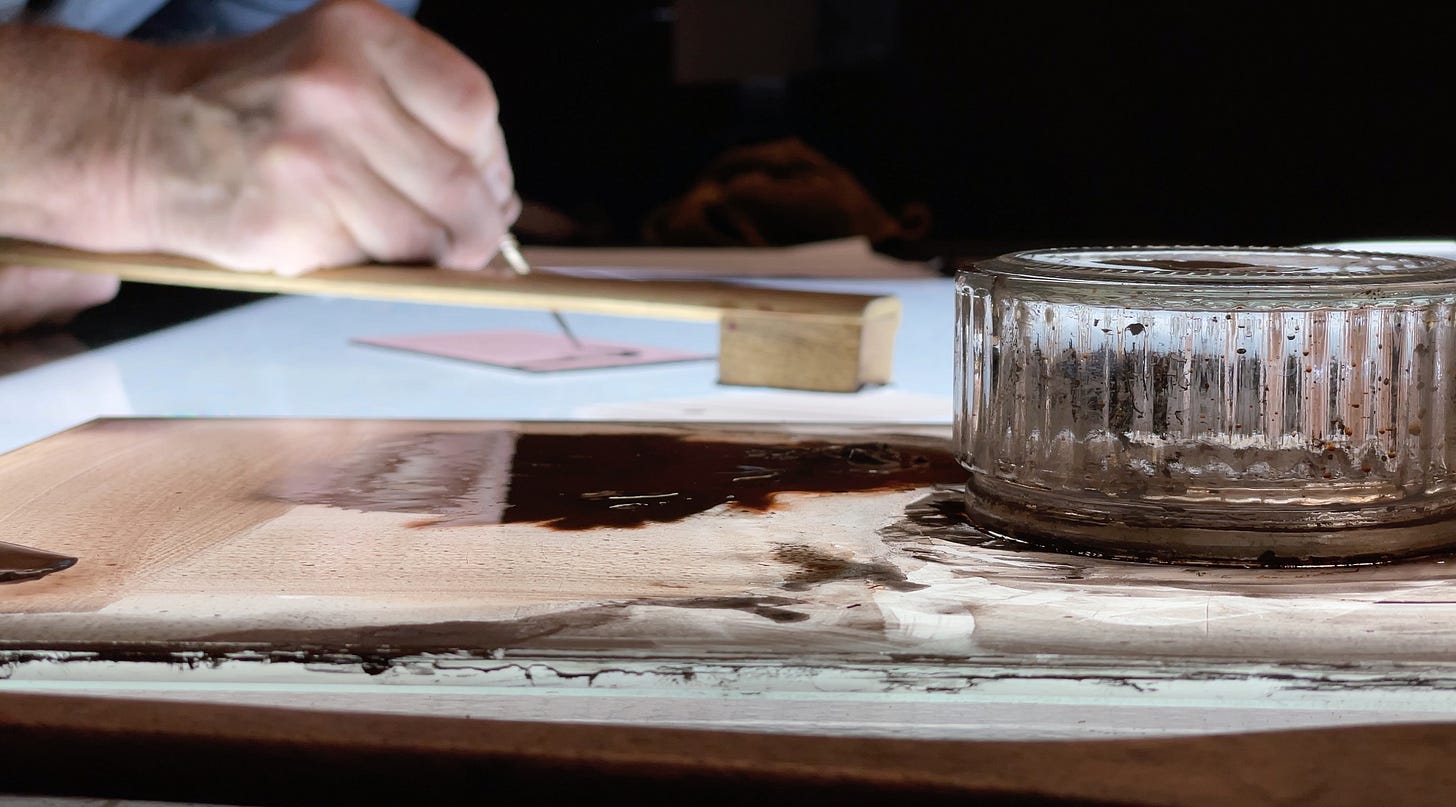
Within a painted stained glass window viewed against the light, you’ll see that some pale thin lines — many? most? who can say? — will disappear: the viewer’s eyes, unable to register the range of contrast, no more than any of us can see the countless stars above our heads in daytime, will not discern them.
The painted stained glass window can appear … washed out.
Darker lines are one way the glass painter valiantly fights back against the force of light, like someone speaking loudly at a cocktail party.
Wider, broader coverage than is provided by a line or by a group of lines — the undercoat, for instance — is a second way the glass painter shows purpose and resistance: the undercoat is like a veil which the glass painter suspends across the window, thereby diminishing the otherwise invasive effects of dazzle. Concerning this technique, see especially letter 4 from two months ago:
Techniques
The undercoat is little more than dirty water; yet it is also something of a conjuring trick by whose means you can compel your audience to see the lines which you have painted.
Now flooding paint — a term we coined, whose appropriateness I believe you’ll soon appreciate — is simply wider, broader paint that’s also as dark as “dark” can be.
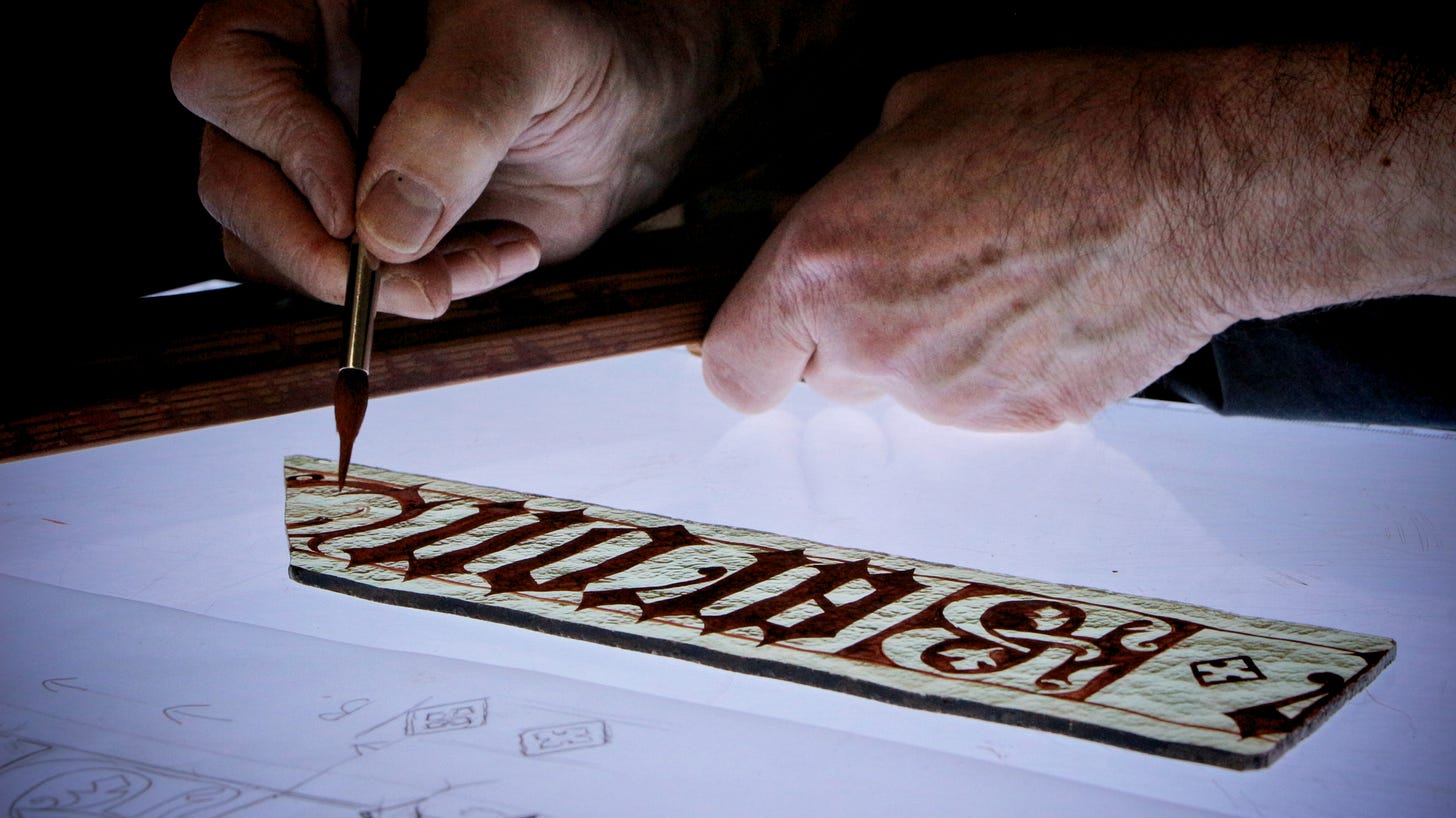
You’ll sometimes find flooding paint inside a shape, as with the lettering which we discussed last time. See how this paint is dark and also wide:
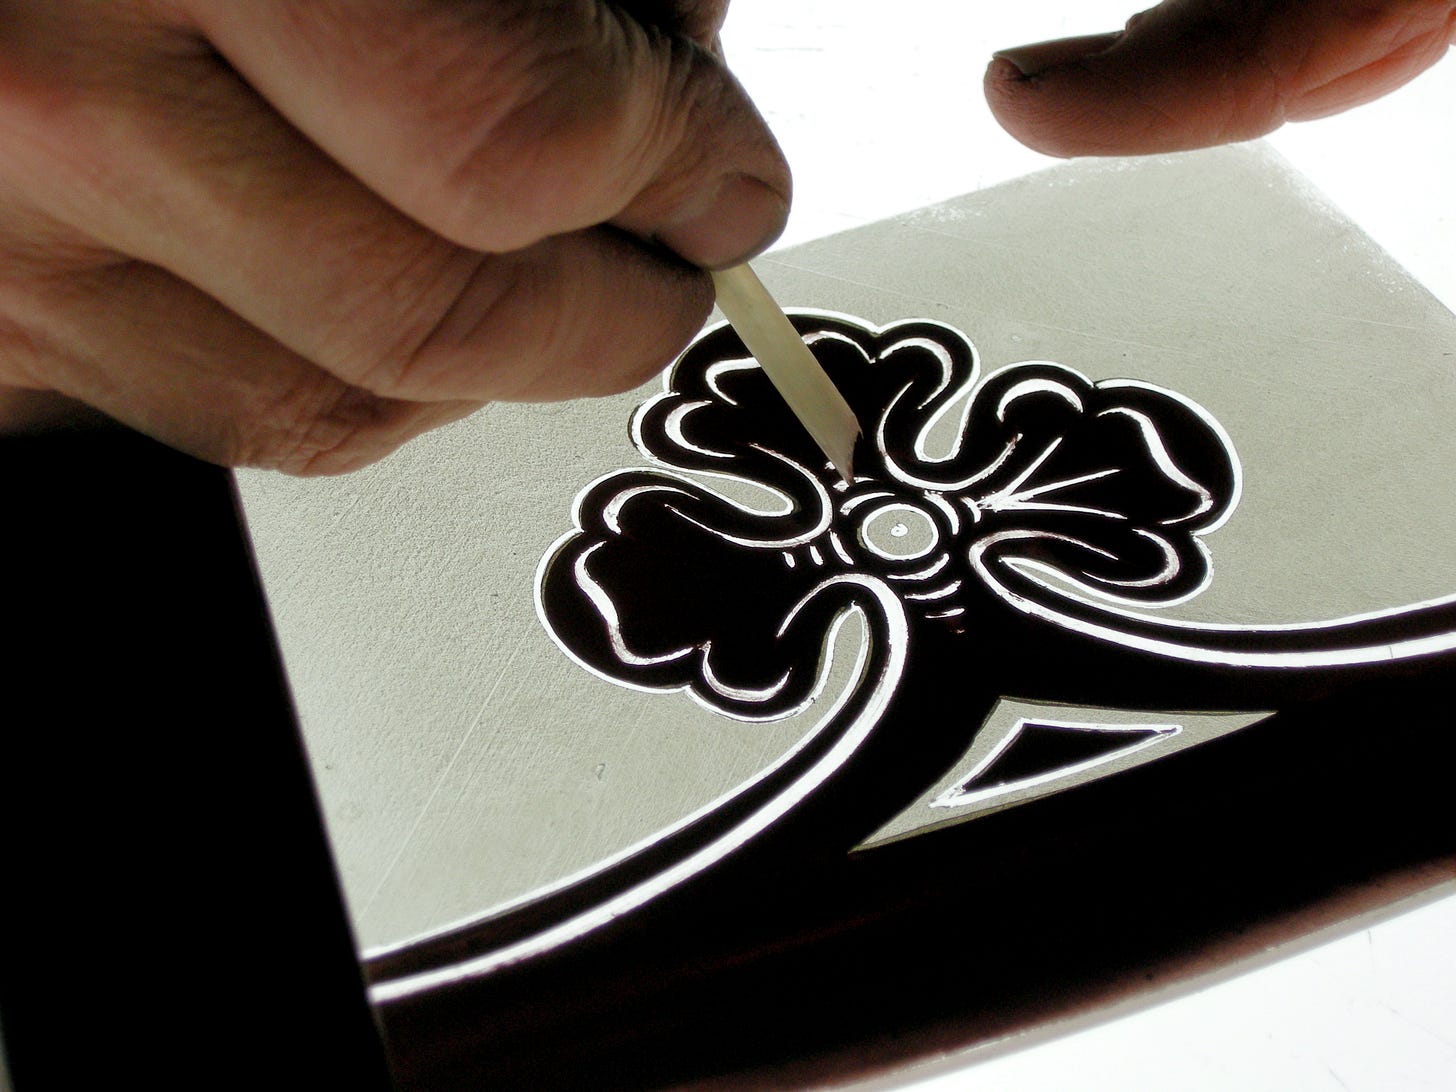
Another example is this piece of border. Again, the flooding occurs inside a shape. In the photograph below, the flooding’s dried and now it’s time to cut the highlights with a goose quill whose tip is trimmed so as to permit both wide and narrow marks:
I wager far more common, though, is flooding paint outside a shape. This ruthlessly and purposefully cuts down the quantity of light which strikes the viewer’s eyes. Indeed it almost seems to force light through the un-flooded glass, making the coloured glass shine all the brighter, an illusion if you will of heightened contrast.
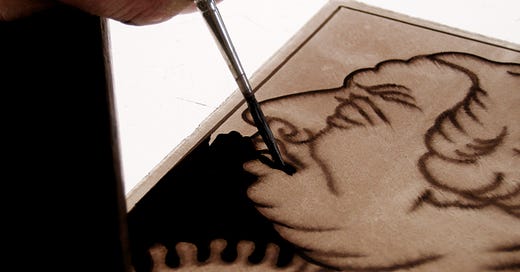
Consider this George III in progress:
Perhaps you can imagine how the finished effect will be to make the painted head stand out by force of difference, especially when the highlights are completed.
Or see this top cut from that bottom row of windows whose restoration we are discussing in the other strand of letters:
Oh, my goodness — look where you will, and you’ll not see much else but flooding: the crown, its jewels and foliate decorations: the leaves and clover: the lion, his mouth and eyeballs, even his eyebrows: and the encircling stem, for instance.
Now that I point this out, a newcomer might almost wonder, “How frequently does the glass painter indeed paint lines at all?”
Accompanied in short order by the welcome sequel: “How foolish now I feel that ever I was impetuous to learn to trace”.
Which, I quietly confide, would be something of an exaggerated reaction.
Yet I will take a break whenever a student is prepared to give me one: if I have again persuaded the newcomer that rushing on to tracing will yield surprisingly few fruit just yet, I am delighted. Therefore let’s now give flooding the careful treatment it deserves so that the dark and priceless treasure which it is shall be revealed, just like the shapes which it so frequently surrounds:
As was my intention from the start, which I was never tempted to conceal when discussing highlights with you, and always in the newcomer’s best interests if he could but see it, I shall use flooding as a way to make the newcomer wish for little more than to stay away from tracing, so fascinating and delightful are the experiences which now lie before him.
How to flood
The steps are wonderfully simple. To engrain them on your memory, I propose to repeat them like an imbecilic chorus throughout this coming hymn to liquid darkness:
Mix and load
Drop and spread.
How easy is that! What could be simpler? Let’s hear it once again before moving on. Everyone together now, nice and loud:
Mix and load
Drop and spread.
And never mind that sometimes there are complications, such as:
Add more water and
Revive your paint
… because you’ll take those complications in your stride, for you already know them from your encounters with the undercoat. Truly, just these simple steps …
Mix and load
Drop and spread
… will get you far, although you must work fast: indeed you must. I can’t emphasise that point enough. Flooding is not a job for dawdlers, oh no. If you’re not racing, you’re painting far too slowly. Speed is not just permitted. It is necessary. Flooding is like driving on the freeway of stained glass painting: go at 50 and you’ll be asked to leave.
Do you see? Mix and load, drop and spread, mix and load, drop and spread … then add more water, revive your paint. And with that you’re back again to our old favourites — mix and load, drop and spread.
And so forth.
And when I talk of “speed”, yes, I know, it’s relative. Believe me, though, this is fast (“super fast” I imagine the incorrigible young would gush on TikTok) by comparison with the slow and measured pace at which the glass painter mainly works.
How to prepare your reservoir of flooding paint
Say you’re a newcomer, just about to start practising in the way I’ll propose to you below.
First of all, you revive that lump of paint which, until today, you have conscientiously reserved for practising the undercoat, just like I advised. Or, if you haven’t, return to letter 4 and only show your work-shy face again when you’ve put in the neccesary days and weeks of repetition. Assuming however that your credentials are as they should be, here’s a quick reminder of what the task in hand might look like:
See my third letter for the full story.
Now what’s that word ‘reservoir’ in the title to this section? — Your ‘reservoir’ of flooding paint?
Let me explain.
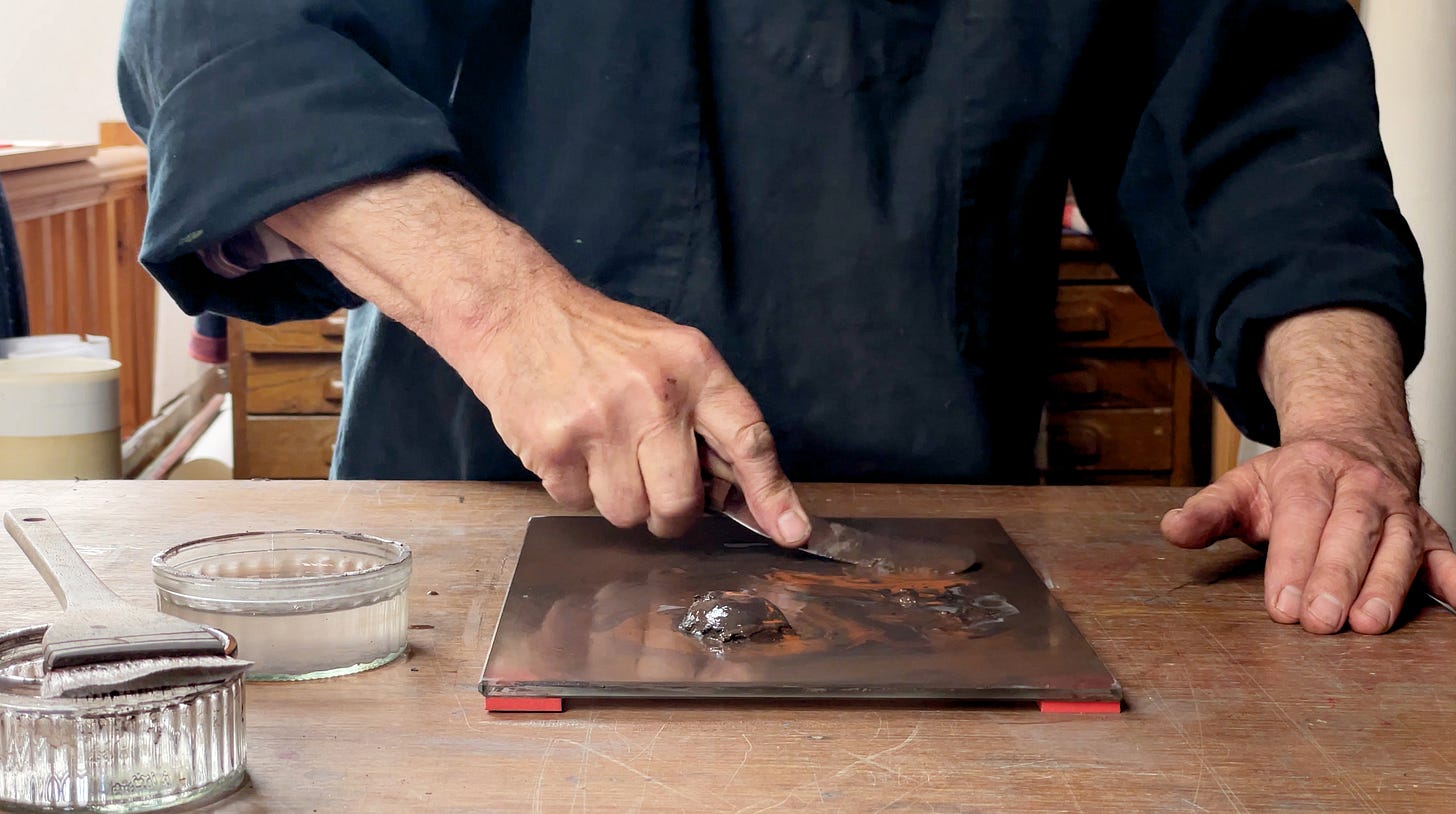
In a far corner of your palette, often under cover (especially if it’s hot), you’ll keep your ‘lump’ of glass paint — that thick mound of paste you recently watched us restore to life.
Below and closer to you, taking full advantage of palette’s width, you’ll set up a working area, a haven where you prepare and take care of whatever darkness and viscosity of paint you happen to be using now.
That is, and to be direct with you, you don’t dab your tracing brush on the lump of paint directly and work like that.
No, you cut away one or however many slices from the lump, transfer them to the working area, add some water, and mix and adjust, mix and adjust until you’ve prepared whatever kind of paint it is you need. So far it’s undercoating paint you’ve mixed. Later it will be tracing paint. Right now it’s flooding paint.
But whatever kind of paint it is, you usually prepare a generous amount. You’ll find it’s such a nuisance to run out every few minutes. With time and practice, you’ll become skilful in estimating the quantity of paint you’ll need. And there’s no cause to fret: if you prepare too much, it’s never wasted. The main thing is to prepare enough that you can settle down and paint for 5 or 10 minutes, pausing only every so often to revive your working paint — that is, to revive your ‘reservoir’.
And when you do run out, you mix some more, or move on to whatever adventure comes next.
The question therefore is, how do you prepare this reservoir of flooding paint?
Here are the steps:
Cut several slices and detach them in the working area.
Wet your knife.
Now use your knife to squash and squeeze and squash and squeeze the slices, adding more water if you need to, until you have a dark, runny liquid, far runnier than melted chocolate, more like a thick cooking oil, just denser due to the myriad suspended particles of paint itself.
With your tracing brush, you test the paint.
When testing, what is it that you’re looking for? Wouldn’t you just know it — it’s a balancing act:
Your paint must not be so runny that it’s impossible to carry without it dripping everywhere on your journey to the glass you want to paint.
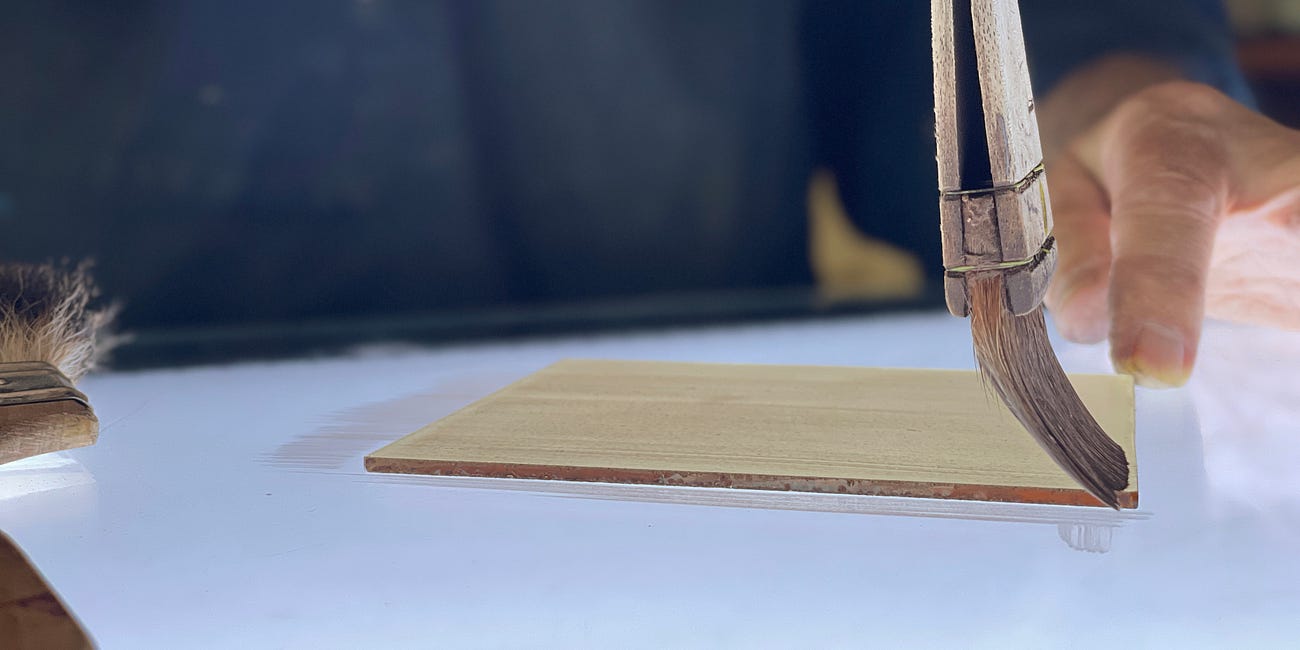
But it must be runny enough that the moment the tip of your brush makes contact with your glass that this flooding paint drops off, spreads by itself, and then, because you are the glass painter and must actually do some work from time to time, you spread it even further.
Let’s have a look at the whole mixing and testing process:
What could be simpler? What indeed. It’s simply dark and runny paint that you prepare.
What then can go wrong with flooding?
There are two big errors which I hope you’ll meet while you are learning. Don’t scold me for wishing failure on you: if you don’t fail now, you’ll surely fail later when the consequences will be likely prove more painful. Besides, these errors are soon avoided if you practise and pay close attention to improving your technique, which, although it is an unfashionable idea, strikes me as the essence of what it is to learn a craft:
Light shines through in patches. The remedy is to spread your paint less thinly than you evidently have. Instead, the moment your brush exposes just a single bashful glimpse of naked glass, you should immediately head back to your palette where — what do you do? Yes, indeed, you mix and load. That is, the reason you see bits of naked glass is because your fuel is running low. Therefore head back to base right now, and fill up. Then return to work as quickly as you can — remember, speed (even relative speed) is always of the essence — and carry on with ‘drop and spread’. (Do I repeat myself? That’s good. I promised you I would. Mix and load, drop and spread: that’s what flooding is.)
Your flooding cracks and blisters in the kiln. Possibly you didn’t spread enough. Here my advice is: think like a miser. Make your flooding paint go further, though not so much further that the light shines through in patches — simply not one millimetre thicker than it needs to be. More likely to my mind, however, with its long years of accumulated and irritable experience, is the simple explanation that you didn’t mix the paint enough, which is the newcomer’s perpetual error. How does insufficient mixing affect the firing, particularly when paint is thick the way it is with flooding? You’ll be glad you asked. You see, your reservoir of glass paint is composed of pigment, gum and water. These three ingredients, and especially the gum, must be evenly distributed. If they aren’t, there’ll be an irregularity in the surface tension which, when your paint is drying in the kiln and then advancing to top temperature, can cause the paint to rupture. It’s not a pretty sight. The remedy, as you know by now, is to mix and load, always mix and load.
There’s a whole lot more I’ll pass on to you about technique, but my method in these early sections of this letter is to write in such a way that both the newcomer and the proficient glass painter will benefit; the former because I don’t overload his brain but just outline the process, the latter because I provide revision of the most essential points, like how to flood, for instance, which goes as follows:
Mix and load
Drop and spread.
Keep that chorus always in your mind, along with speed of course: if the paint slows you down, the paint is wrong. That’s all clear now, isn’t it? And, by the way, I’m glad to tell you, we’re making excellent progress.
How to tidy up when all the flooding’s done
Although I am obsessive, I don’t believe that tidiness is an end-in-itself. Rather, it has a purpose. For me this purpose is that, when I next choose to start, I can do so with the minimum of bother. Therefore I will not instruct you how to revive and clean an ancient messy palette: really, I have little idea, nor do I ever plan to learn. What I’ll do instead is relate to you the principles which work for us when tidying up.
More often than not, there’s some paint left over: the important point is to learn to keep it to a minimum, which, if you pay attention, will happen naturally.
Left-over paint is never wasted: you can usually use some of it to moisten or revive your lump. Just don’t use so much that your lump becomes sloppy.
Cover and seal your now-revived lump.
Clean the edges of your palette. (You’ll find that dried paint accumulates there.)
Gather up the remainder of your leftovers and cover them.
Clean your hake and knives and change your water.
Each time it’s slightly different. You’ll figure out what works for you. Here’s how it went for us one day:
By the way, we clean our tracing brush immediately — long before this tidying up begins: it’s best not to give the paint (especially flooding paint) a moment’s chance to dry.
Another example
Let’s look at the climactic moments of the Beast. You can’t miss the pattern — it’s mix and load then drop and spread, which by now should not surprise you:
Definitely dark and sultry, don’t you think?
This concludes the overview. Now it’s time to get your hands dirty, or at least prepare to.
How to learn to flood
The quickest way to learn to flood is not the way you’ll usually flood when you’ve learned more.
When you know more, this is how you’ll usually flood:
Undercoat
Light trace of the outline.
Flood.
Highlight.
But the quickest way to learn to flood is to practise flooding without bothering about the outline.
I’ll say that again:
The quickest way to learn is just to flood and not to bother with the outline.
Thus:
Undercoat on the light box.
Flood on light box.
Also practise highlighting.
Repeat several times, then
Undercoat on bits of glass.
Flood on bits of glass.
Also practise highlighting.
And repeat.
When you learn The Glass Painter’s Way™ — that’s tongue-in-cheek, the ™ is: we simply are frustrated that so many teachers teach so badly — you’ll soon become familiar with the how’s and why’s of flooding paint, but without the dis-spiriting effect of over-shooting the traced outline (which is exactly what you’ll suffer when a teacher demands that you, a newcomer, to do too many novel things at once).
You’ll also experience working from the bridge while painting with a tracing brush. It’s far easier to get good at this while flooding than while tracing (where you must also give your mind to accuracy).
Plus you’ll practise undercoats and highlights, and you’ll begin to learn about the effect that contrast makes.
What this all means is that, after you’ve learned flooding the ™ way, you’ll have the necessary skill and confidence to tackle tracing; tracing will be far simpler than it would have been, if you’d got there sooner.
Now for the demonstrations so you see exactly how to learn and practise.
Demonstrations
These 8 training videos are for paid subscribers only. Those of you who took the Illuminate foundation course will find them there as well: you simply need to log in to watch them.
My suggestion is, to not watch them all at once. Rather, watch videos 1 — 5 and practice, then watch videos 6 — 8 and practice.
Keep reading with a 7-day free trial
Subscribe to The Glass Painter's Method to keep reading this post and get 7 days of free access to the full post archives.


