There was so much I didn’t mention last week that I feel I owe it to you to write again today, sooner than expected, and also to provide you with a further demonstration, this time with commentary.
Last week, I offered you two exercises, which I am not at all embarrassed to go over once again, such is their importance, and because my purpose is to teach.
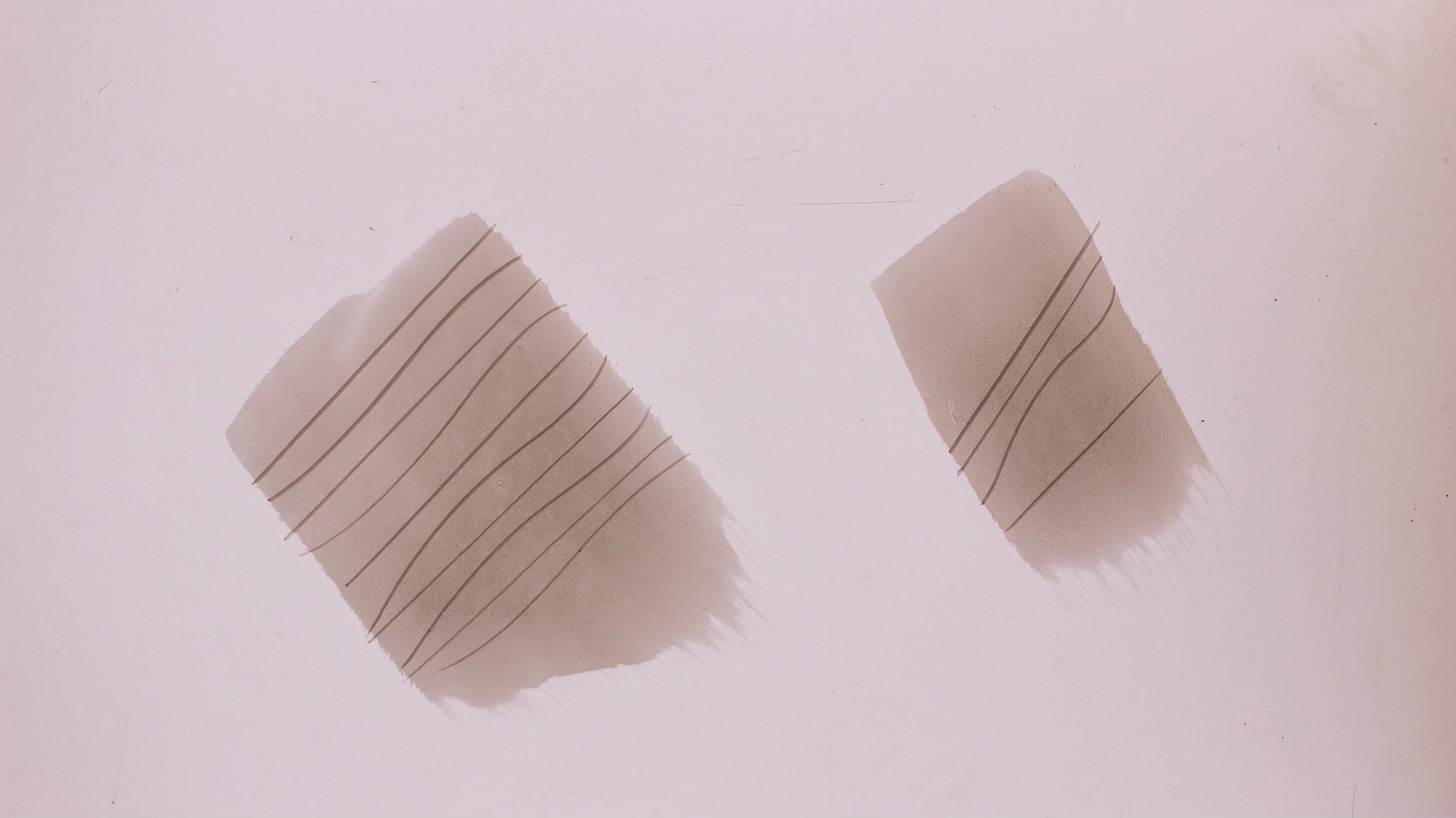
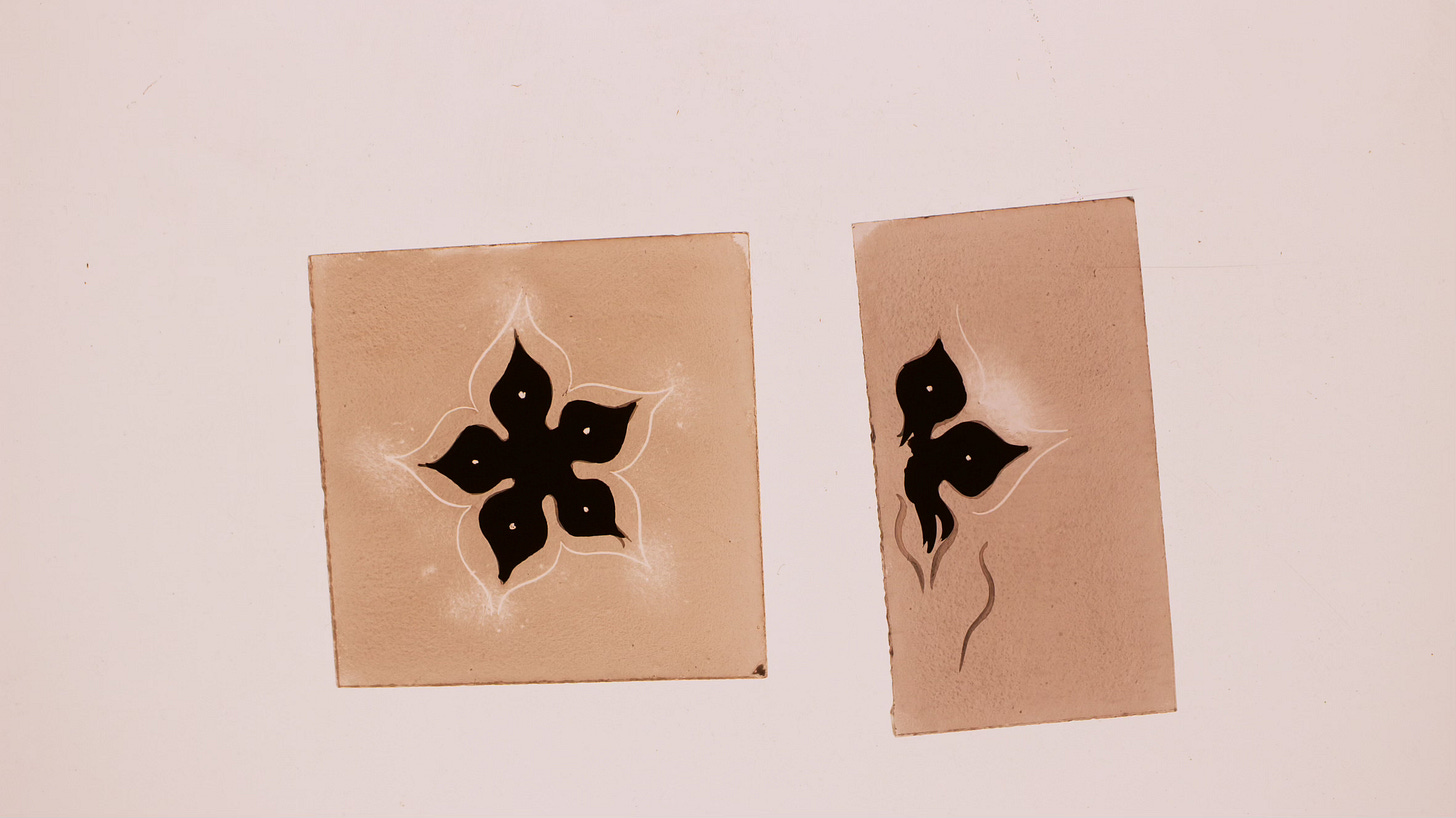
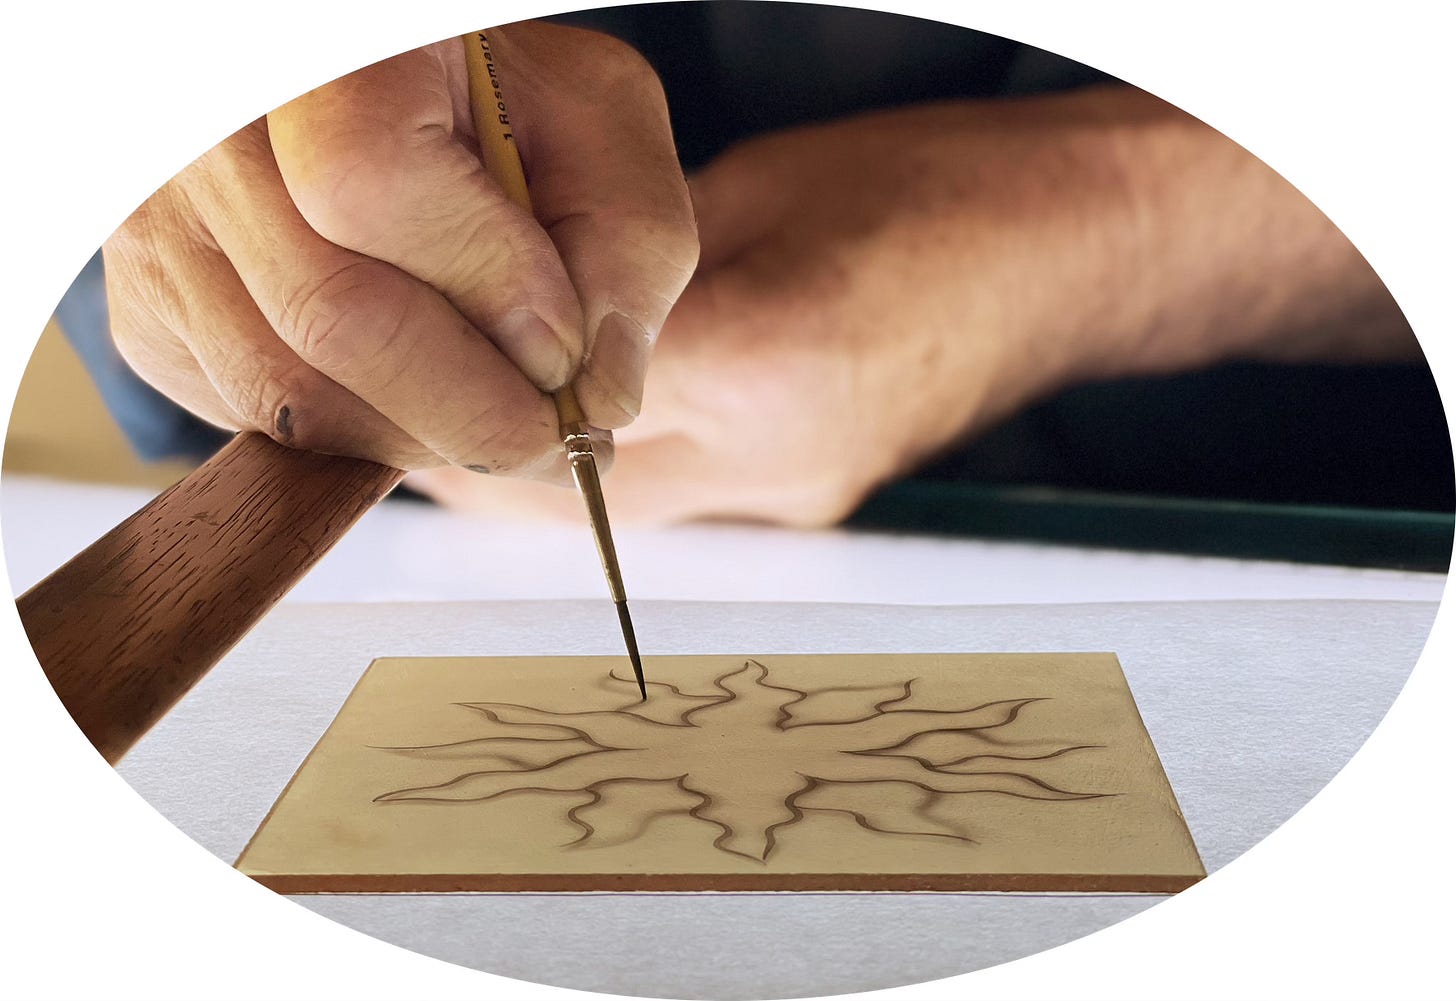
The first exercise is, directly on your light box, to lay down a patch or two of undercoat and then to trace some lines and gentle curves :
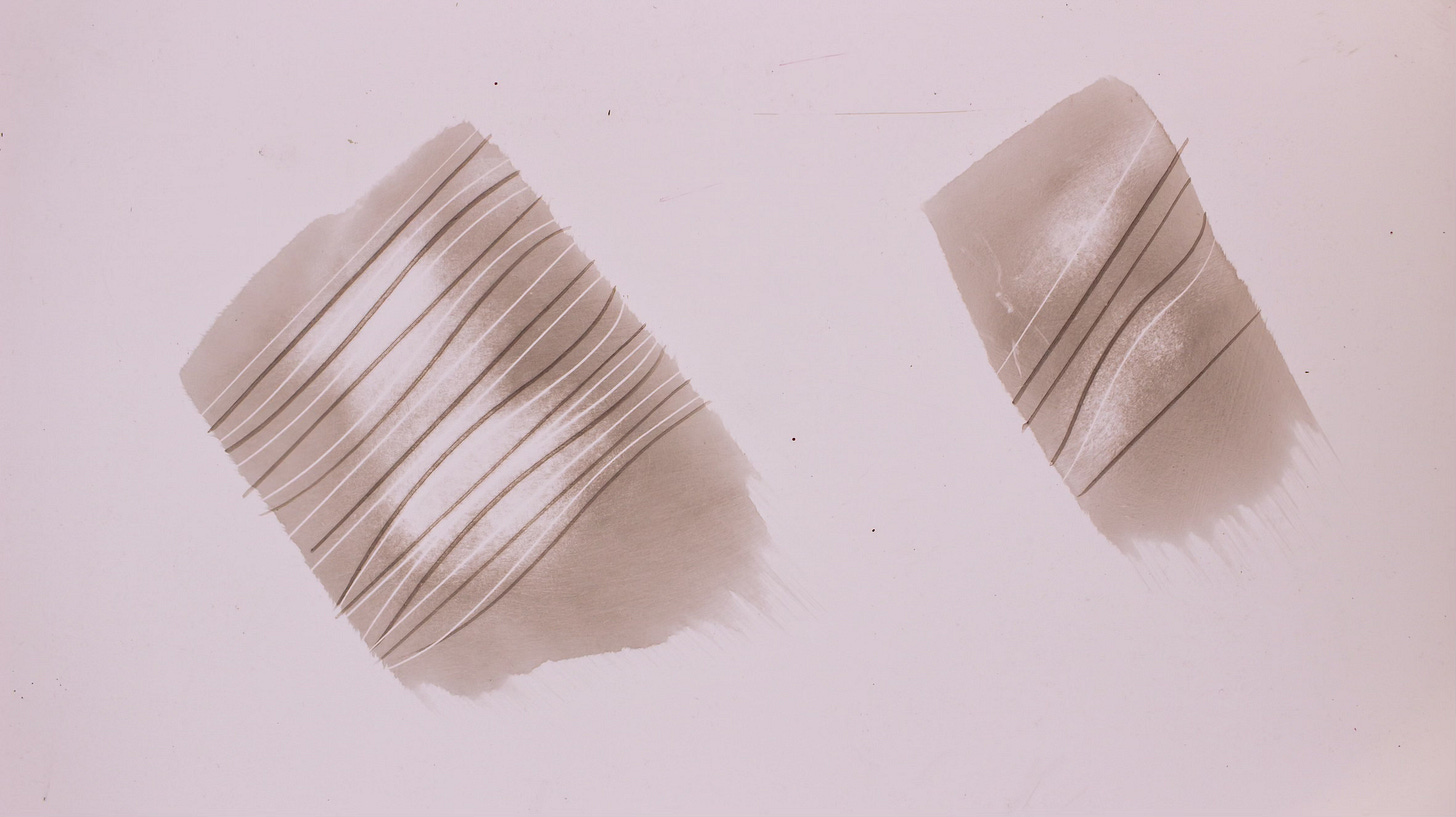
Once the lines and curves are dry, you also highlight them:
True, your intention is to learn to trace, or to improve your tracing.
But this additional step of highlighting is valuable because it helps reveals the supportive—one might even say, the transitory—significance of tracing.
It helps teach us not to judge our painted glass too soon, which newcomers tend to do, because—naturally enough—they don’t yet grasp the function which their tracing serves (a topic I’ll return to in a moment).
Repeat this exercise again and again, be it for an hour, or a morning, or for a week of mornings, and you will start to learn to trace.
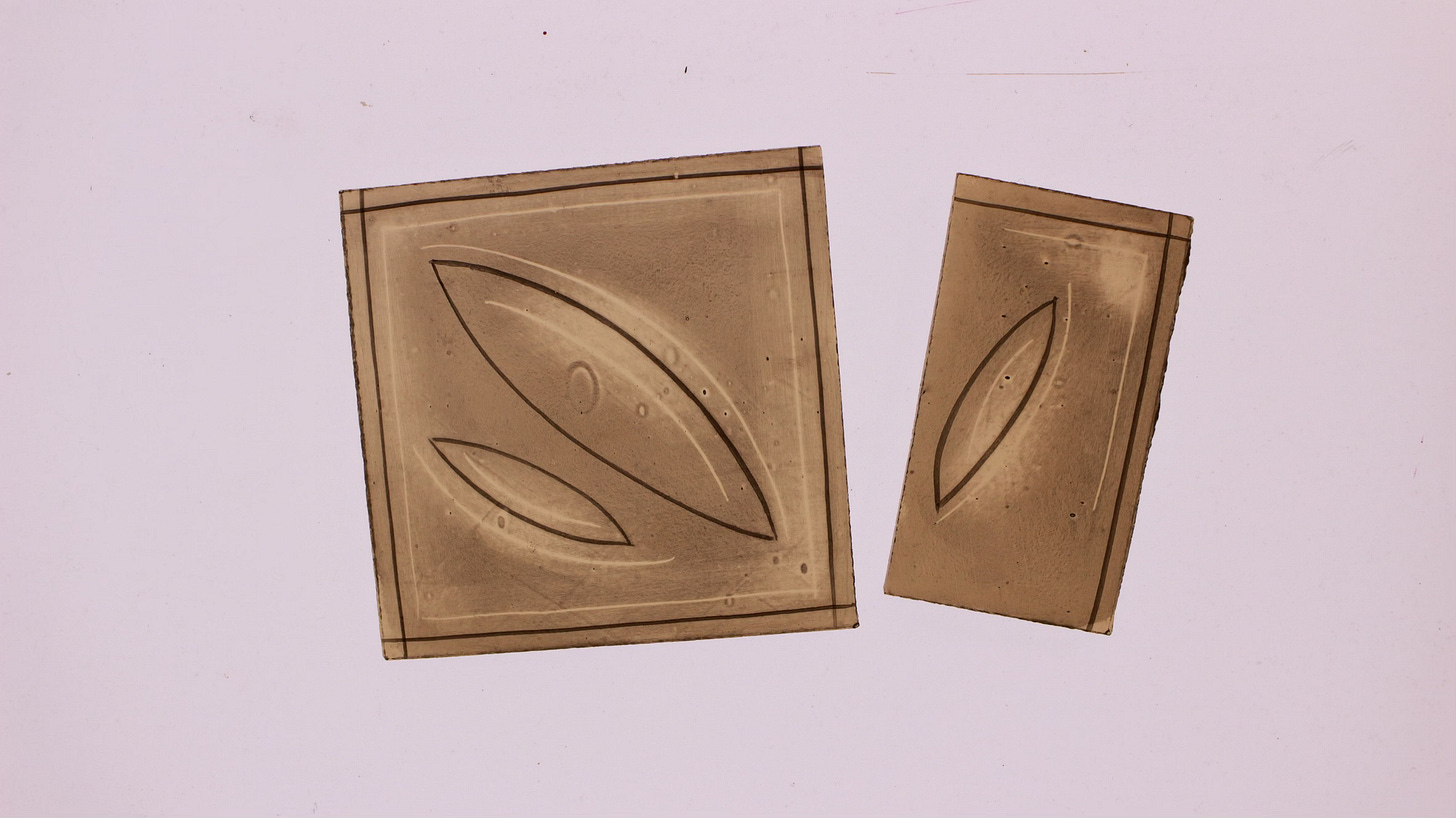
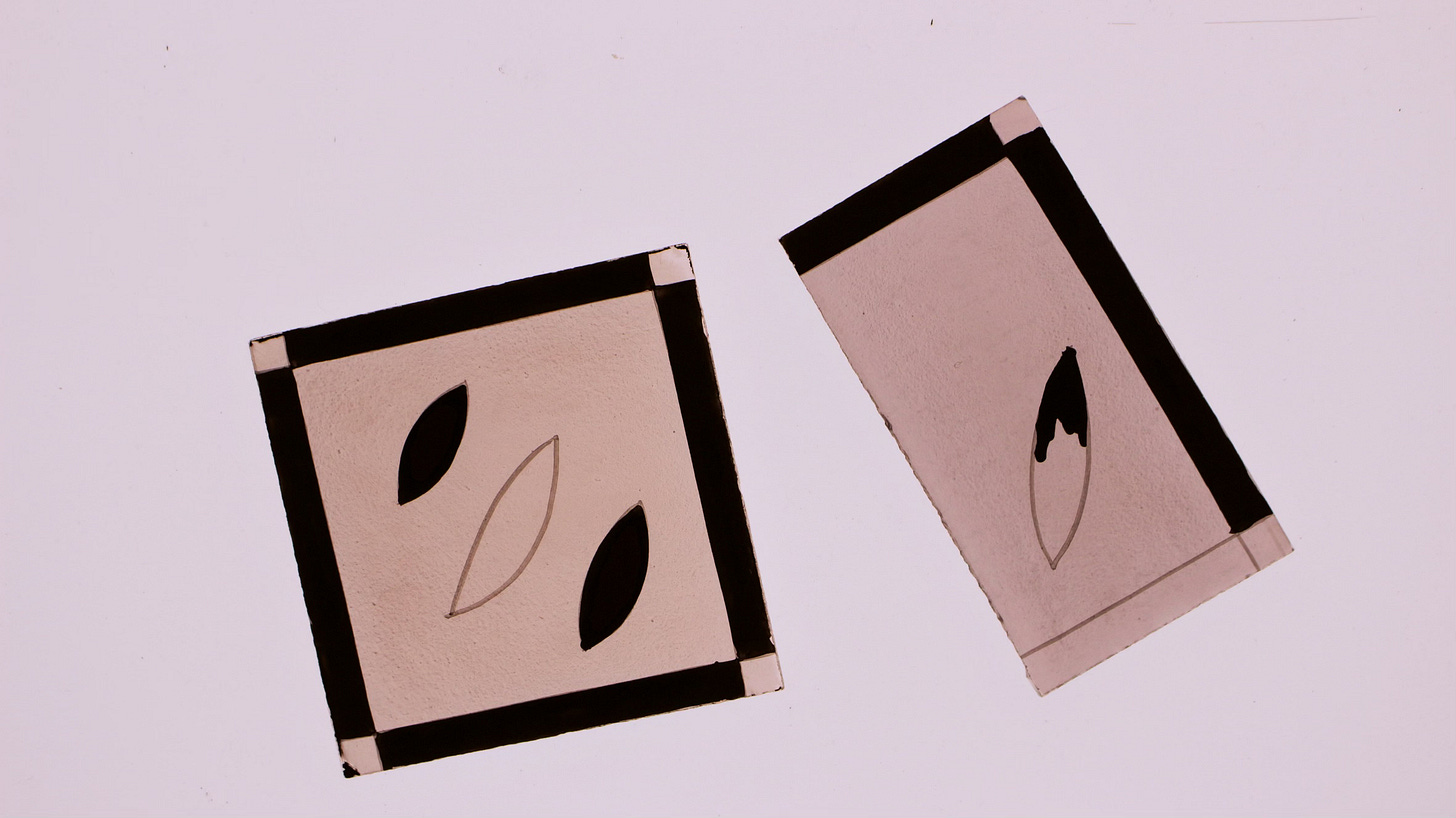
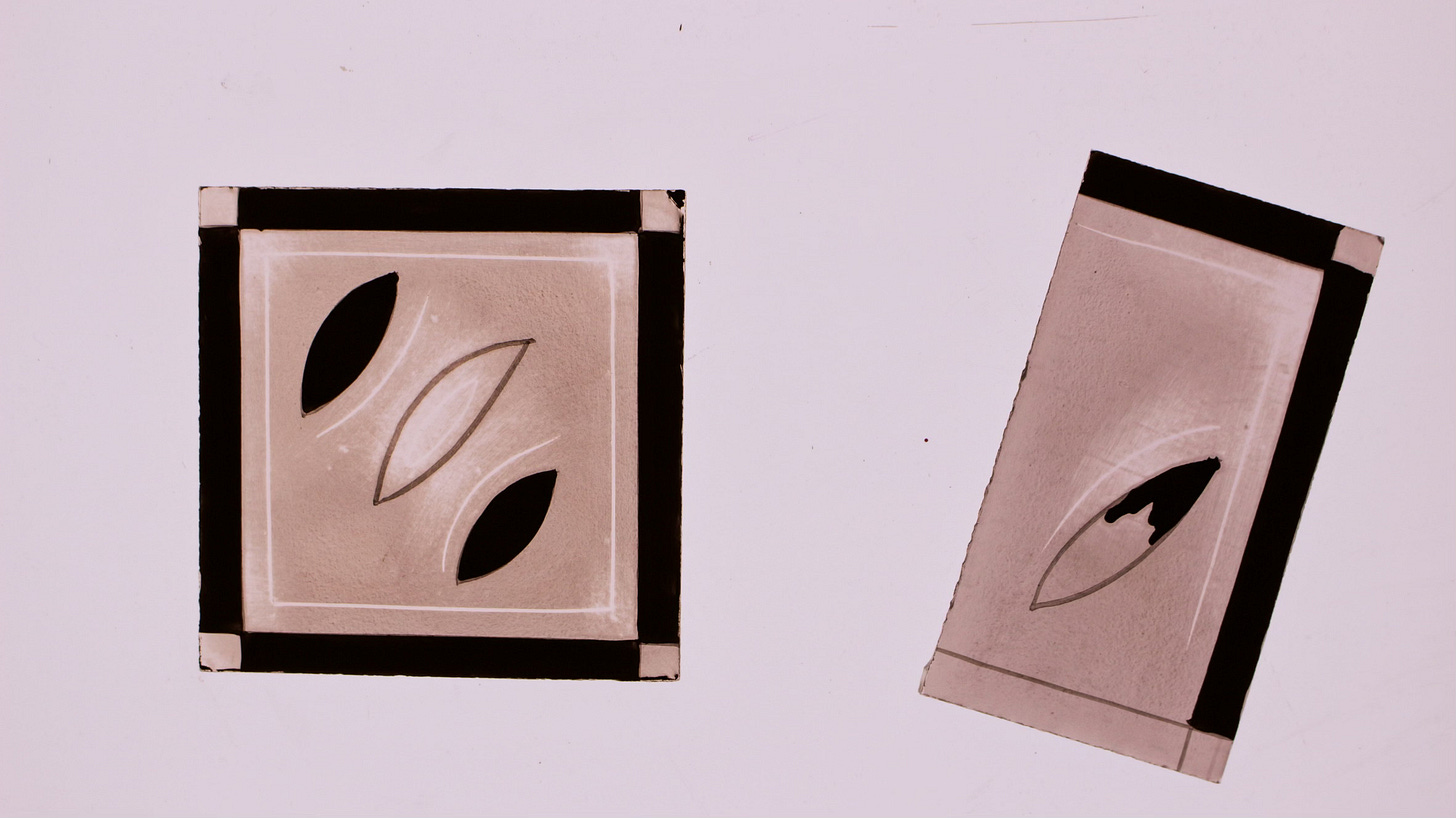
Then, once you feel comfortable with the sequence of mixing undercoating paint, loading the hake, laying down an undercoat, blending, mixing tracing paint, loading the tracing brush, tracing a few lines and curves, adding highlights, cleaning the light box, and then back to mixing undercoating paint with which to load your hake again etc. etc.: then, you can take some clean bits of tinted glass and now practise in their confines that same sequence you grew familiar with on the light box. This is the second exercise:
After a while—don’t however be impatient: the time you spend here with integrity will soon bear fruit beyond your expectations, I assure you—you can try your hand at simple shapes:
When you’re ready, you can include some flooding:
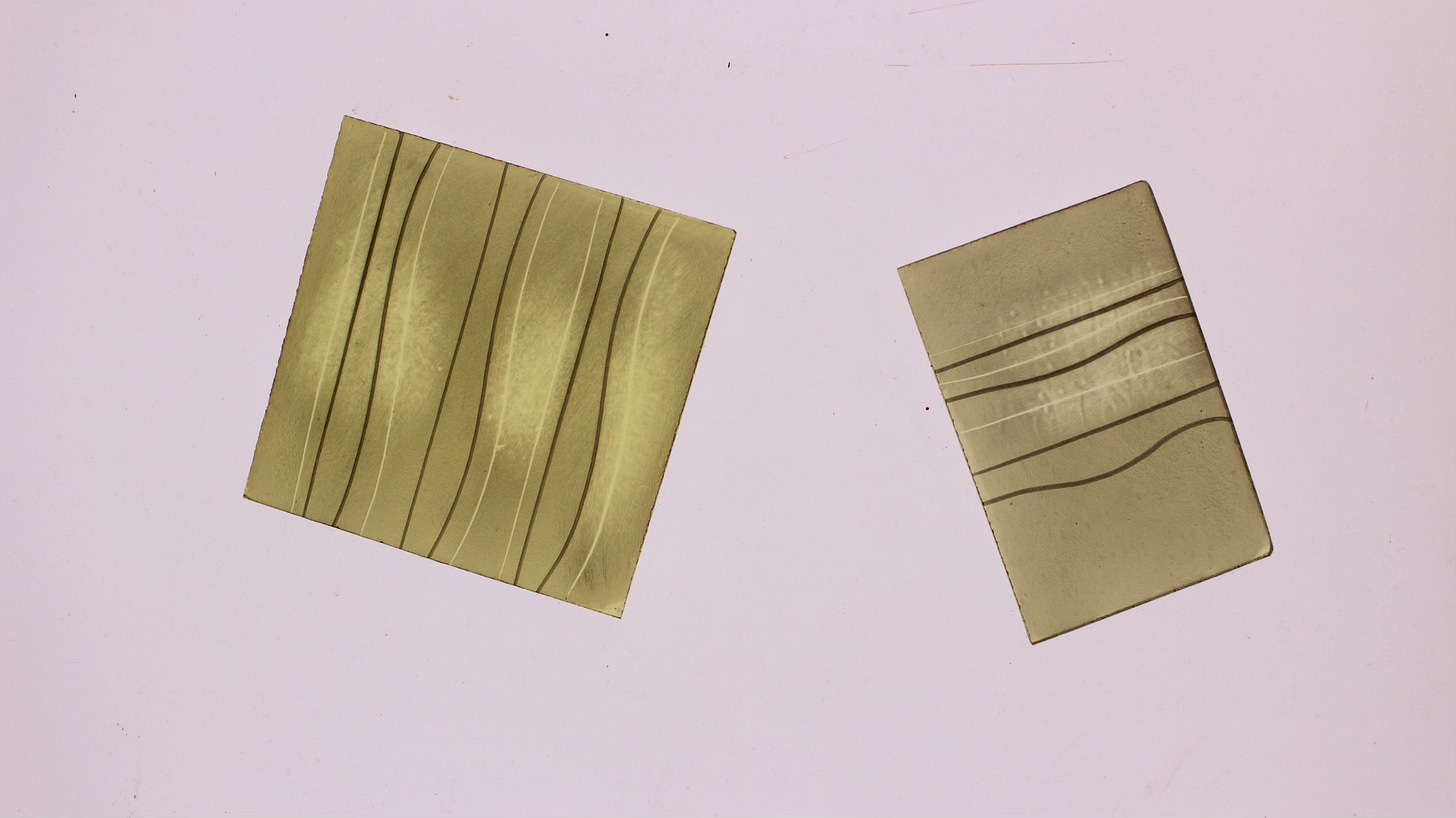
And, when the flooding paint has dried—remember, this will take several, possibly many minutes—you can also highlight these bits of painted glass:
Even when you’ve progressed beyond the second exercise, I suggest you’ll find it helpful to start each painting session with the first. This is not so much because you’re new to tracing or seeking to improve: the light box is in fact where professional glass painters warm up, so that, when they start to paint in earnest, their hands and mind and eyes are fully in the mood.
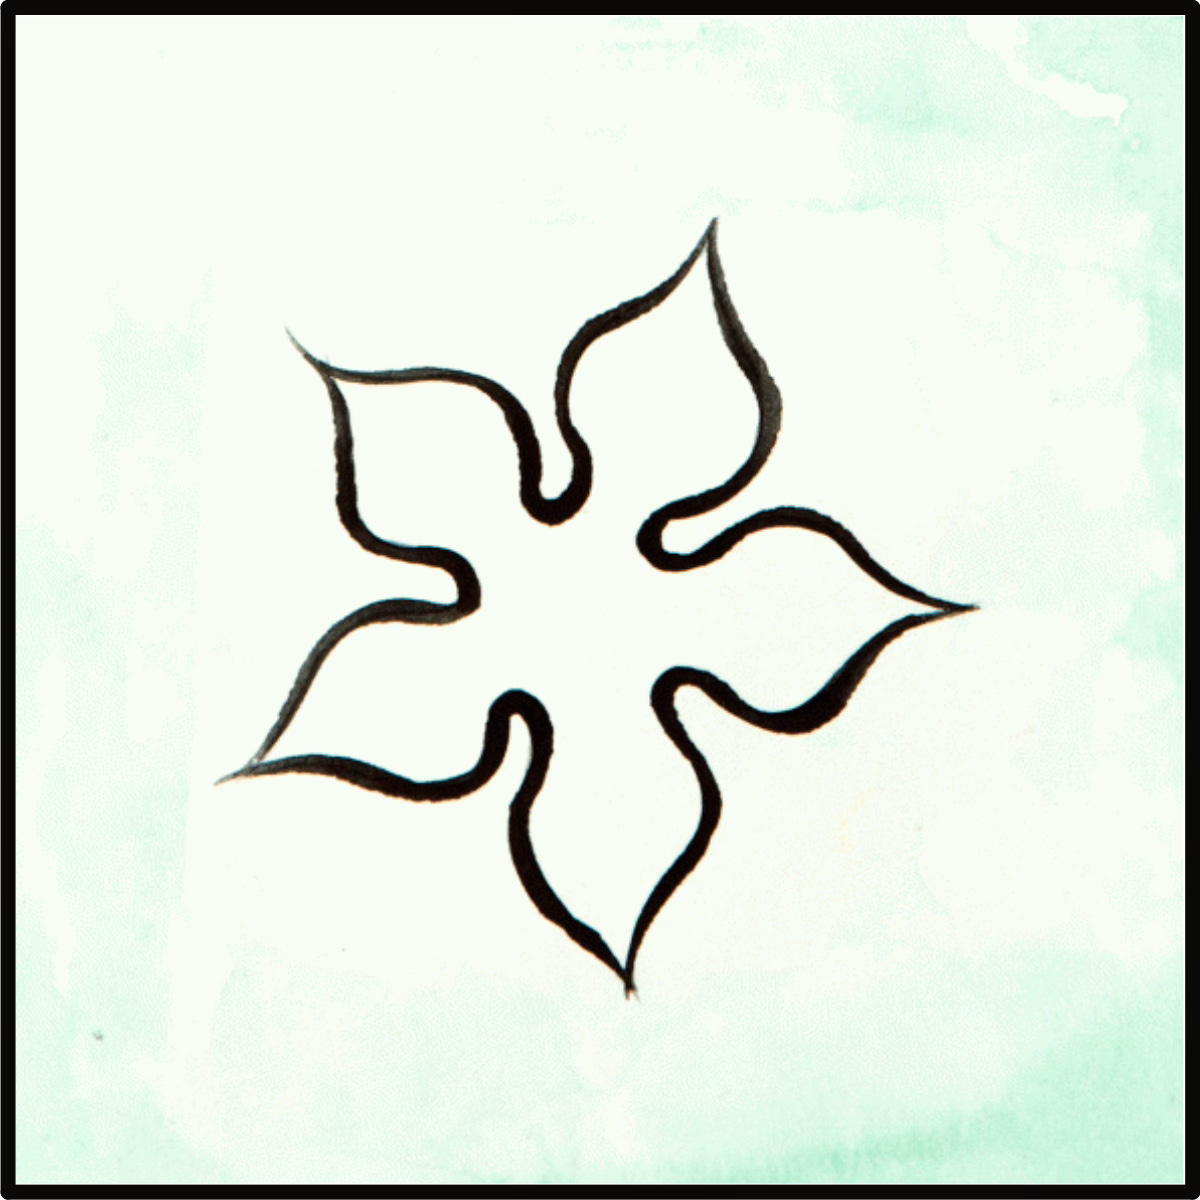
Thus the two exercises which you repeat again and again until one day you “fly the nest” on the wings of a design: the English word is “tracing” after all—that is, direct copying:
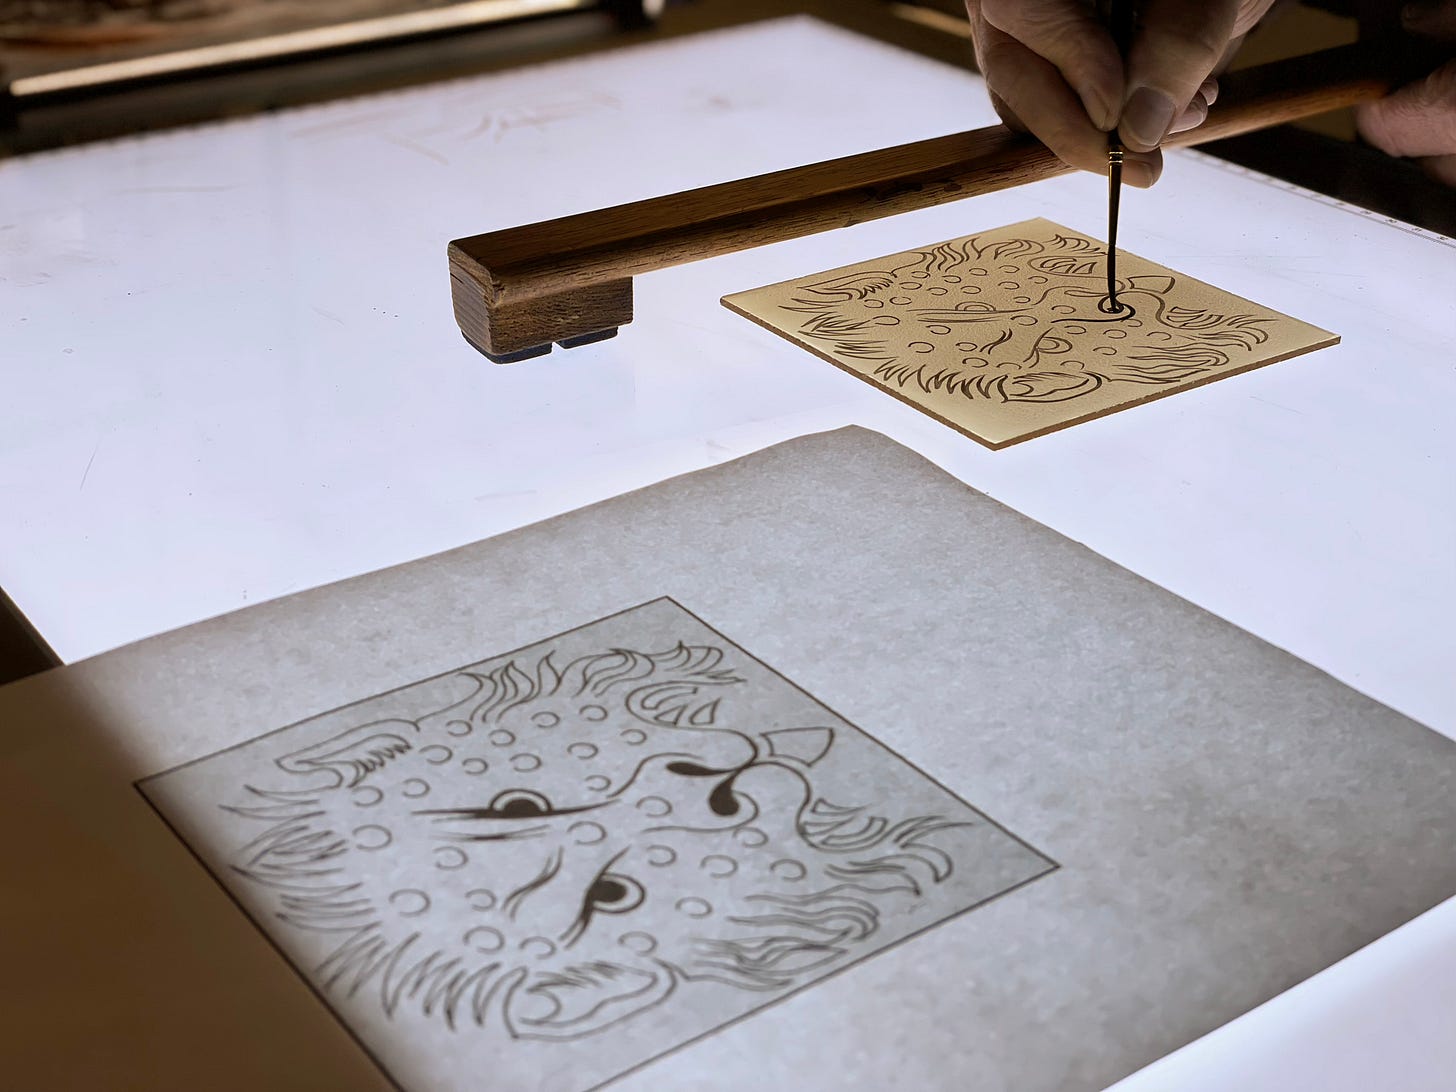
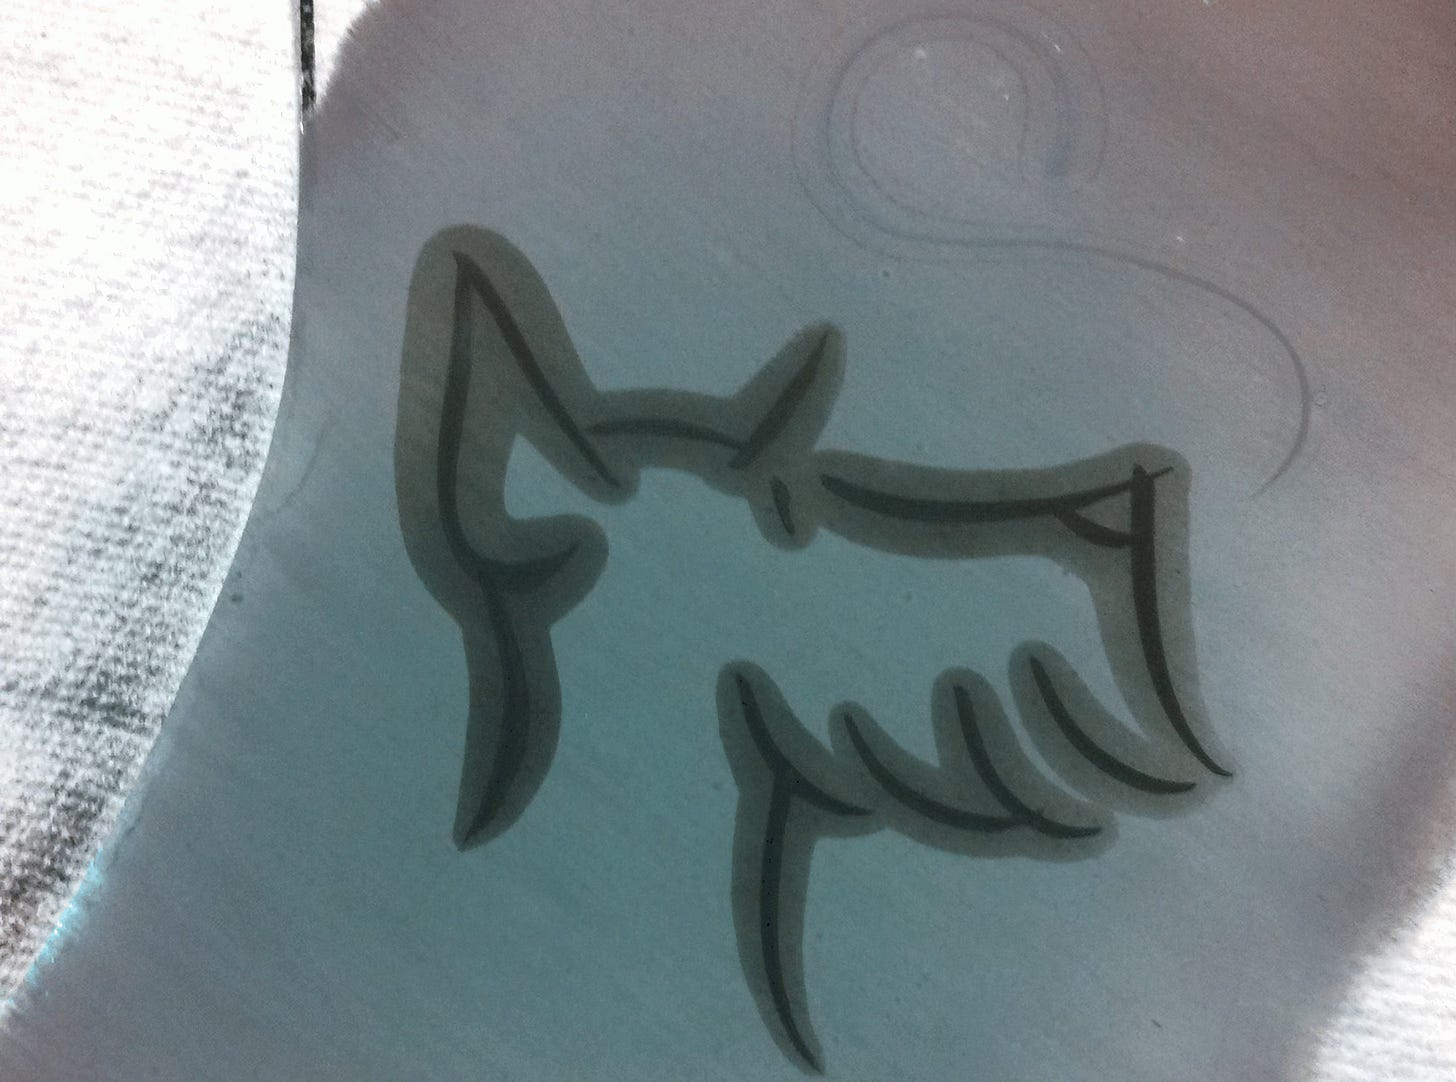
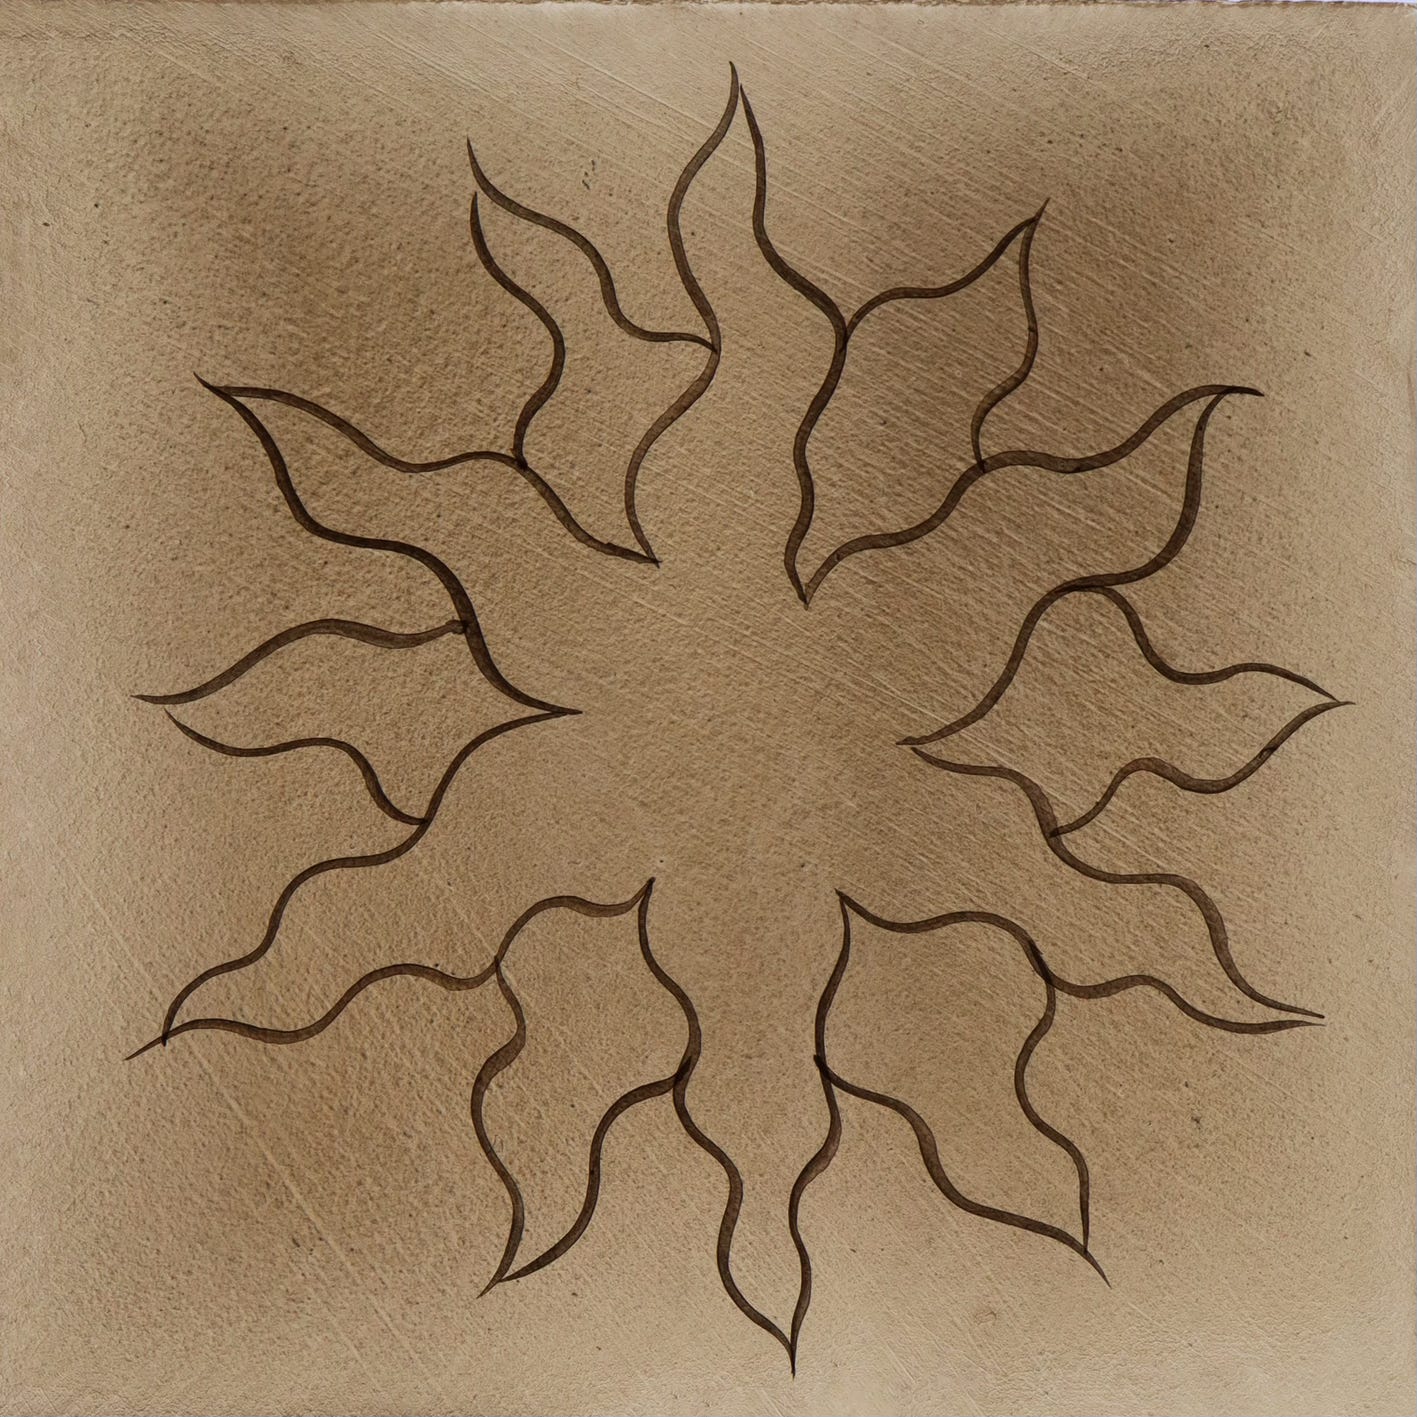
Therefore, when the time is right, the third exercise would be to trace a simple design like this …
… again and again—I really do mean again and again—sometimes also to flood and highlight it, like so …
… or in any of a hundred different ways which you can find out for yourself, because you don’t need my permission to experiment—assuming that you always are attentive as opposed to playful, an attitude it will not surprise you to discover I deplore.
I claimed earlier that the newcomer, because he is a newcomer, can’t yet know what it is he’s aiming at with tracing.
Since a misconceived purpose will often beget a hundred mistakes in execution, I’ll save everyone much time by making clear to you that tracing is not an end-in-itself but simply a process whereby the glass painter lays down the groundwork for the various techniques which follow afterwards.
It’s a subservient technique.
Yes, you likely have to do it, but, just as likely, the eventual viewer won’t be much aware you have.
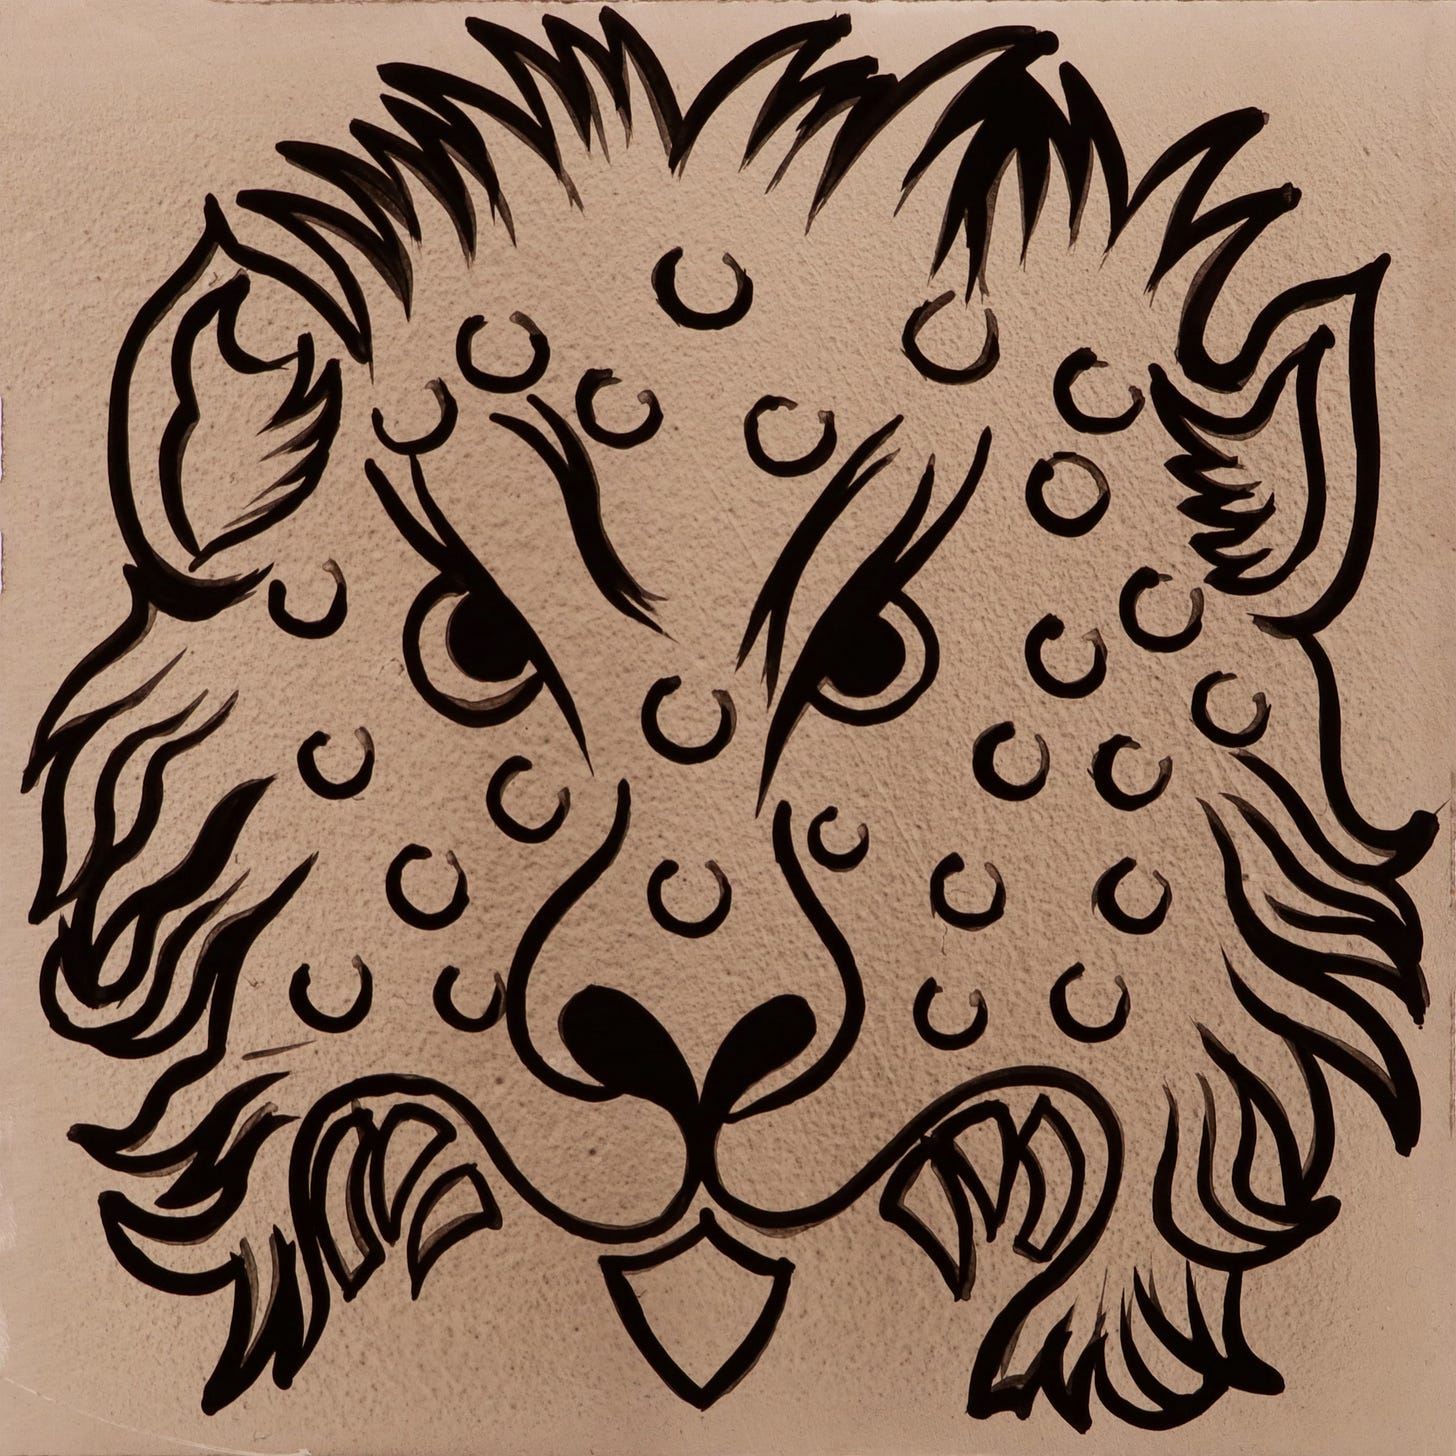
For example, if you want your viewers to experience a bold impression like this, seen from such-and-such a height and distance …
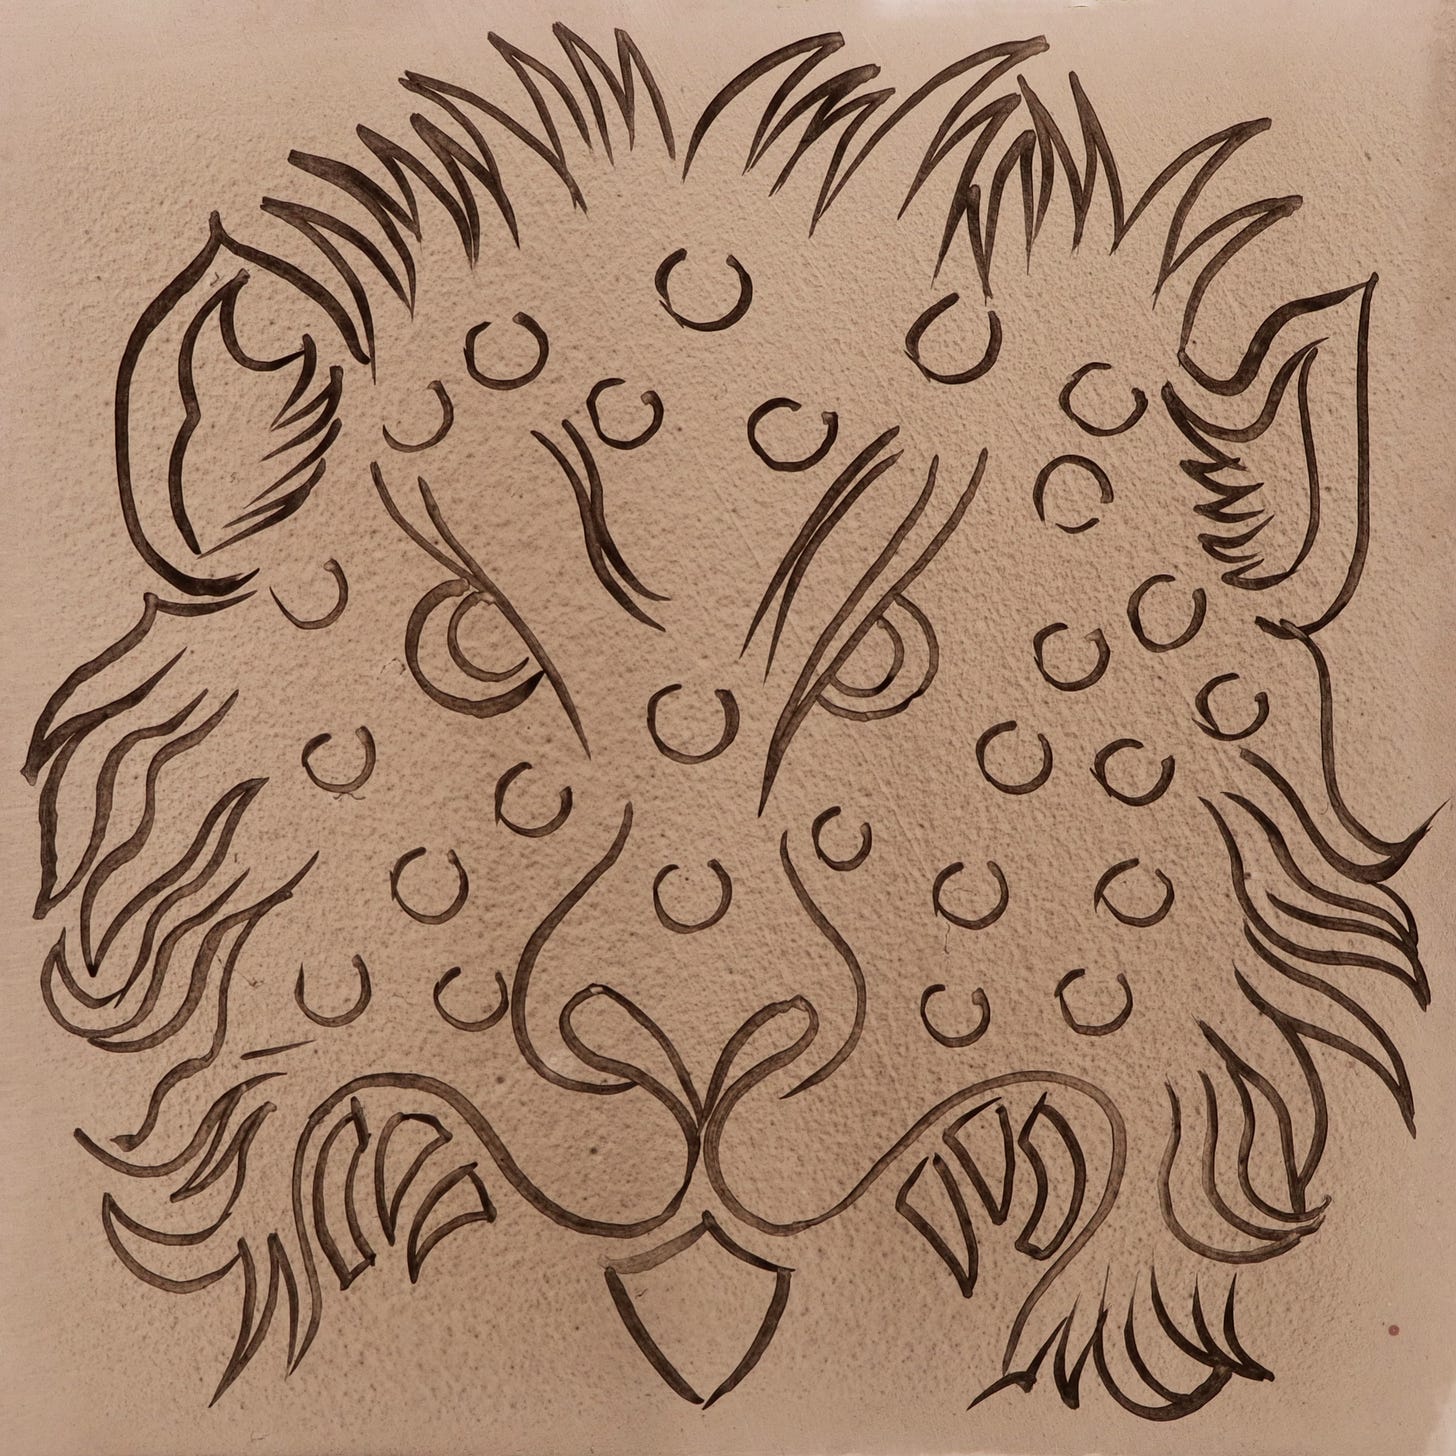
… then, helped by the design, likely you’ll first need to trace your lines something like this:
… because, after tracing, with the design to one side …
… you can darken and re-shape those light, thin lines, a technique that we call strengthening:
Do you see the matter rightly now?
The reason a glass painter takes such considerable pains to trace an image accurately and lightly like this …
… is so that he can paint strong dark lines over them like this:
And that he can eventually arrive here:
All that truly matters is that the trace-lines support everything which follows, for that is what the viewer mostly sees and loves.
The newcomer’s misconception, however, is to imagine that tracing takes him further than it does.
Thus confused, it is natural that he makes his trace-lines stronger than he should.
But no sooner does he see his misconception than he is freed from the compulsion to mis-act on it.
Let us therefore now change tack and address two key points of practise.
During the weeks you’ll need to get familiar with the technique of tracing, always aim for light, thin lines, for then you’ll find it easier to adjust them afterwards, which, if you’ve followed the whole sequence of our correspondence, you can already do by means of flooding and by highlights. (As for strengthening, I’ll give you ample demonstrations in a month.)
The simplest way to make your trace-lines light is by using paint that’s not a whole lot darker than the paint you’ve used till now for undercoating.
To make your trace-lines thin, paint with your brush’s tip. Focus your eyes and attention on the tip, and really make it work. When your reservoir of tracing paint is as it should be, you might be pleasantly surprised by the quantity of lovely lines the brush’s tip—just its tip—will paint for you.
If you suffer water-marks, you must identify and then eliminate the cause, because this seepage can damage the techniques which happen later. It can especially harm your highlights.
Is there a hidden store of water in your brush? This can happen if you rinse your brush and then neglect to get rid of excess water. One solution is to rinse your brush then flick it several times behind you.
Have you failed to adequately mix your reservoir of tracing paint, causing some parts of it will be more watery than others? The answer is to thoroughly and regularly mix your reservoir, thereby ensuring an even distribution of pigment, gum and water in the paint you trace your lines with: the now well-distributed gum will help bind your paint’s ingredients together.
Is there enough gum Arabic in your paint? Without sufficient gum, the undercoat can’t resist the water in your tracing paint. Also, water and pigment will have trouble staying close to one another for the time it takes your lines to dry. If you also experience problems with softening your highlights (see my third letter in this series), you now have additional evidence that your lump of paint requires more gum. The solution is to increase the quantity of gum. Just five or six drops could be sufficient. Once you’ve thoroughly re-mixed your lump, this cause of water-marks will be removed.
Then you can get back to the business of practising those light, thin lines I’ve suggested you should aim for:
Light, thin trace-lines being the standard while you practise, I’ve yet resolved to show you that sometimes it is helpful to paint trace-lines which are somewhat dark and maybe also thick.
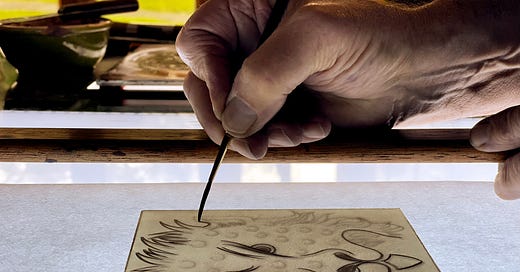
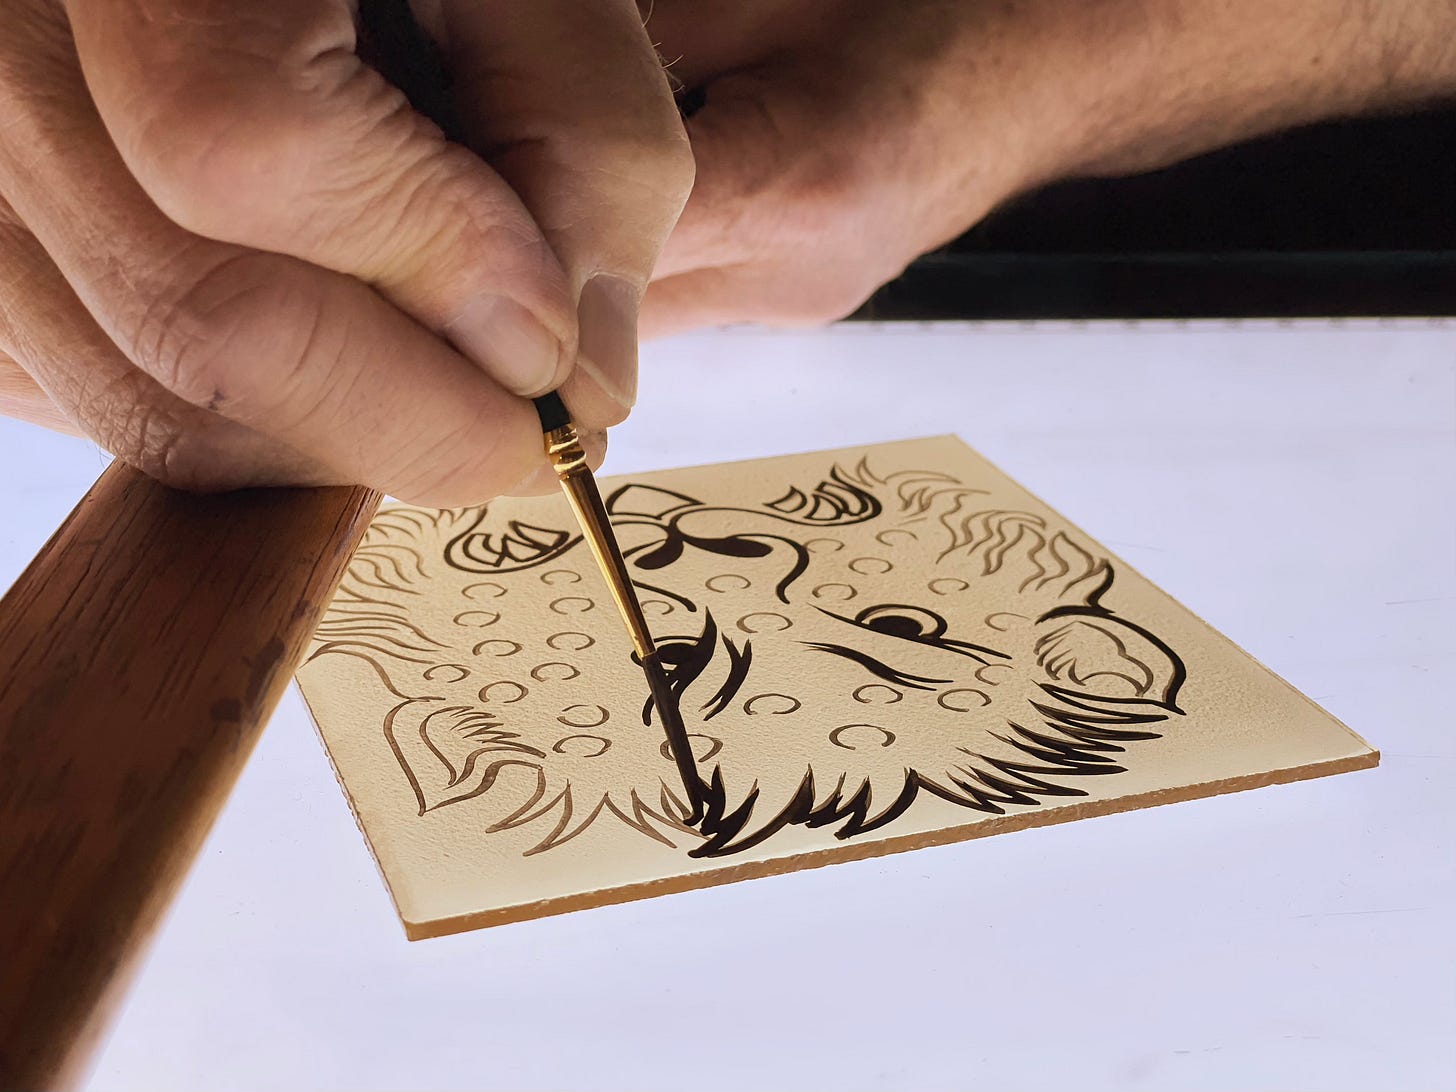
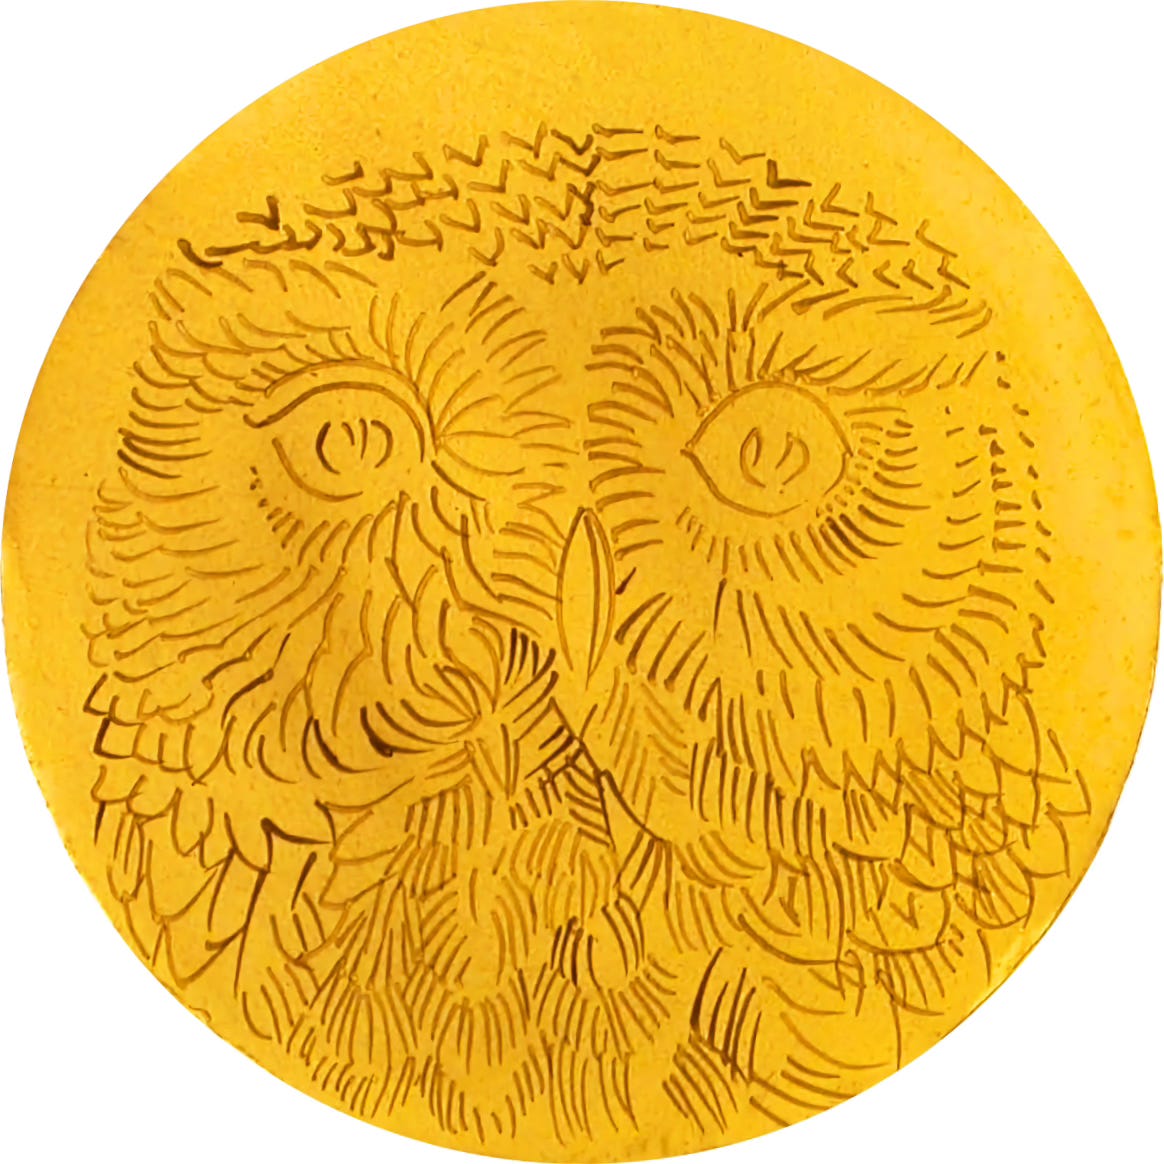
Here’s a demonstration of how to trace a beast according to the sequence of techniques I laid out in letter 6; there’s no need to check back because, as is my way, I’ll go over everything again, and also show you how it’s done.
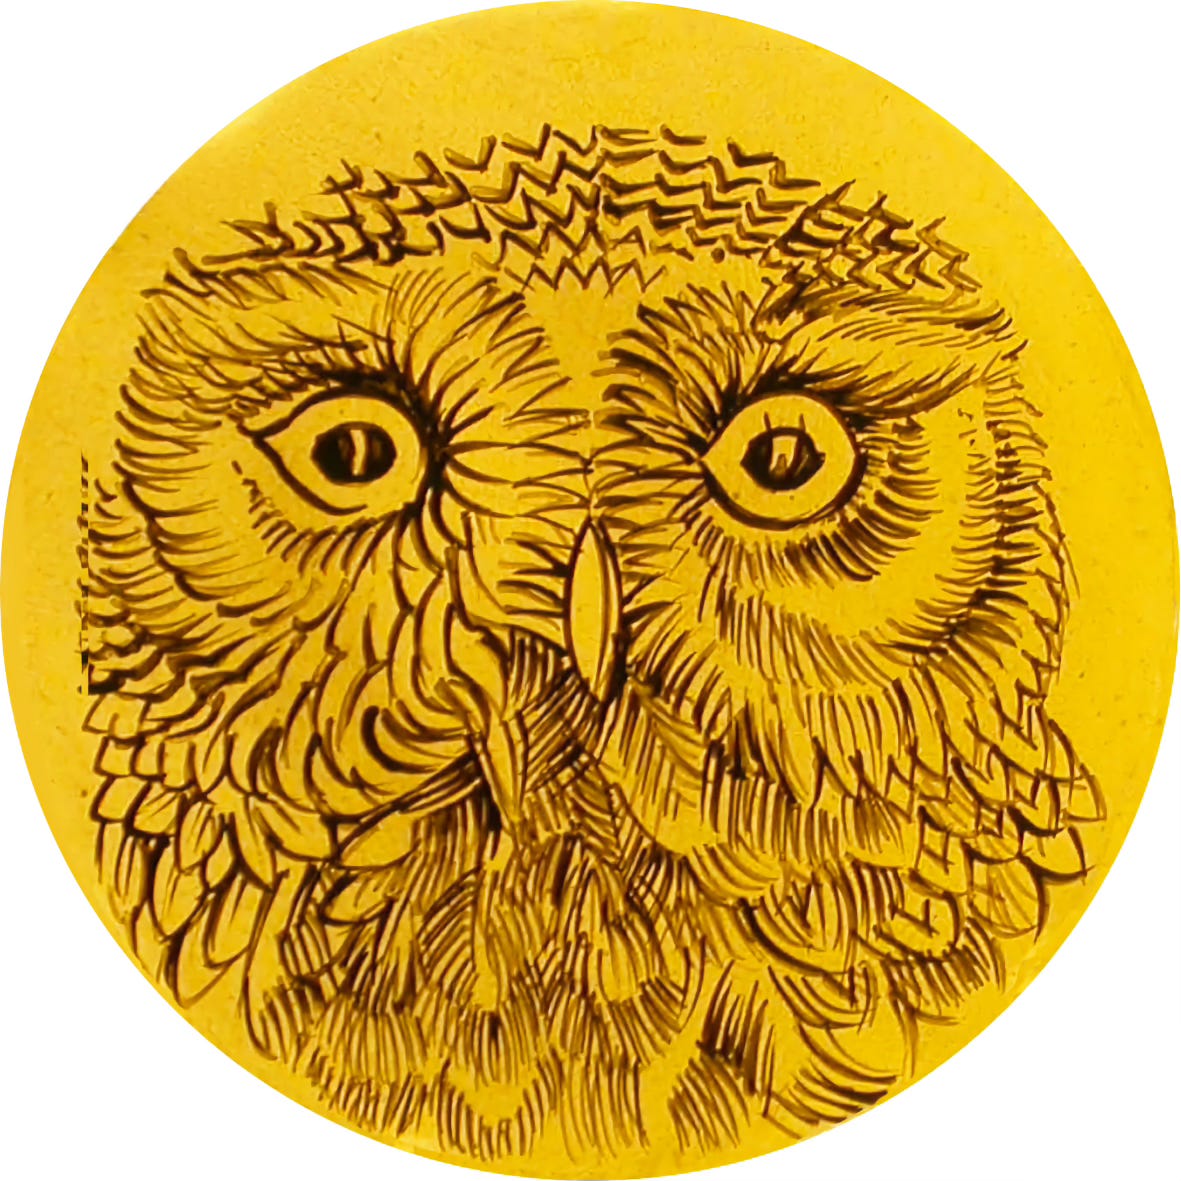
As you’ll see, the techniques we have in store require that the traced-lines be darker than is usual.
Thus even dark lines demonstrate the rule that tracing is subservient to the techniques which follow afterwards:
That’s everything for today. If you have questions, you can leave them on our website:
All being well, which has long ceased to be a reasonable assumption, I’ll write again some two weeks hence, on glue, because there are a lot of broken pieces in the restoration project I am describing in my letters’ other strand: yes, glue—sometimes it happens that we glass painters are not allowed to paint but must repair instead.


