It has been often and sometimes sharply said to me that I repeat myself; indeed, I see no point in hiding from the fact that sometimes I repeat myself.
Sometimes I repeat myself because I am not acute of brain the way I used to be.
Other times I repeat myself because, in my haste to get the next task accomplished, I do not spare the time to check if I have already made some particular claim to you before.
My third ground of repetition is that sometimes I repeat myself on purpose, because I fear I was not clear enough the last time that I made a point to you.
Or I suspect I hid the point amidst ten others and therefore made your eyes glaze over.
Since, when this happens, you are too invariably far away for me to tap your knuckles with my bridge and to beg you, “Please take this point on board: it might look simple, but I cannot emphasise enough its power to change the way you paint stained glass”, I repeat myself and hope my message sticks this time, as with this point here, which I know I’ve made before, though in a different way, and jumbled in with other observations:
When you paint stained glass—corrections being difficult if not sometimes impossible—you have but one clear chance to get it right, so why not give yourself a second chance?
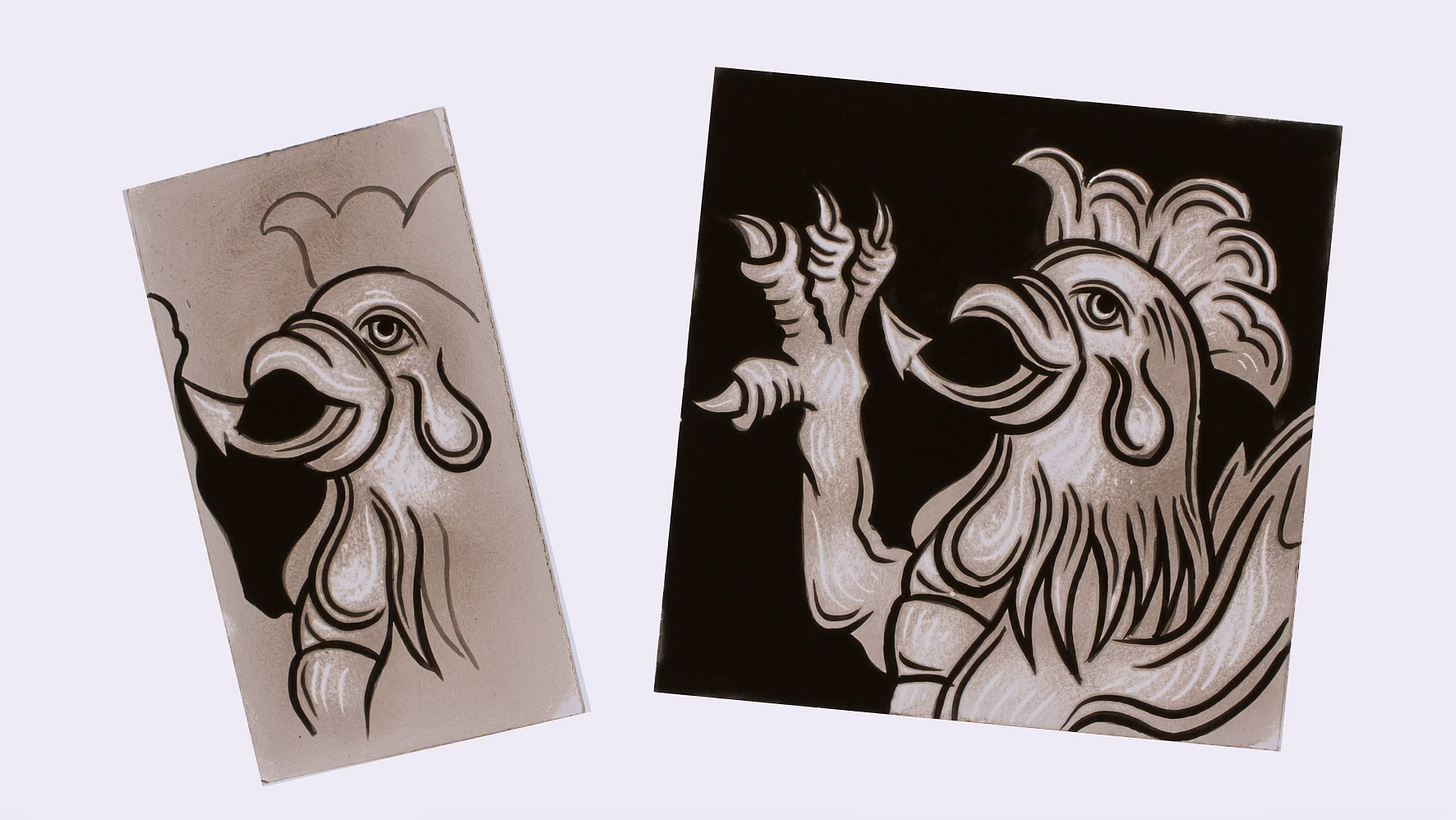
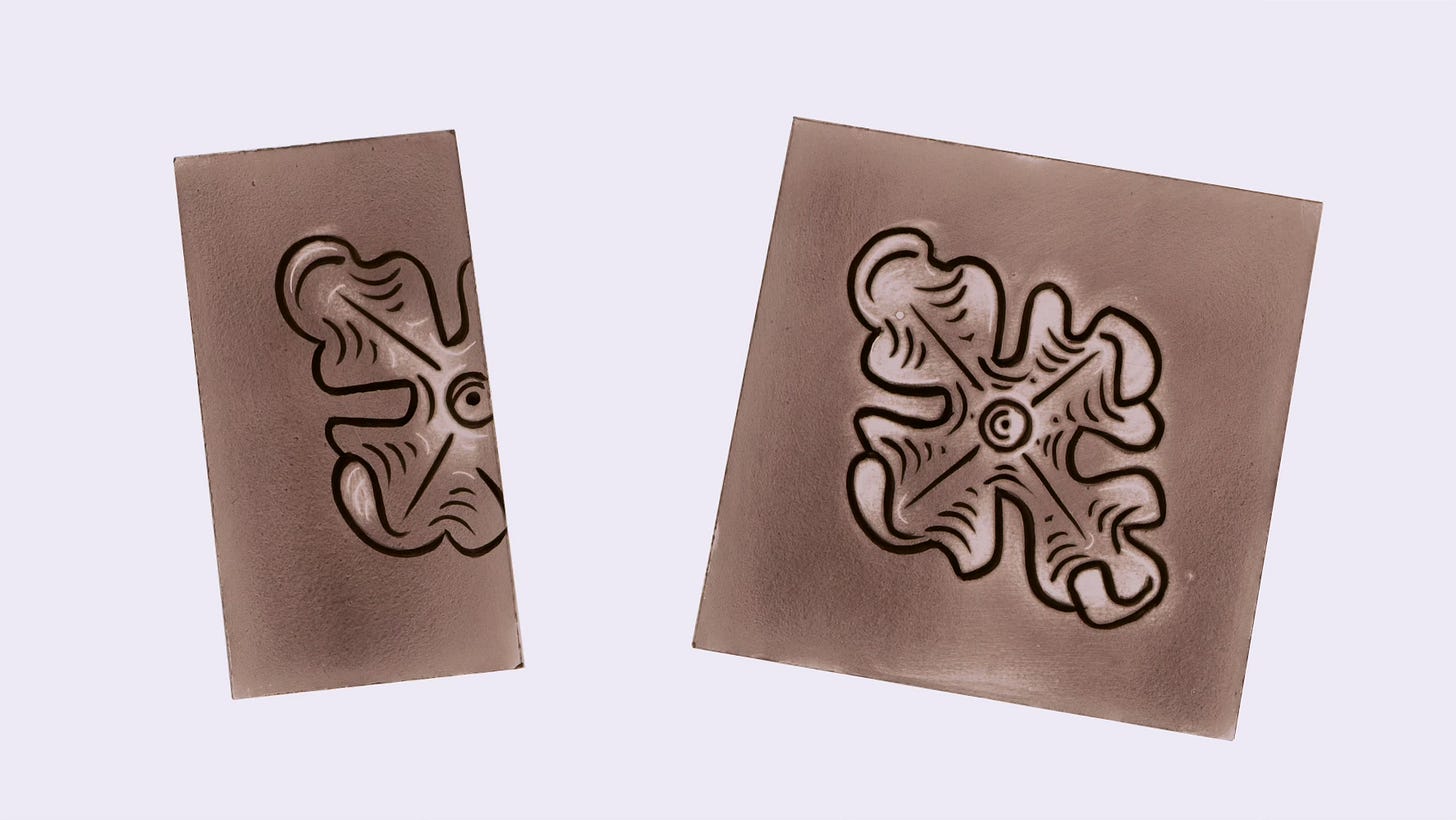
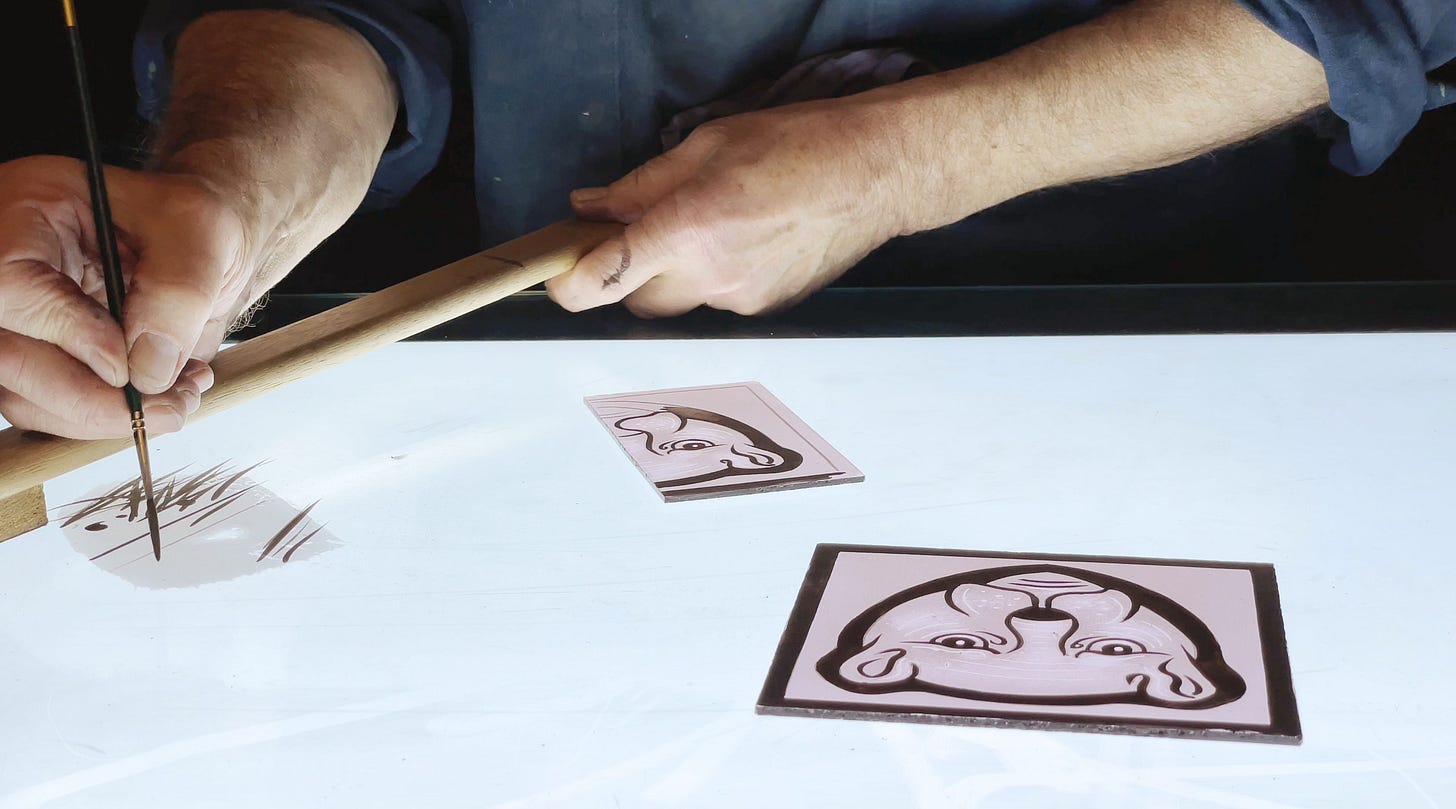
Despite the whiff of paradox, such is the purpose of those half-painted fragments whose images punctuate this letter to you. Although these fragments march in front of the full-sized piece that you are working on, it is they which provide you with your liberating second chance. I shall explain.
To state the problem which faces every glass painter, not just the newcomer: each time you change technique, or brush, or tool, or consistency of paint, you venture into the relatively unknown. This is the time when it’s especially common for mistakes to happen.
Here now is the solution which the experienced glass painter advises you to try: since it would be reckless to advance without rehearsal, you simply must rehearse—there is no other way.
Therefore you should make sure it is some appropriate, other piece of glass which experiences the new technique, or brush, or consistency of paint until such time as you are confident that all is well and you know what you are doing.
The moment that time comes, you set your other piece of glass aside. Then, with a composure you did not—could not—own before, you focus on the main piece whose beautiful completion is the purpose of your current painting.
For instance:
You undercoat the fragment and then, all being well (for, if it isn’t well, you repeat the exercise), you undercoat your main piece.
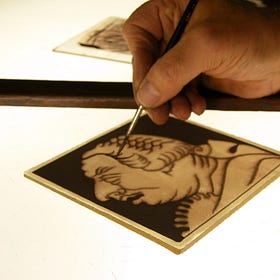
You practise tracing on the fragment till you are confident that your paint and brush are right, and you are used to working from the bridge, and then you trace for real.
And so on.
All glass painters—even the experienced ones—need a place where they are comfortable to make mistakes and can learn from mishaps without panicking that everything is lost if a line is runny for example or if they push too hard when softening their highlights.
That space is—their “companion piece”, that half-completed fragment.
Here are some suggestions:
The companion piece should be the same colour as your main piece.
Your companion piece should be smaller than the main piece. (This denies the painter access to the usual ways in which the fragment might otherwise be used.)
You should practise on the companion piece till you become confident with a particular technique.
You should also practise till there’s enough of a technique for you to rehearse the subsequent techniques. Therefore, you’ll usually need all the undercoat, for instance, and more than just five or six trace-lines.
Don’t allow yourself to fall in love with your companion piece, or you will dispossess it of its power. If mistakes are going to happen, it is good they happen to the companion piece: you should have the frame of mind to welcome these mistakes, though they ruin the companion piece—if your main piece is thereby saved.
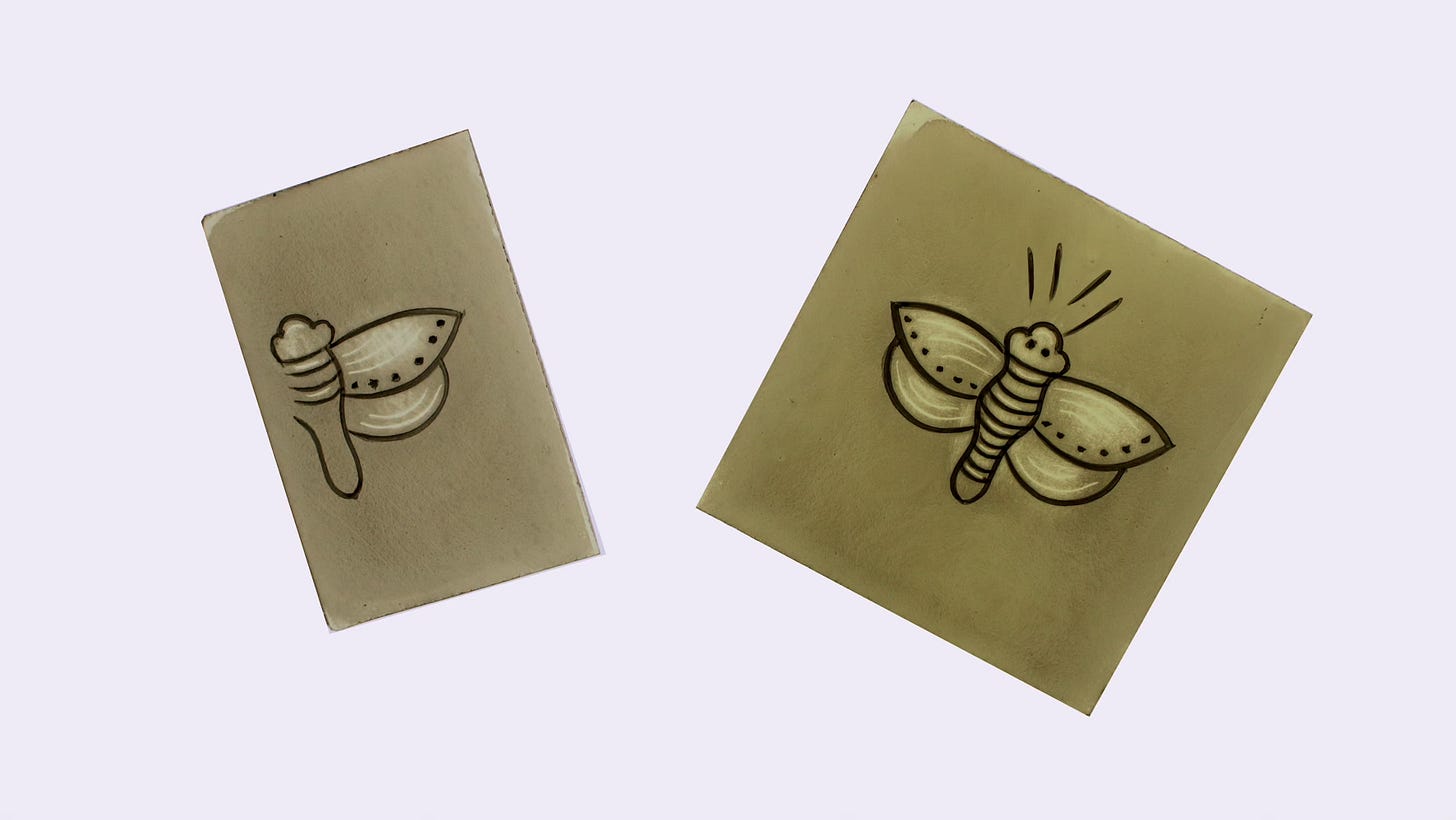
Which brings us to this spotted fellow here:
Observe the rules applied:
Smaller,
Same colour,
Enough to become confident,
Enough to practise subsequent techniques,
As it happens, it’s attractive—but even had it been a wreck, the evidence from the main piece would be that the companion piece had fulfilled its purpose.
However, the companion piece as such is not the main reason that I write to you and repeat myself (see letters 1, 2, 7 and 8, for instance: do you see? This time, I checked).
The shadow is the point.
That shadow on the left-hand side.
It is a shadow on the back.
This shadow on the back is an intriguing way you can practise an easy relative of the difficult technique I demonstrated to you last time …
Techniques
I am not saying this likeness of our third King George is enchanting-in-itself, for it is not. It is very dark. It is so very gloomy. Rare therefore are the windows where such a piece of painted glass as this—layer upon painted layer—would be necessary and also beautiful:
… without fearing you might destroy all that careful, time-consuming painting on the front (the challenge of softened lines, to which I shall return next year): because, if you don’t like your shading on the back, it is a matter of a minute’s work to rub it off and try again.
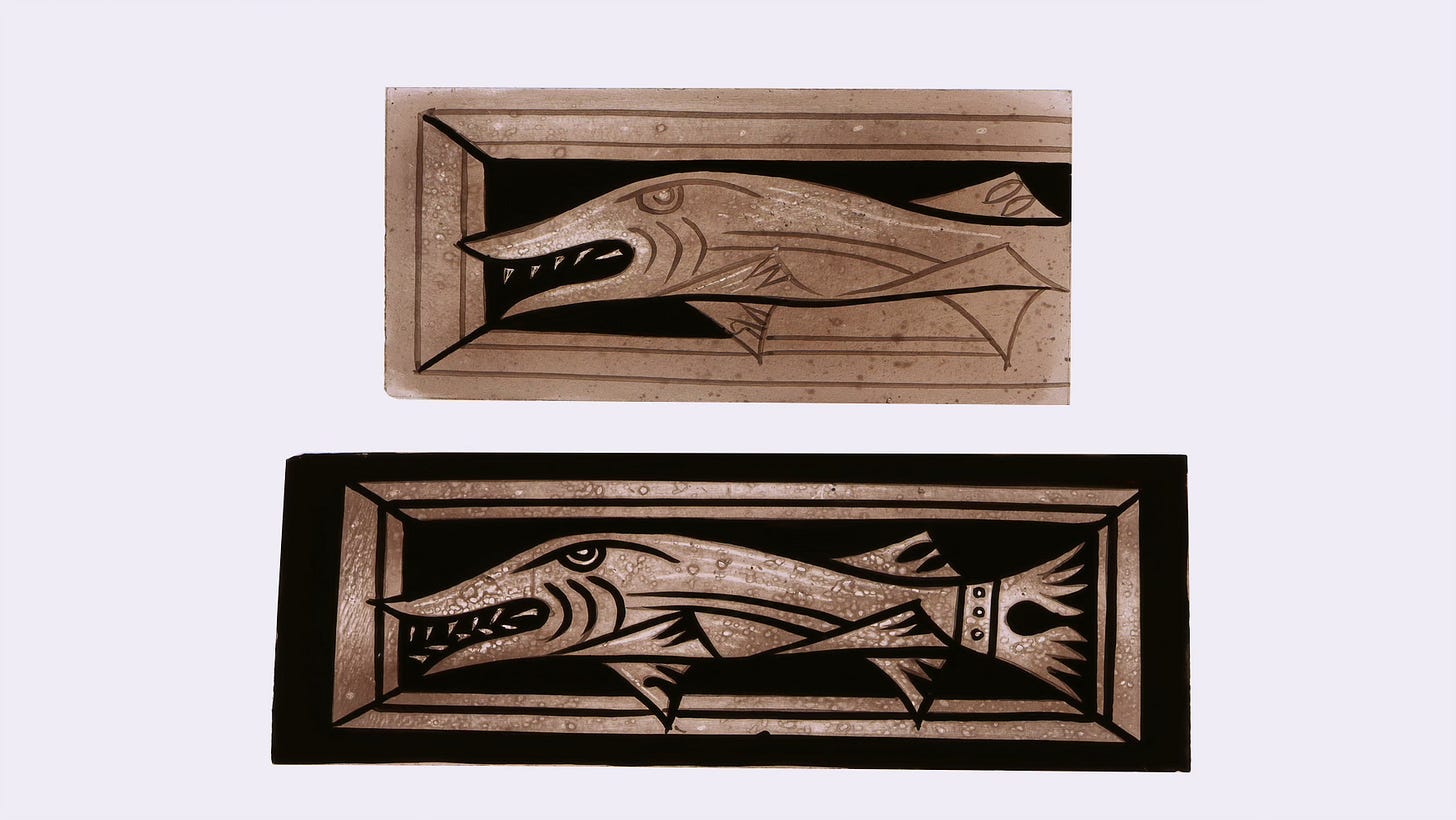
Here are the stages for that leopard. Observe how the companion piece bravely goes in front each time so that the glass painter might check his paint, or choice of brush, the angle of his bridge, how he grips his stick for highlighting, and so forth:
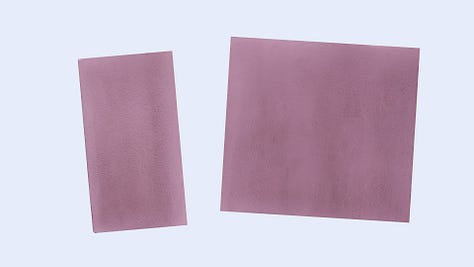
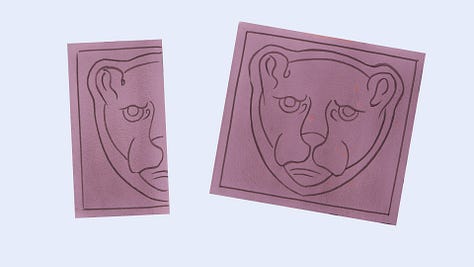


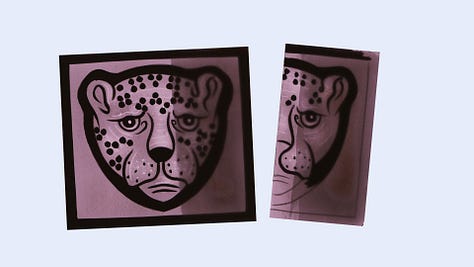
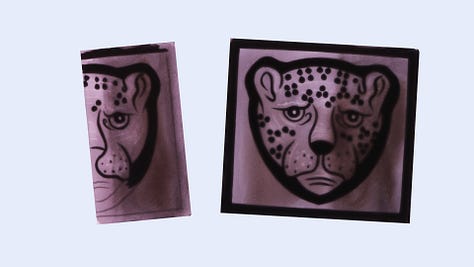
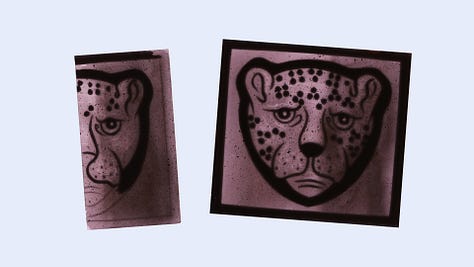
When, after the last of the above nine stages, you rub the the companion piece’s paint till some of it lifts off, this is what you get:
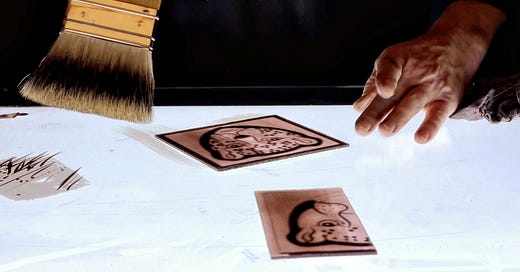
Which means of course you’re confident about how much pressure and time will be demanded of you when you come to rub the sprayed paint from your main piece.
Here’s a demonstration. I’m brass-faced enough to confess an error: we forgot to clean the main piece.
Therefore, when we came to soften the shadow on the main piece, it took some pushing and last minute cleaning to successfully lay down the wash.
But it’s good you see us do this since, sometimes, when you find your glass is greasy, you’ll remember it’s possible to hold your nerve and have your way, despite the inhospitable conditions.
Also observe and appreciate the advantages which your companion piece permits. As you know already, the companion piece survives. But, even if it hadn’t, its injury would have served a noble end.
Then you fire your glass, possibly increasing the soak time so that you can be sure the back is also heated to the necessary temperature.
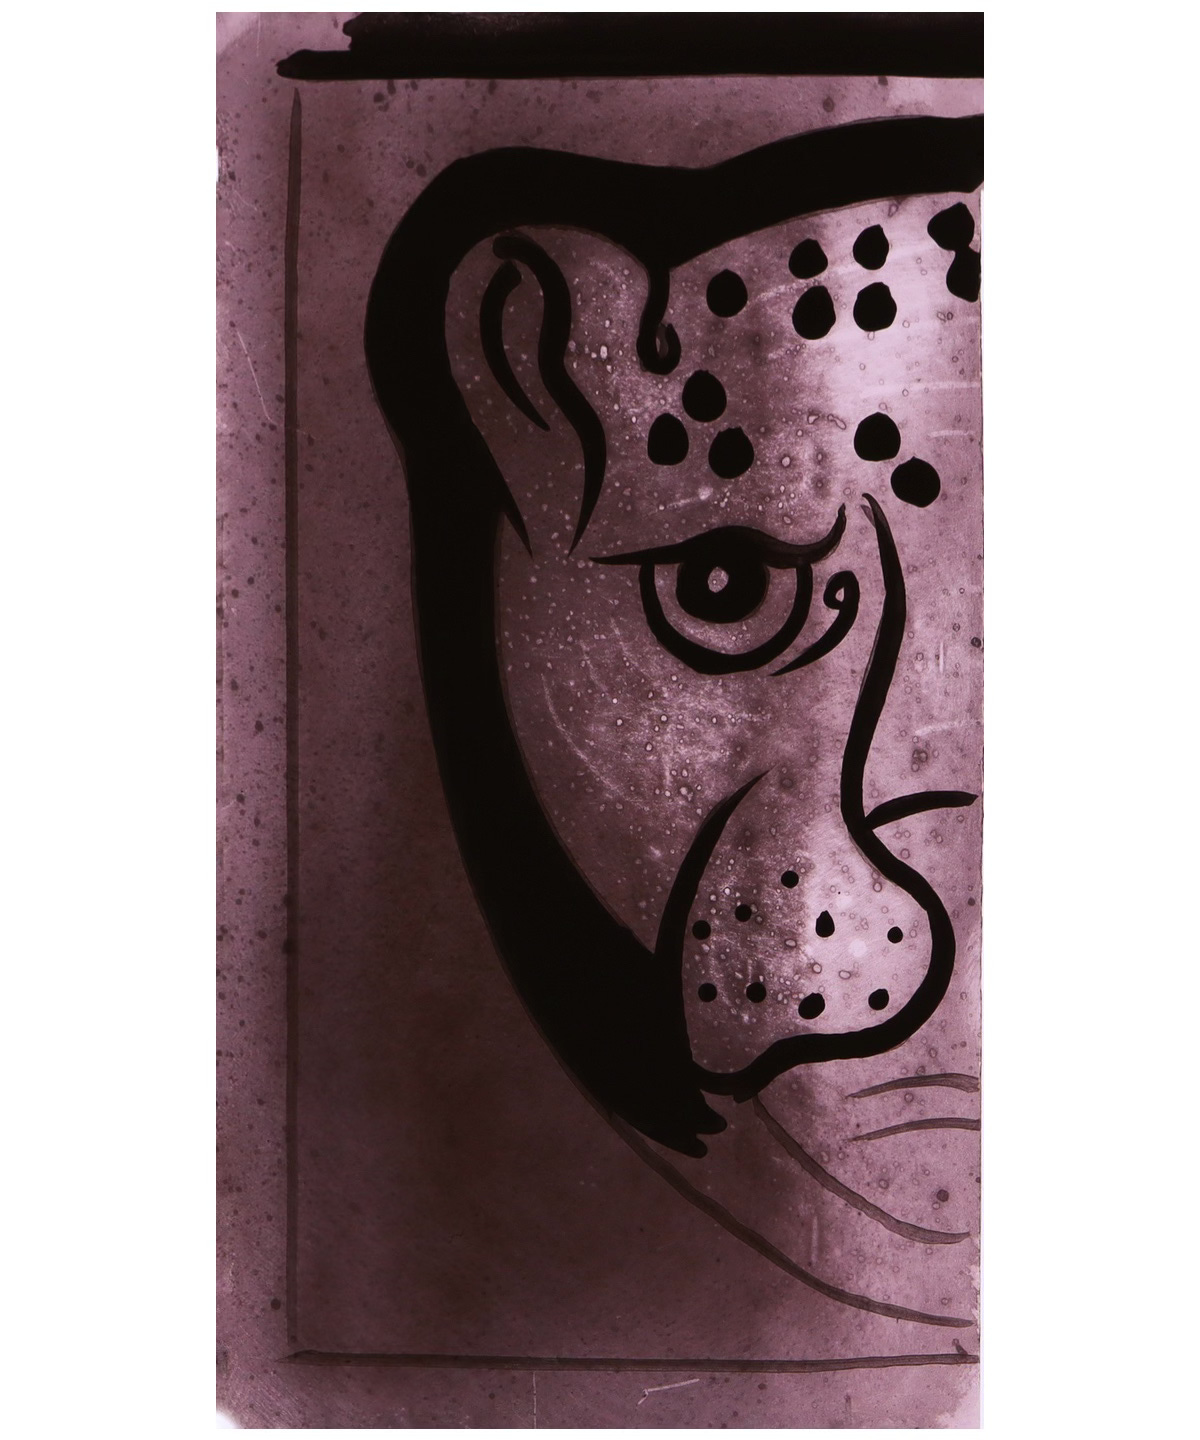
Here’s the water-coloured design, if you wish to paint a leopard:
Here’s a traced and inked-in version. It reveals the kind of preparatory work that we (or you) might do; a design is like a map—it serves little purpose if it fails to provide the clear information which you require right now, to successfully accomplish the specific task (tracing, for instance, or highlighting) you have in hand:
If this means two or three designs to make the instructions clear, so be it.
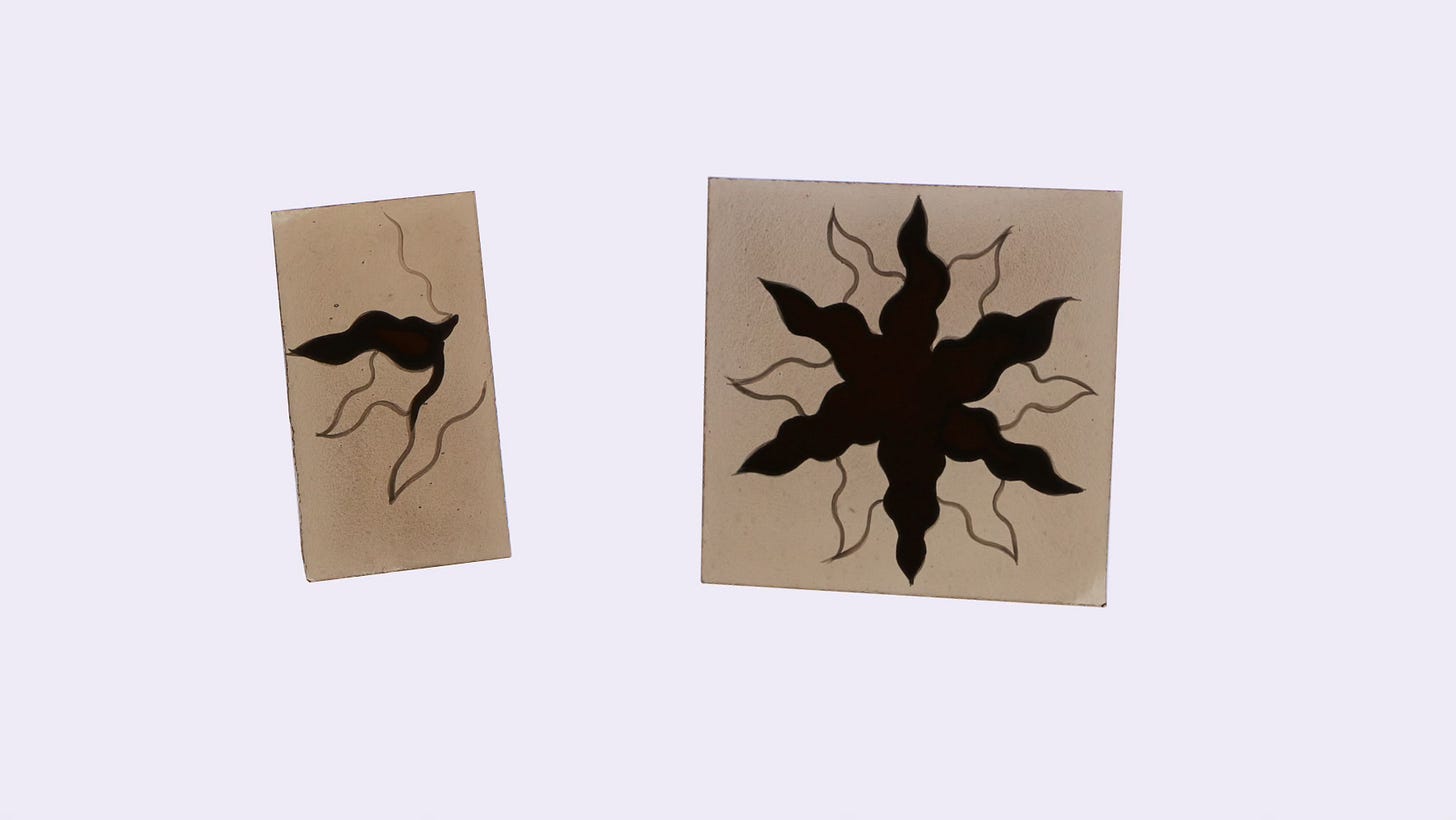
You can also practise these techniques—softened shadow, and spottling as we call it—with the sun-star which you’ve met before in many other letters:
And remember, so that I can be confident that I do not need to repeat myself again: if mistakes are going to happen, you should be happy when they happen to your companion piece—and your main piece then turns out as you had wished.
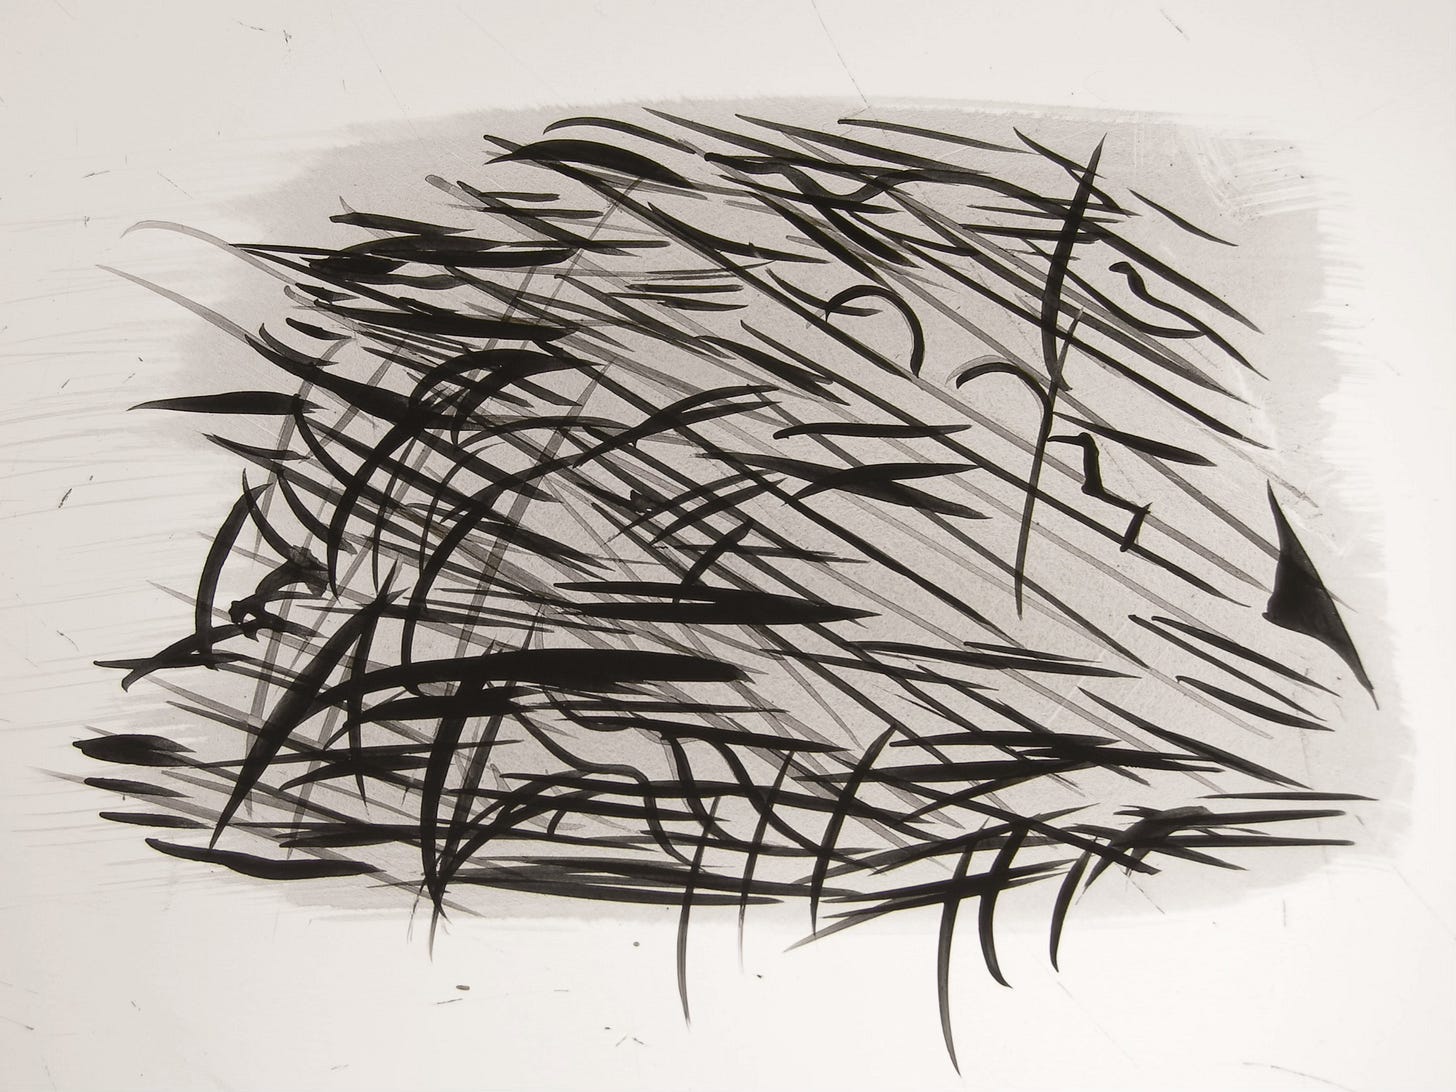
But why not just use the swatch of paint we call the ‘test patch’? Why does the glass painter need a companion piece as well? Let’s compare their different uses.
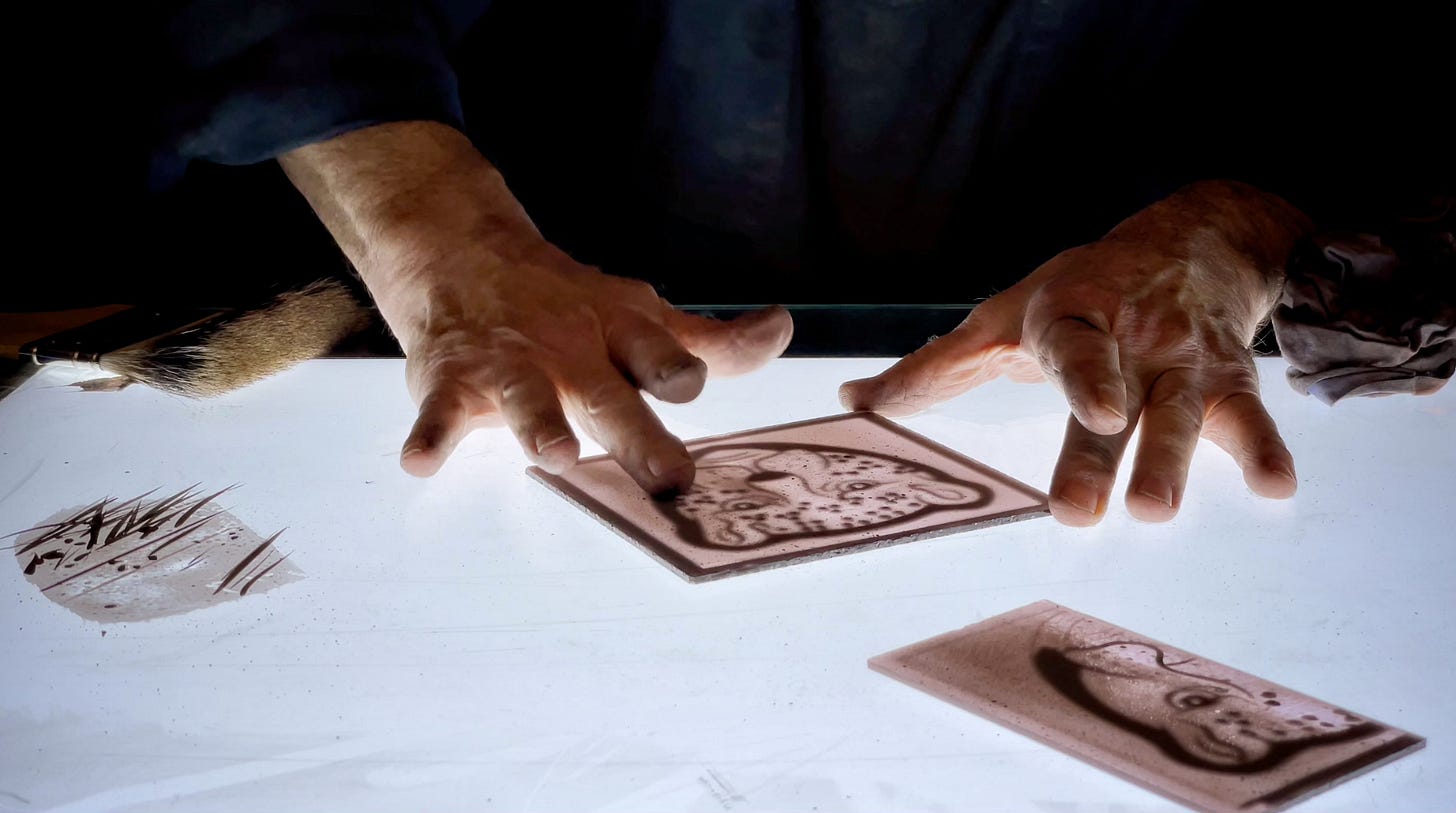
First of all, the test patch is on your light box (whereas your companion piece is a separate piece of glass):
Whatever colour your light box is, it’s probably a different colour from the glass you’re painting. Therefore lines on your test patch are unlikely to be a good guide to the density of your paint or to how your paint will look once you’ve applied it to your coloured glass.
You cannot place the test patch on top of your design. This means you can’t set yourself up to rehearse the actual circumstances which you will shortly face such as working from a bridge, or gripping a particular brush for instance.
Second, the test patch is better used to to casually paint a line or two:
If your brush is overloaded, painting a line or two will help remove the excess.
If your brush is appropriately loaded, then a line or two will help start the flow of paint so your brush is ready for when you paint for real.
The glass painter needs a test patch and a companion piece because he needs all the help there is and gets different kinds of help from each.
There are so many new subscribers to these letters (which, when first conceived, were written for my teenaged daughter who’d recently left home, always possessed of the conviction that everything I said was antiquated and therefore fit-to-be-ignored: I hoped that something written might, later, serve a purpose—besides, I am so reticent about our work, that, even to this day, my daughter hasn’t seen a photo of the finished restoration which is the subject of the other strand of letters) that I must repeat another point I’ve made before:
To paint stained glass, it helps to mix your glass paint the way the painters do it in a studio where their continued employment there depends on it.
In particular: it’s all but impossible to shade the way I showed you last time and this unless your glass paint has a good quantity of gum Arabic in it.
The chief points are covered here, along with a link to a short course for those enlightened individuals who wish to explore the matter further:
8 important points about how to mix your glass paint
Here are 8 points about how to mix your glass paint. I’m not grumbling about how things worked out for me, but, if I’d learned these points sooner, I’d have traced better and more confidently in one …
Thank you for your time and attention. I won’t write again until the end of January, since there are a host of things I must reflect upon with as much devotion as I can give to them.
However, if you have questions which perplex you, by all means write to us.
Be assured that we always wish you well. We hope you have a peaceful and a joyful time at Christmas.









Hake brush cleaning,
This may be known to everyone but when cleaning HAKE soft bristle brushes the bristles would always mat up like wet dog hair for me. After wiping the bristles on a cloth to remove most of the paint. Using "FELS-NAPTHA bar soap" and warm water then scrubbing the bristles in my hand with the soapy solution until clean. This will clean the brushes very well but will leave the bristles very matted and unusable when dry. By using my pocket comb starting with the coarse tooth side and slowly combing out the tangles then switching to the fine teeth the bristle are as good as new. The comb is also cleaner. I hope this is useful.
Thanks, Tom Lipinski
Hello. I am a beginner and about to delve into shading so am after a little advice. Badger Brushes seem rather expensive, is their an alternative brush type i could use? i note shaving brushes with round tops are somewht cheaper. Or do I really need a flat top? Any help gratefully recieved. thank you