Techniques
Letter 10: two techniques and how to practise them
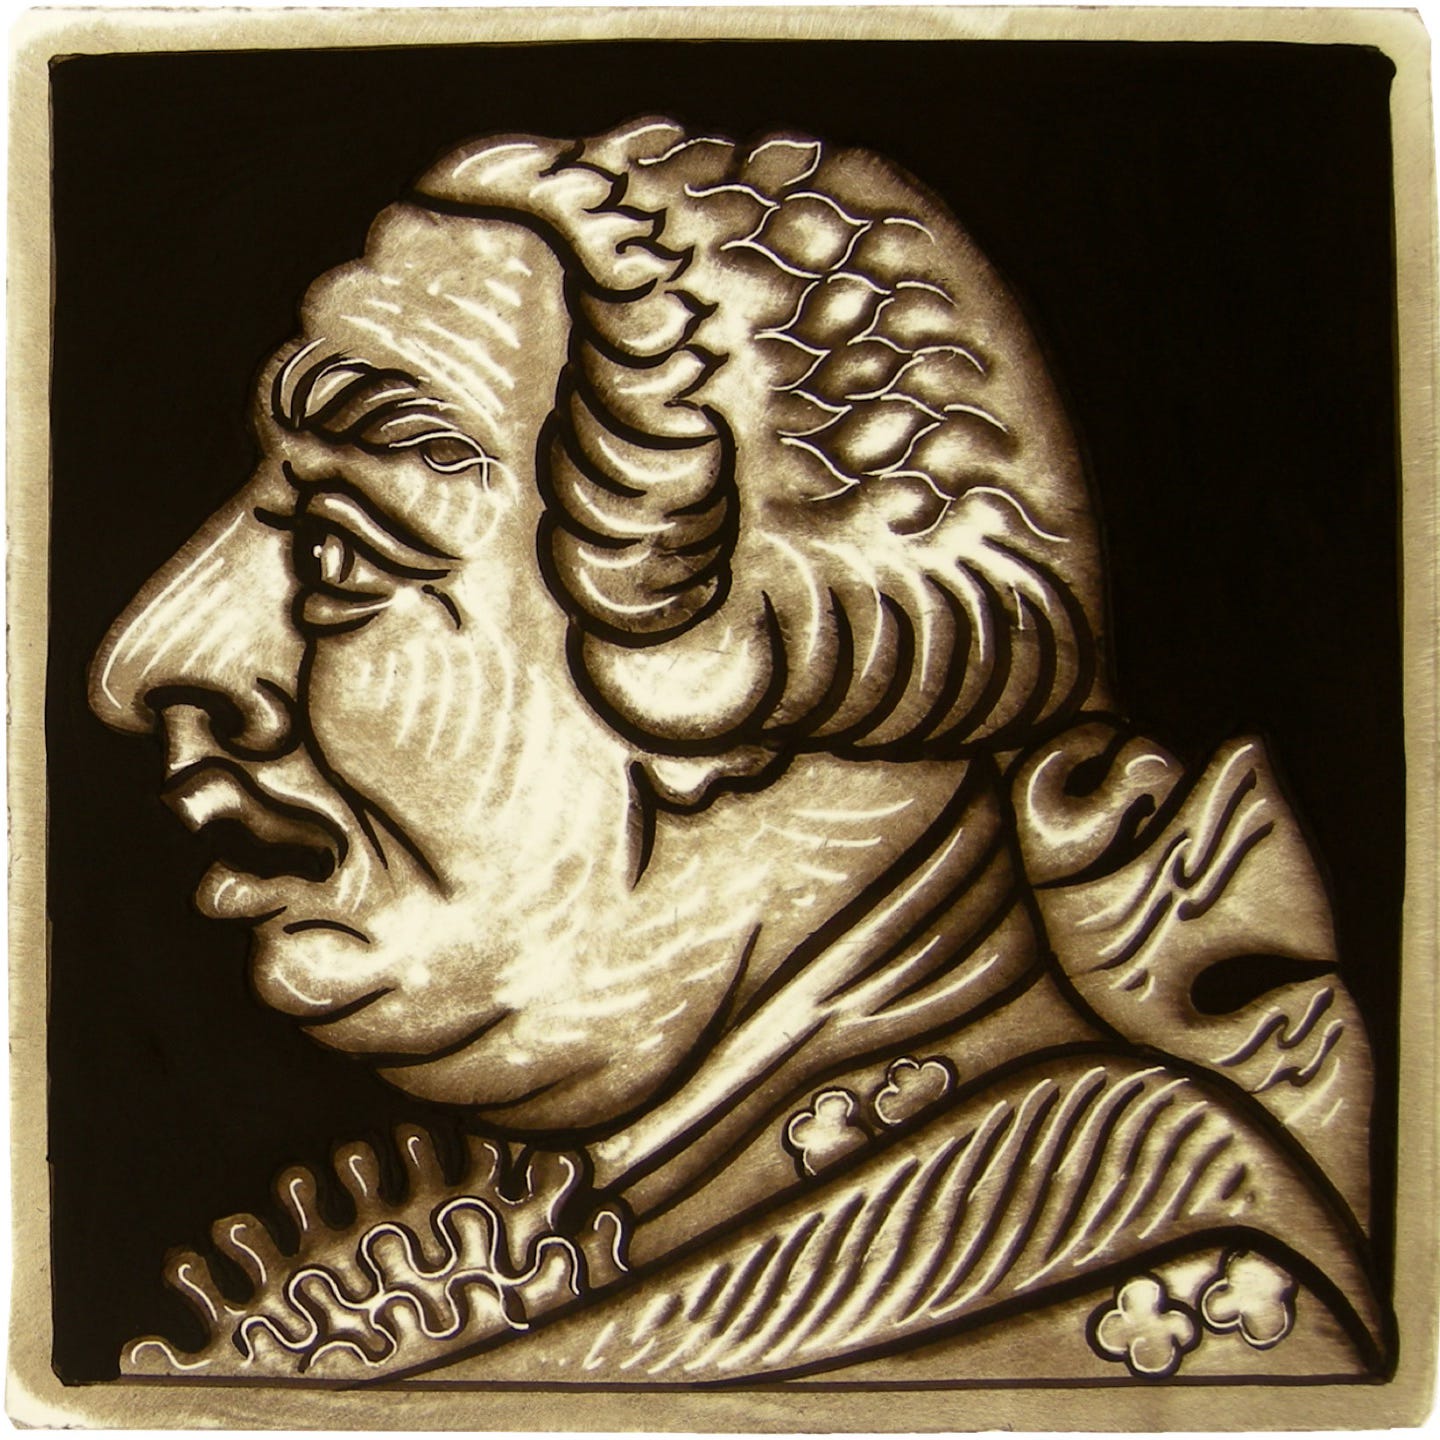
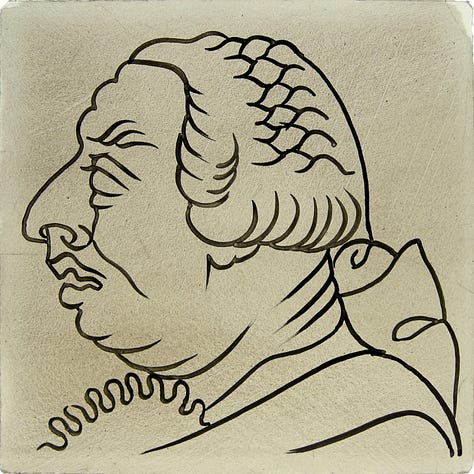
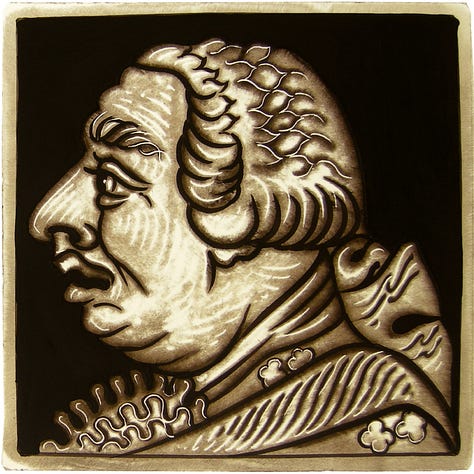
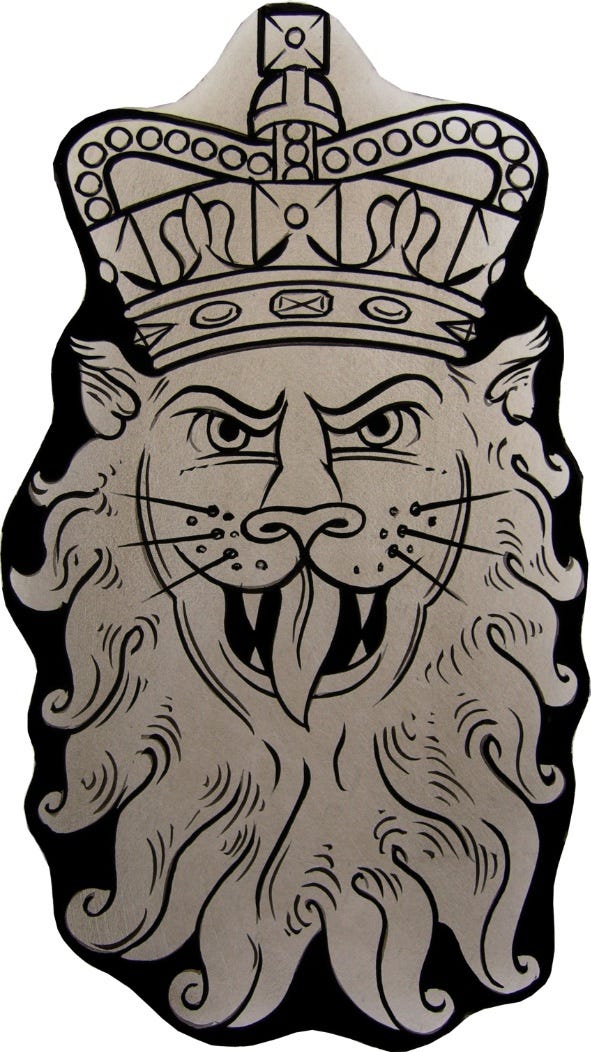
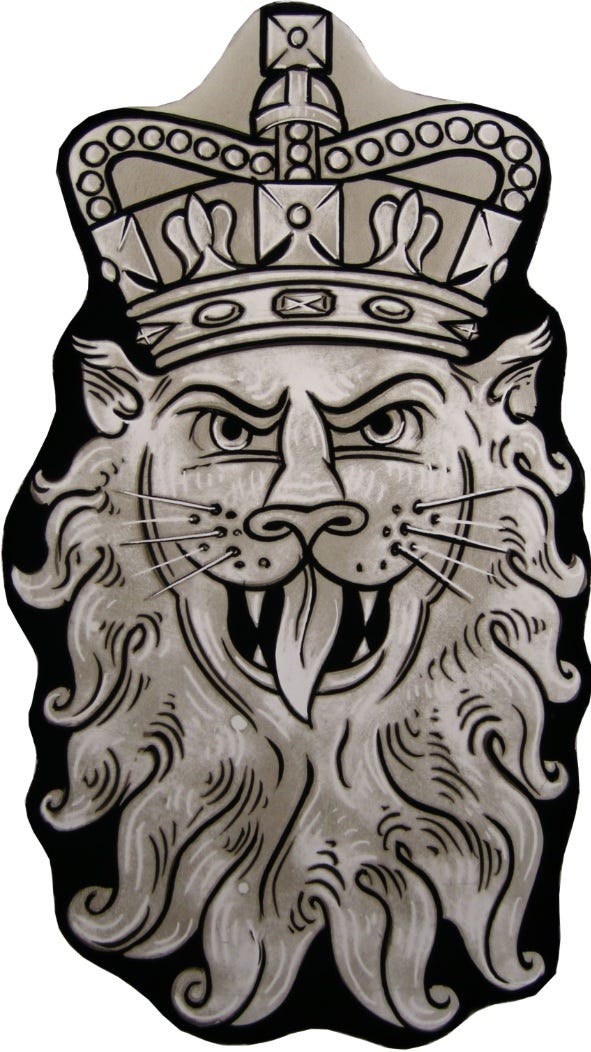
I am not saying this likeness of our third King George is enchanting-in-itself, for it is not. It is very dark. It is so very gloomy. Rare therefore are the windows where such a piece of painted glass as this—layer upon painted layer—would be necessary and also beautiful:
I immediately concede the point—it is pointless to pretend my country has a taste for handsome monarchs—in order to make it clear to you that the finished look is not the substance of my argument or my plea with you today.
(Do you admire my guile? I draw attention to the finished look to get it out the way.)
You see, it is inconsequential to my argument and plea that, in all the years of painting which lie ahead, you might never be obliged to paint a piece of glass this way.
I do not care if you ever are that way obliged, or if you aren’t.
Nor is my ill-humour on this point because I have the wretched toothache: or because my knee is painful and disturbs my sleep, bringing nightmares: or because my teenaged daughter has returned from college for a weekend’s rest to cause mayhem in our house and void the one-time well-stocked fridge.
For still, despite these and other trials, I’ll always say—and this now is the substance of my case to you:
“Here, when we isolate them, when we strip them to their bare essentials, and practise them, are two techniques whose mastery will change the way you paint stained glass …”
And I will name the culprits presently.
Therefore you can’t evade the work which I propose by counter-pleading with me:
“Sir, I seek to learn this craft that I might paint both brightly and exuberantly, in such a way to lift Man’s soul and warm the human heart, which your dismal portrait of a tax-imposing tyrant, Sir, most certainly does not”.
Again, you see, I do not care. I simply do not care.
Whether you are ever called to paint thus darkly in the manner of our King George the Third, or whether you are not, I say again: here, amongst them all, there are two techniques whose mastery will change the way you paint stained glass.
That is why I do not care whether you should ever paint this whole way or not.
Some rich irony is notably in play here: I do not care, because ultimately, of course, I do.
Therefore, I confess: it matters deeply to me that everyone who can, should pay attention to my words, then cast off his incredulity, and practise the steps I lay before him in this letter, until the transformation happens (for happen it surely will).
Only a handful out of thousands will do as I propose. But in my own way I am reconciled with this. Equity is a nonsense unless everyone does the work. Those who do not, will do another thing, and will benefit accordingly; just as those of you who do as I suggest, will win the prize, but forfeit the opportunities they thereby renounce, which is equitable in the old and real sense.
The two techniques I have in mind own names I’ve never read in any mainstream book.
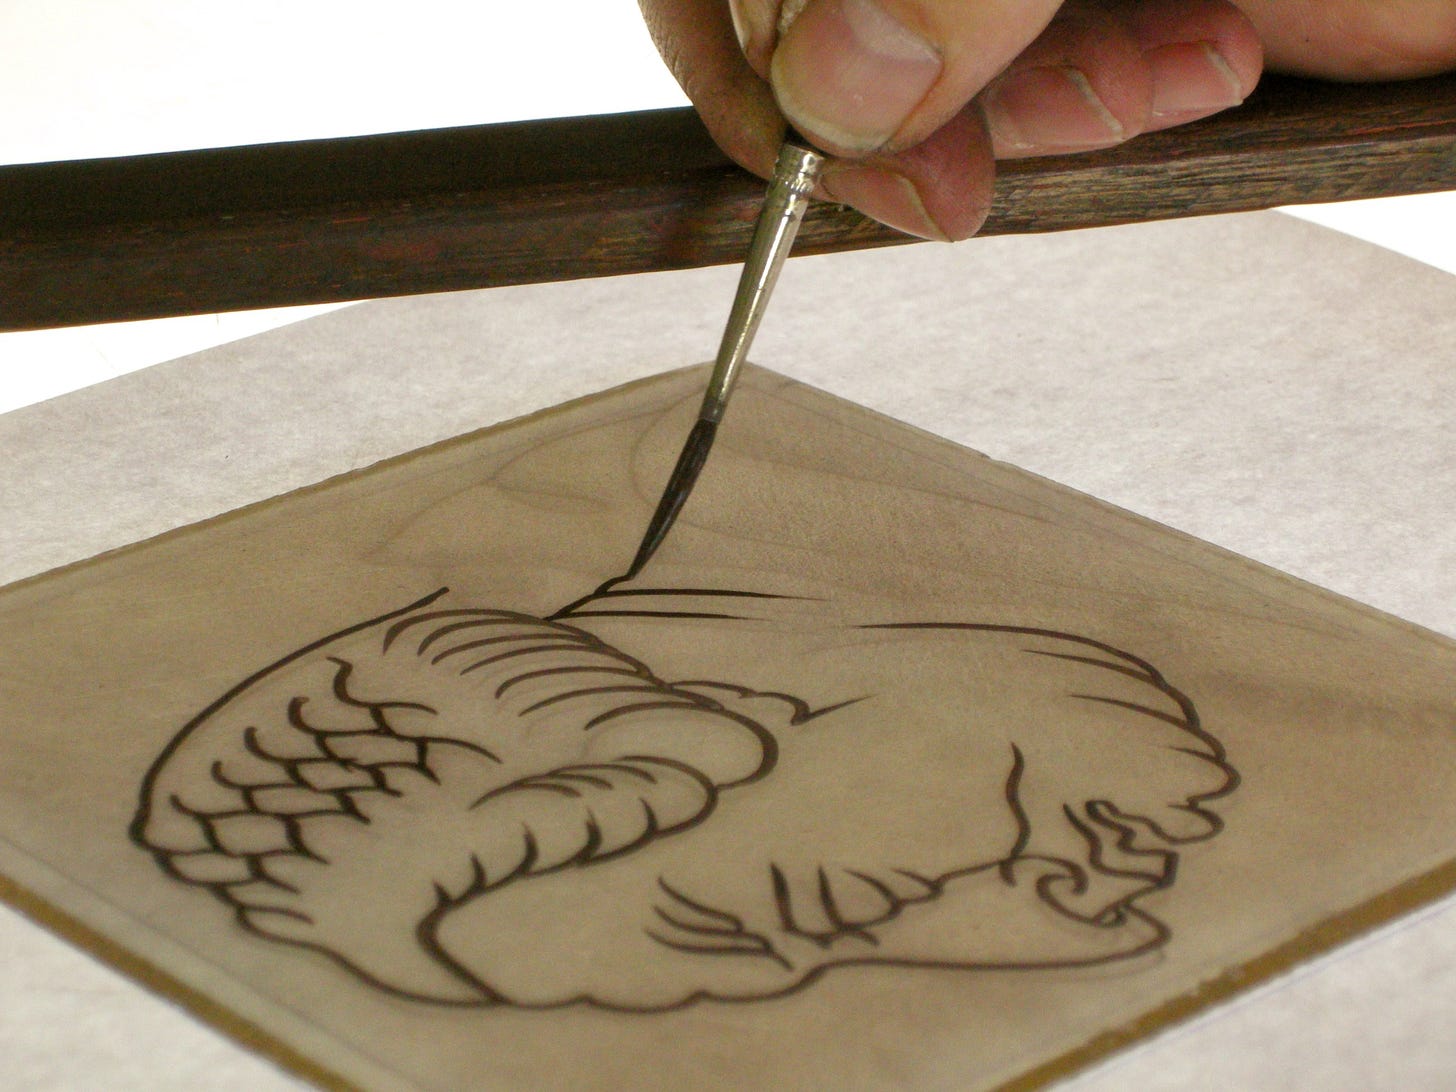
“Softened lines” is when you paint a line atop an undercoat …
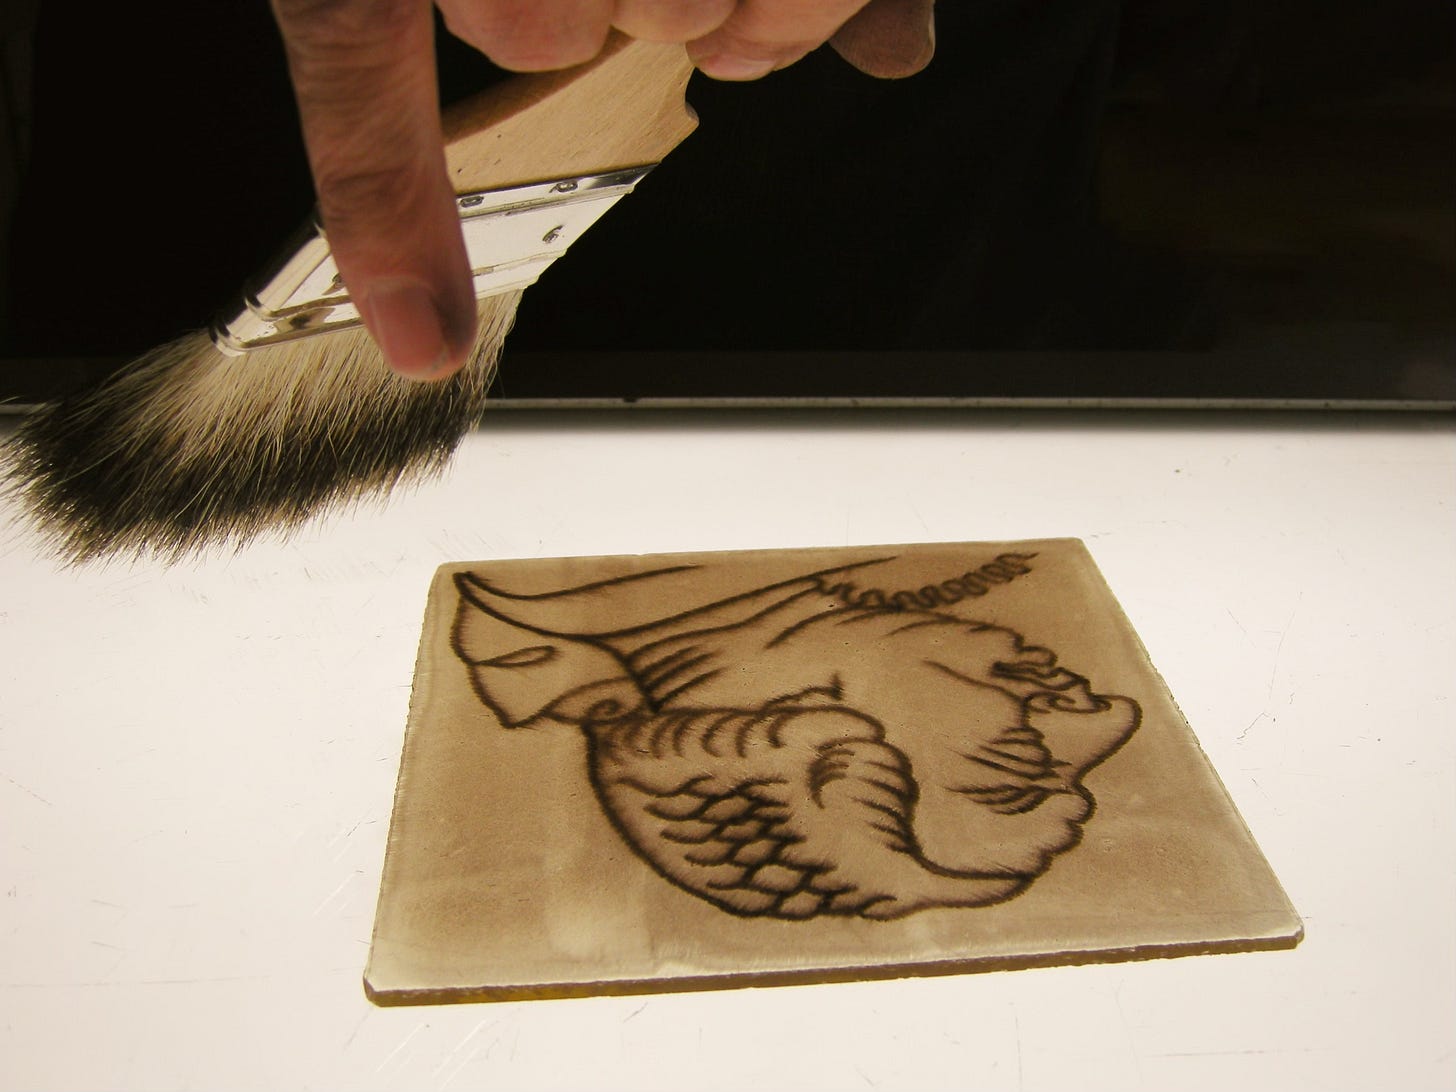
… let it dry, apply a wash of paint on top of everything, then, while the paint’s still wet, you use your blender to gently blur the line:
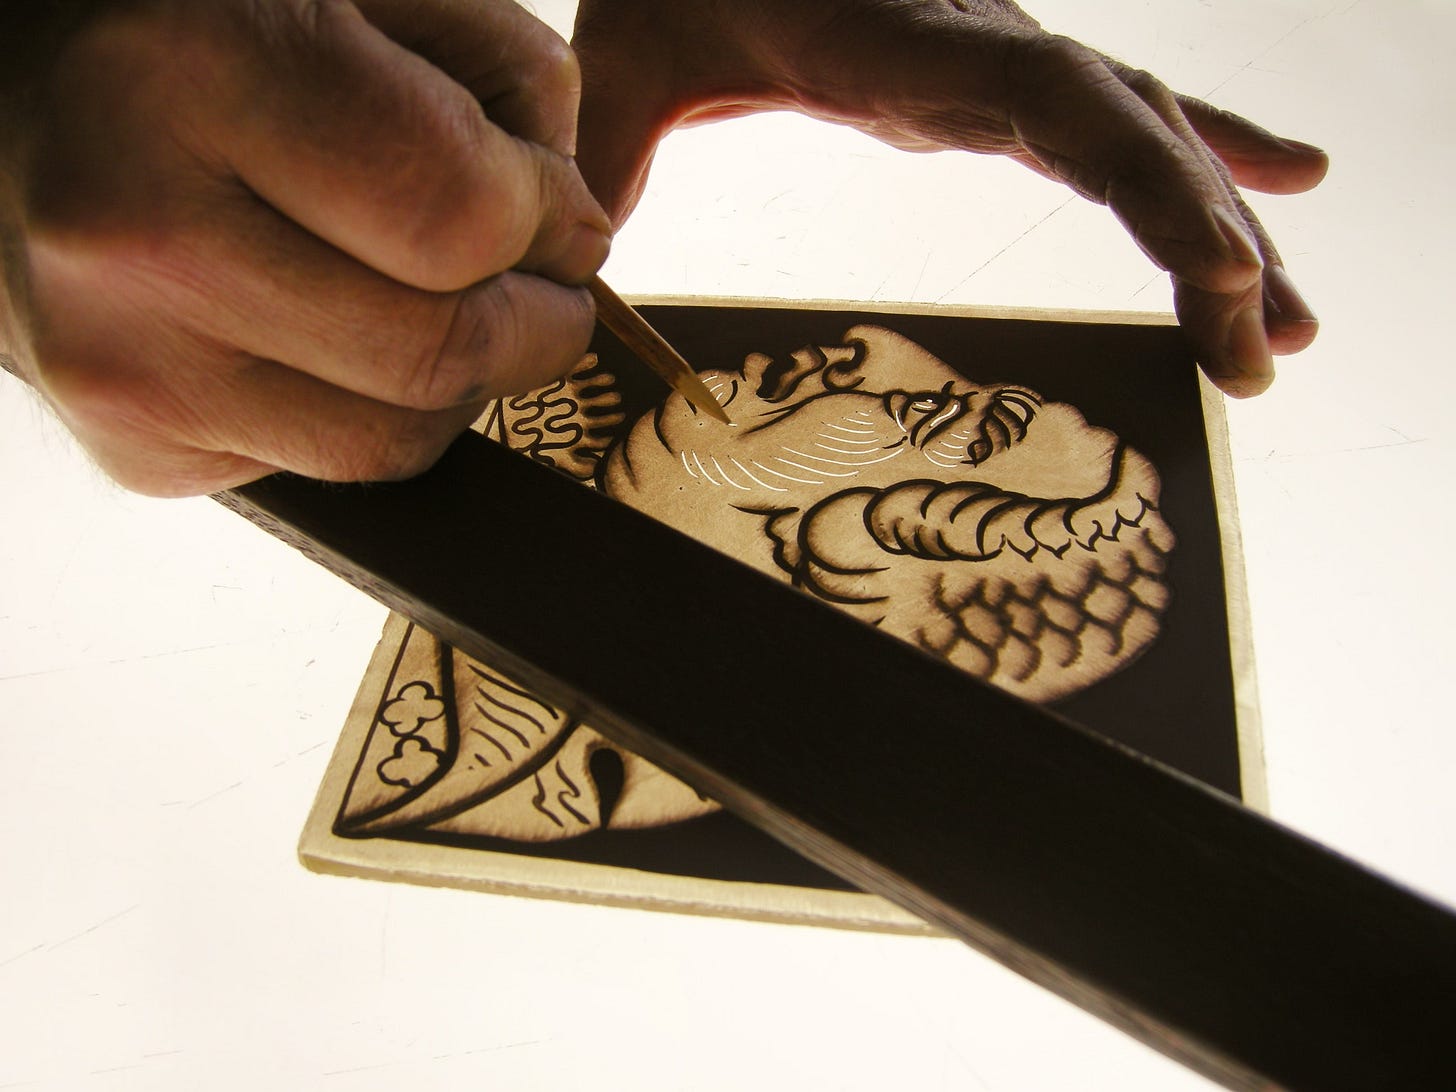
“Softened highlights”—yes, I’ve mentioned them many times before: today, you’ll see, I’ll introduce a new and different spin, which should cause the ground on which you stand to shake—is when you cut a highlight …
… then rub it with your finger …
… which makes the highlight less abrupt, less harsh—gentler than it was before.
Both techniques are ways of shading, of making a stark “thing”—be this a line or highlight—blend or merge more closely with the stark thing’s background. See steps 3-4 and 8-9.

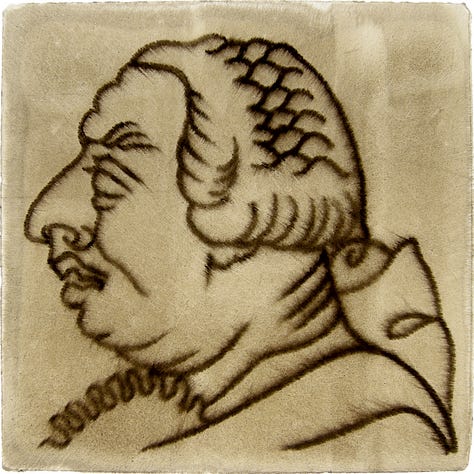

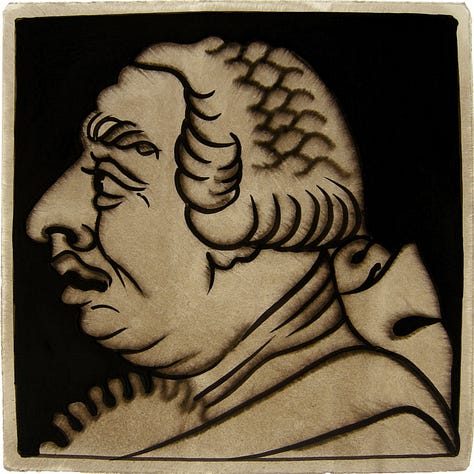
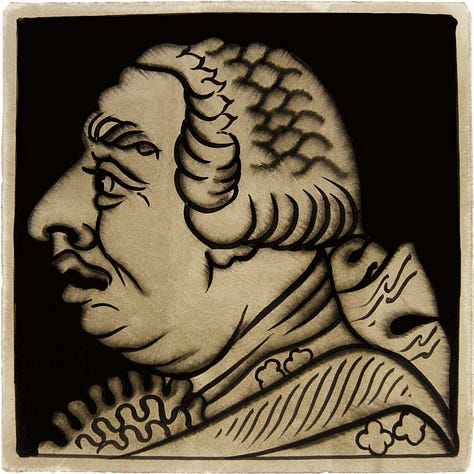
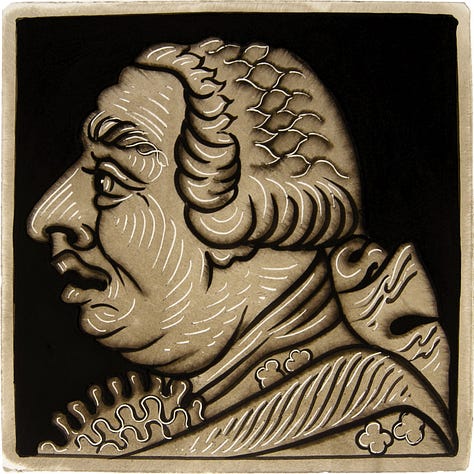
In the right circumstances, both techniques can prove lovely or indeed dramatic.
But, as you know, because I told you from the start and because I know you listen—this letter is especially for the sake of newcomers and for the sake of those who seek improvement—I am only interested in what the glass painter will learn by practising these techniques: the good that it will do him.
And to be clear: “practising” in my book means an hour or two a day, for a week, a fortnight or a month, observing closely, never drifting off, making one or two small changes at a time, observing their effects, then making further changes, or steering a steady course until you notice signs which indicate it’s time for one or two fresh changes to get back onto a steady and successful course.
Is any of that too much to ask of someone? (But these days I sometimes wonder that it might be, though it is not, I know, too much to ask of you.)
As will be familiar to those of you who’ve read my words since April: the best order in which to learn a technique is sometimes not the order that you use’ll it once you are on active duty.
In the field, so to speak, highlights come near or at the end.
When teaching and learning, however, they come as soon as anyone can wield a brush, even crudely.
That’s why I’ll begin with softened highlights. And, to make it clear before we start, here’s the order we shall follow:
Part 1: what you learn from softened highlights
In this first video, while you get your bearings, observe the lovely change which softened highlights bring.
Also watch the test patch and the companion piece—each of them a place to do last-minute and essential pre-flight checks:
As I said, we’ll come to how to practise, later. For now, I want to tell you what you’ll learn by mastering this technique.
The first thing you’ll learn is how your paint must feel if you are to paint the way we do.
By painting “the way we do”, I do not mean the same images as we paint.
Rather, I mean lighter or darker undercoats as the individual case requires, lighter or darker trace-lines as the case requires, wetter darker paint for flooding and similar but slightly drier paint for strengthening—all (here’s the thing) from the same one lump of glass paint as you see here:
Similar paint to ours is a necessary condition in order that your lump of paint will be capable of the same variety of techniques as ours (however you should use them).
To be specific, it’s necessary that your paint has roughly the same ratio of gum Arabic as ours, in relation to pigment on the one hand and to water on the other.
Therefore, if you aspire to learn to paint the way we do, first check your paint.
Softened highlights is a technique which lets you do this quickly.
Too much gum, and you’ll struggle to soften your highlights; too little gum, your undercoat will smudge.
This is such welcome news: a quick and simple test to verify your paint is good.
Unfortunately, it is so quick and simple that sophisticated people will always doubt its efficacy, which is their loss. I pray it won’t be yours.
The second thing you’ll learn—though in fairness I must say start to learn, for this is a lengthy though invaluable process—is how glass painting is as much about the light that you let through as it is about the light which you block out.
True, to soften highlights, you must also learn to wield the palette knife: prepare the right consistency of paint: organise the palette: hold, load, and use the applicator brush (in our case, always a large hake): use the blender, the painting bridge, and cutting stick.
These are wonderful and necessary skills, but it won’t be until you practise and take delight in softening highlights that you start to learn to push forward into darkness and then pull back into the light.
A final demonstration:
I wonder though—is it now time for a measured dose of therapy?
Indeed, I sense it is, for some of you possess a nervous disposition. (Poor souls they are! I can’t say they’ve found the best person in me who has such a manly surly character.)
“But what if I remove too much?” I hear those nervous people ask.
Oh, what senseless worry this cry expresses! (Or perhaps I simply have an acerbic, ruthless cast of mind. Indeed, I know I do.)
For consider the fear, “I might remove too much”. No sooner do you allow yourself to harbour it, then must you not likewise fear you might remove too little?
I think you must!
And now my trap is set, and the consequence is in your hand—literally! You see, I readily admit you’re damned if you remove too much and damned if you remove too little.
Thus your only recourse is, petrified with fear, to do nothing and almost definitely be damned: or, to learn to remove the right amount, and thus be saved, which you will only do through trial and error. Oh! and through attention, and honesty, and memory and so forth: that is, through all kinds of intellectual and moral virtue which the man-who-only-works-with-screen-and-keyboard has such a nasty habit of forgetting.
There is no other way.
Now therefore cease all quivering and moaning, and don’t come back to me for therapy. Just practise diligently, and you’ll learn—yes, though you will likely spoil a hundred pieces in the process, I promise that you’ll learn.
Part 2: what you learn from softened lines
Once again, the test patch and the companion piece provide you with a source of confidence you’d otherwise be without:
Do I need to say this? No, but nonetheless I shall.—No glass painter stands a hope in Hades of doing this unless his paint contains a sufficient quantity of gum.
(By “sufficient quantity” I mean of course enough gum to soften highlights the way we do. No sooner have you established that your undercoat is strong enough for you to soften highlights, than you can likewise be confident there’s gum enough for you to soften lines.)
All manner of skills are demanded of you here: moving from undercoat to tracing paint, and back again, then back again to tracing paint: lightness of touch with your applicator brush (the hake): and skill with your blender.
But more than these, you have to learn to hold your nerve and push through to the end despite the fears which likely rise inside you.
Here’s the moth you have just seen, for instance:
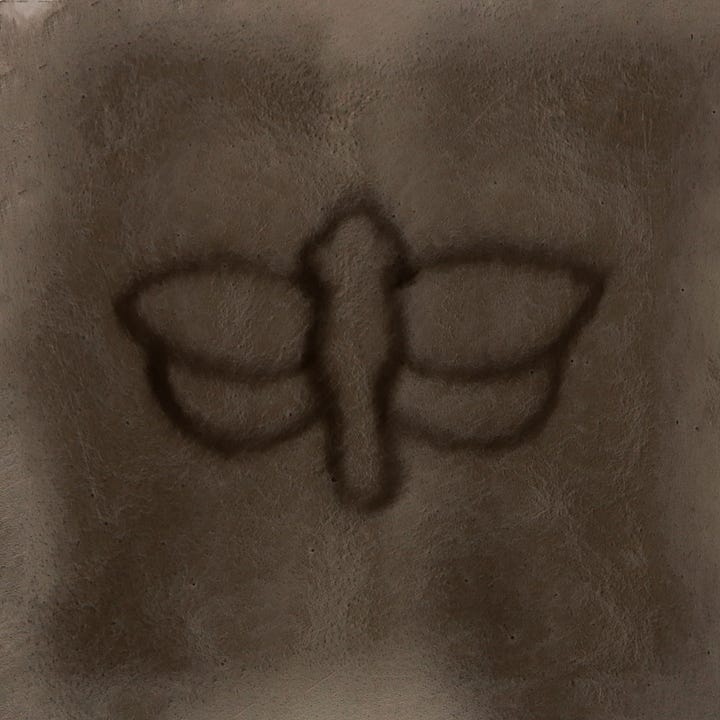
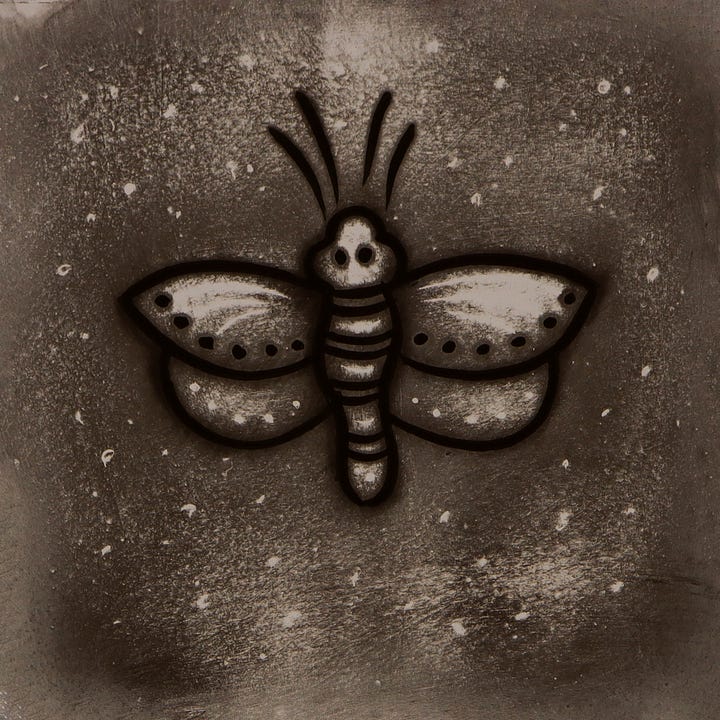
And here’s the beast we shall conclude with in a moment:

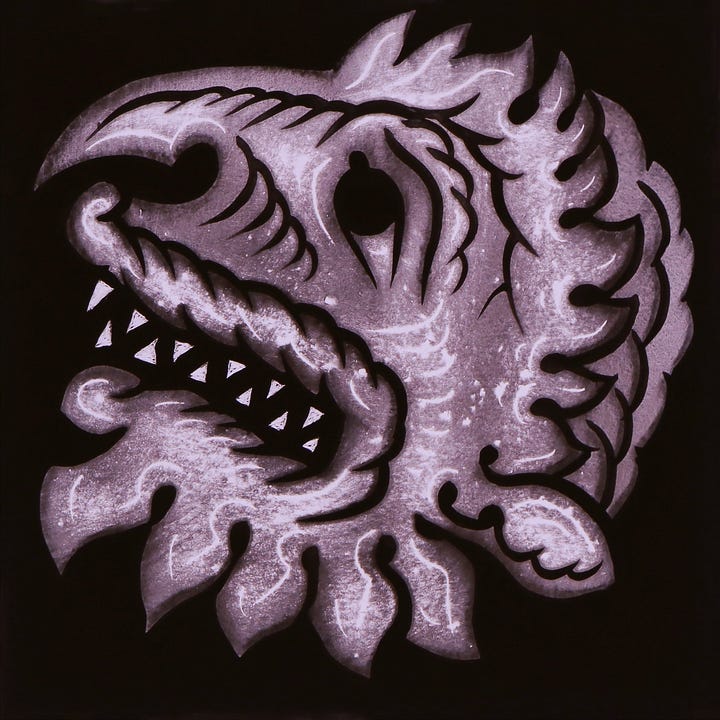
Confronted with the seeming-mess which is the left-hand images, can you begin to feel the imagination and firm purpose you must nurture in your soul to persevere until you reach the final place your heart was set on?
Glass painter: don’t give up, for, until you are experienced, you rarely know what you will achieve by pushing on. This is a most valuable lesson.
A final demonstration:
Now back to softened highlights.
Not, however, before I mention that, should you ever go in search of beasts to paint, this site here …
… which Jennifer, a subscriber, drew our attention to, contains a feast of illustrations you can adapt.
Part 3: how to practise softened highlights
I ask you to do this preliminary exercise right now as you are reading. Try not to worry that I am watching you intently. (I only do it because I care.)
Briefly rub both hands together.
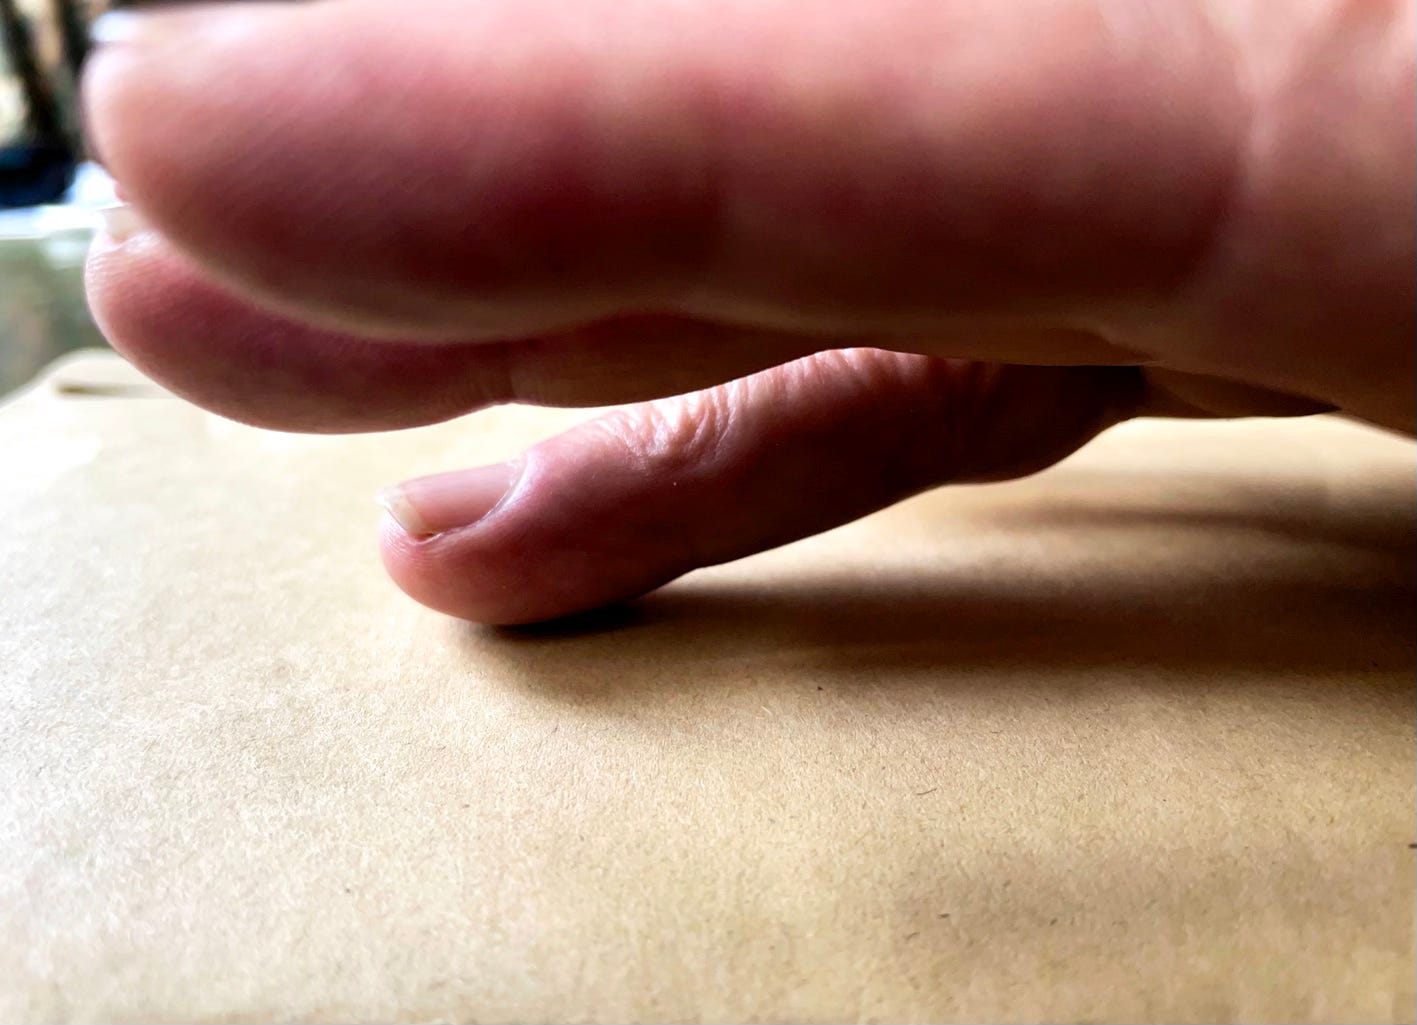
Now extend your painting hand, flat, in front of you.
Separate your fingers just a little, but keep them always flat.
Lower your ring finger by about a quarter-inch. (Do with the others as you wish; just keep them higher and out the way.)
Focus your attention on that finger’s underside—the fleshy skin on the other side from your ring finger’s nail.
Move your whole hand left-to-right and back again and so forth, as if to lightly stroke some imagined surface with just this finger’s underside.
There—that’s it.
I specifically request that you should use the ring finger because this finger is unlikely to be associated with other tasks (such as pointing or rubbing) which could easily influence the very different way you work when softening highlights.
Next I ask you find a piece of card or newspaper and do it all again.
Be sure to make your touch as light as possible.
Also be sure it’s only this one finger’s underside which rubs the card: nothing else (such as your palm or sleeve), or else I’ll growl at you.
And that, when you have practised further, is how you will change this:
… to this:
… which surely is worth learning to do well.
Here therefore is how you should practise softened highlights on your light box:
Always on your light box, repeat such well-separated lines and gentle curves as these till you feel comfortable with the general flow of steps.
Then, per our usual method, do the same on bits of tinted glass. I repeat my earlier point: these are well-separated lines and very gentle curves you are to cut. (Close lines and sharp curves are difficult and thus best left till later.)
A problem, if it arises, will likely be one of three:
You rub with all your force, but the highlights will not soften. Your paint has too much gum in it. Put some aside. Add pigment and perhaps a little water to the remaining portion, mix well, and test.
It looks good and then it all goes wrong. Trial and error. Stop rubbing sooner. Relax a little. There’s no rush to soften highlights. You can always take a break, consider things again, and remove more paint if it then seems right to you.
No matter how delicate your touch, the highlights immediately smudge:
You can be confident the answer is to add more gum:
And then to mix it in, and try again.
Remember through your suffering and frustration all the good you do yourself through practising this technique of softened highlights: namely, that you’re learning how your paint should feel, if you wish to learn to paint the way we do. And you’re experiencing the powerful effect of removing paint: how the newly-revealed light alters the effect of your painted lines and shadows.
Part 4: how to practise softened lines
By now, you know my teaching method, don’t you? You know what I’m about to say, don’t you? Well, I can read your mind, and you’re only partly right.
This time I don’t propose you practise on the light box for several hours or days.
I just propose you do it once or twice, then swiftly move to bits of glass.
The reason in a nutshell: I’m confident you’ll learn faster when you have a lot of glass that’s ready with undercoat and trace-line for you to practise on, one after the other in quick succession.
Therefore, once or twice, working on your light box:
Lay down and blend a patch of undercoating paint. Wait for it to dry.
Paint a medium-dark line. (If your line’s too light, wait for it to dry, and then go over it a second time.)
When the line is dry, lay down a wash of paint on top. Note that the consistency of this wash is slightly wetter than your undercoat was.
Pause for a few seconds—this is crucial—so that the moisture from the wash can dissolve the gum Arabic within the line.
Blend from various directions, to turn the line into a shadow.
Stop blending before your badger starts leaving scratches. Wait for the paint to dry.
When the paint is dry, reinstate the line, though take care you do not also obliterate the shadow (else what is the point of your hard work?): paint the line so that it overlaps the shadow and also falls a little to one side.
Cut highlights, then soften them.
Thus the logic of first practising softened highlights is that you thereby test your paint and make sure it contains sufficient gum in it.
For, with insufficient gum, your lines will disappear at step 3 or 5, which is not what you want at all—you want the lines to soften and expand, which they can only do when the paint inside them contains sufficient gum.
And so, if your lines dissolve completely at steps 3 or 5, you know it’s likely not because of lack of gum.
The more likely cause is that you’re too violent with your hake, or that there’s too much water in the wash, or that you’re unnecessarily brutal with your blender. You’ll figure it out by practising and observing, then forming a hypothesis, and testing it.
Here, for paid subscribers, are two lessons about how to soften trace-lines and turn them into gentle shadows.
Keep reading with a 7-day free trial
Subscribe to The Glass Painter's Method to keep reading this post and get 7 days of free access to the full post archives.


